# Use Remote SSH in Visual Studio Code
In this tutorial, we will take you through the steps required to connect Visual Studio Code on your local machine to a remote cnvrg workspace.
# Requirements
You must have the following installed on your local machine:
- cnvrg CLI installed
- kubectl
- Visual Studio Code
# Guide
- Go to your project's Workspaces tab and launch any workspace type inside cnvrg. Wait for the setup to complete.
- On your local machine, run the command
cnvrg ssh start workspace_idin a terminal session.
TIP
The workspace_id can be found in the URL for the workspace.
For example, if your workspace is live at https://app.cnvrg.io/acme/projects/recommender/notebook_sessions/show/ekqjsnzerv9x5t62y7yd, then the workspace_id would be ekqjsnzerv9x5t62y7yd.
The corresponding example command would be: cnvrg ssh start ekqjsnzerv9x5t62y7yd.
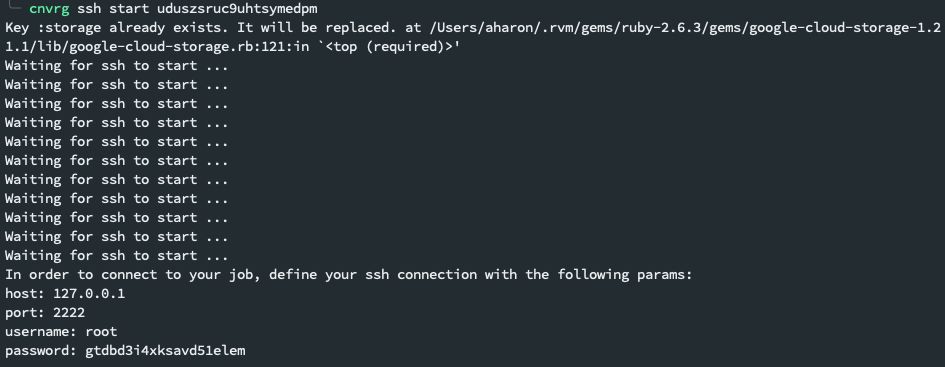
- Wait for
ssh to start. During this time, cnvrg will automatically install the requirements in the workspace. When it has started, the command will tell you thehost,port,usernameandpasswordfor the SSH session.
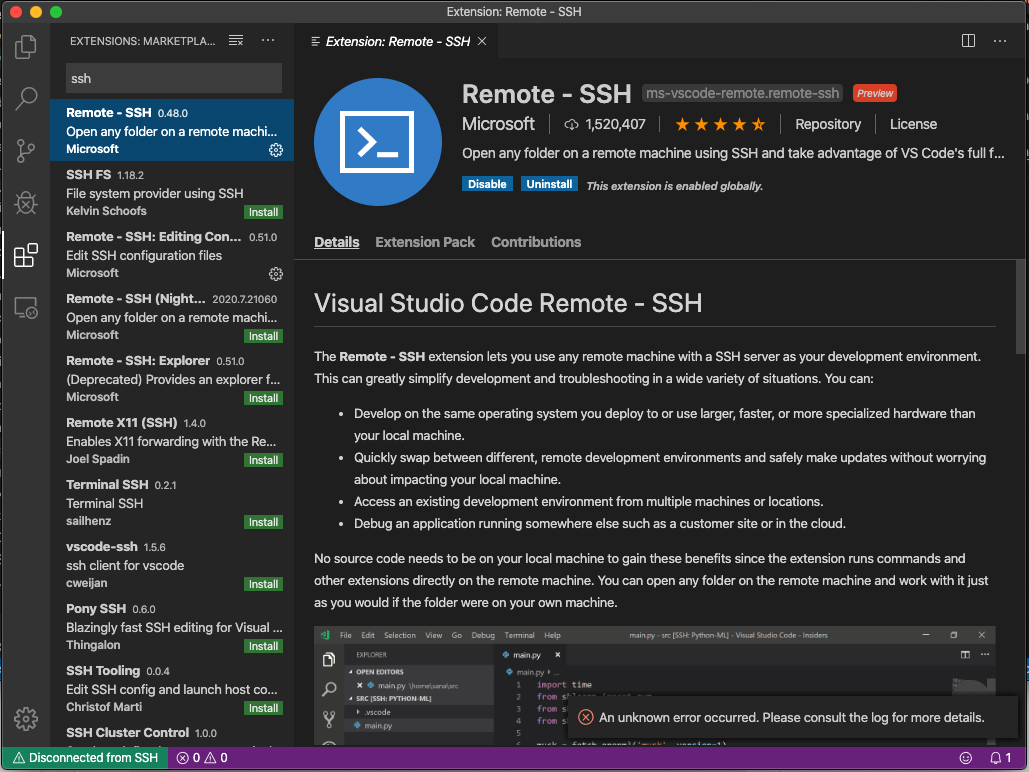
- In your local Visual Studio Code, open the Extensions tab and add the extension
Remote - SSH.
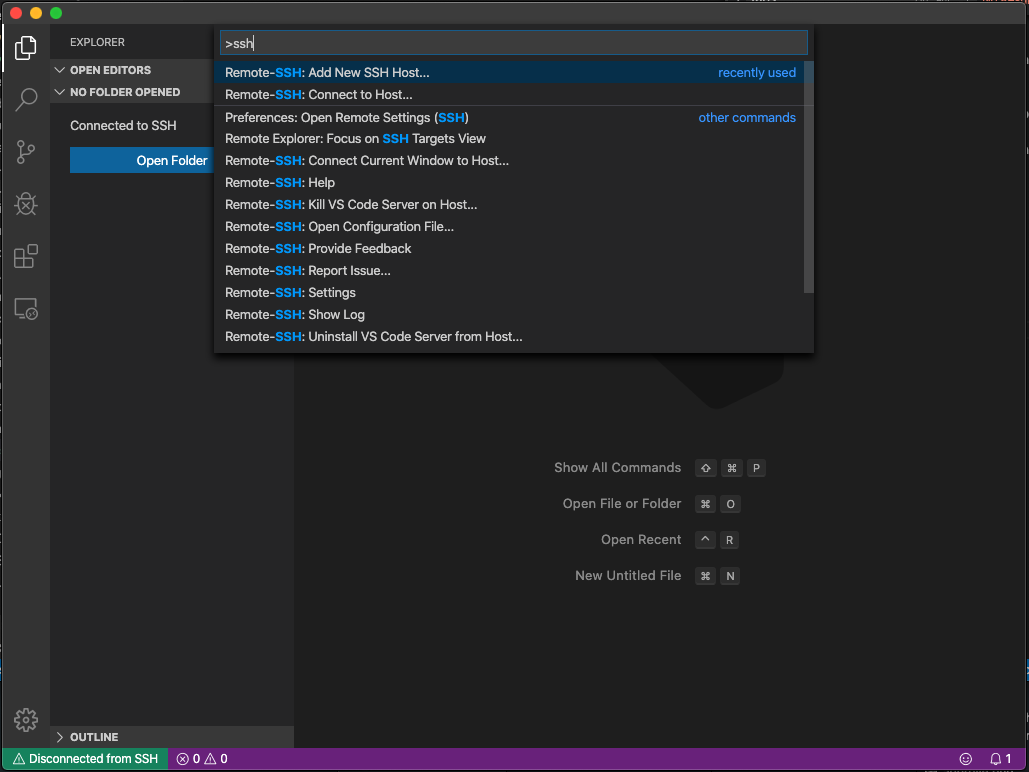
- Open the
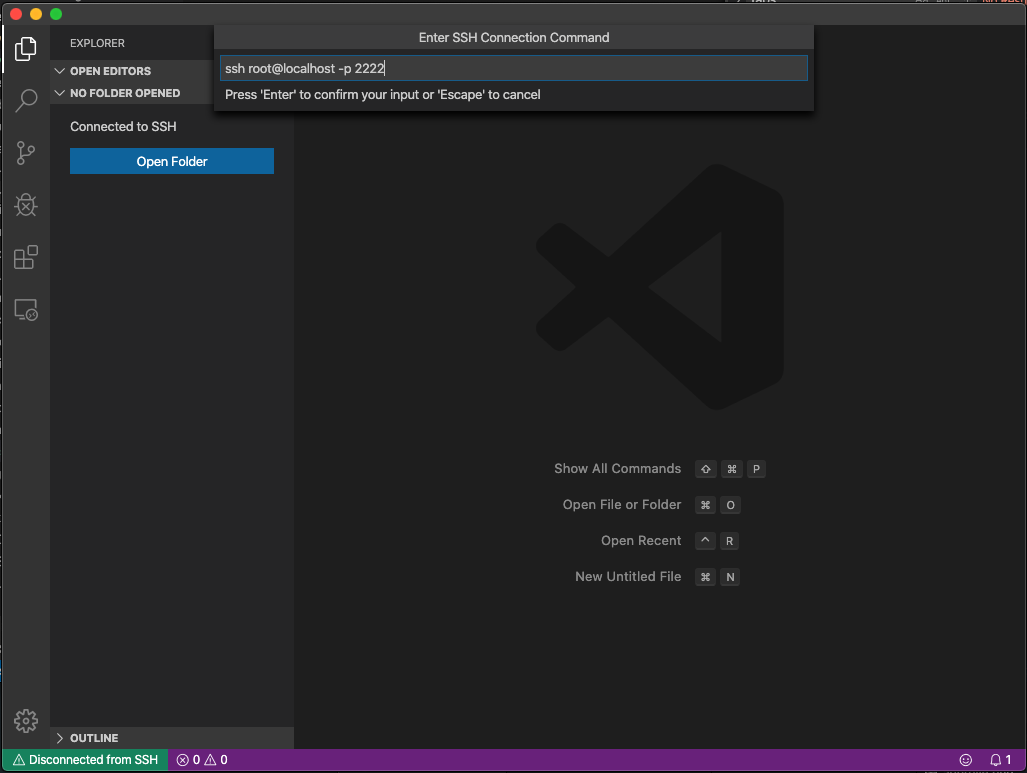
Command Palette. Search forSSH. ClickRemote-SSH: Add New SSH Host....
- Enter the SSH command based on what
cnvrg ssh starthas told you:ssh user@localhost -p <port>
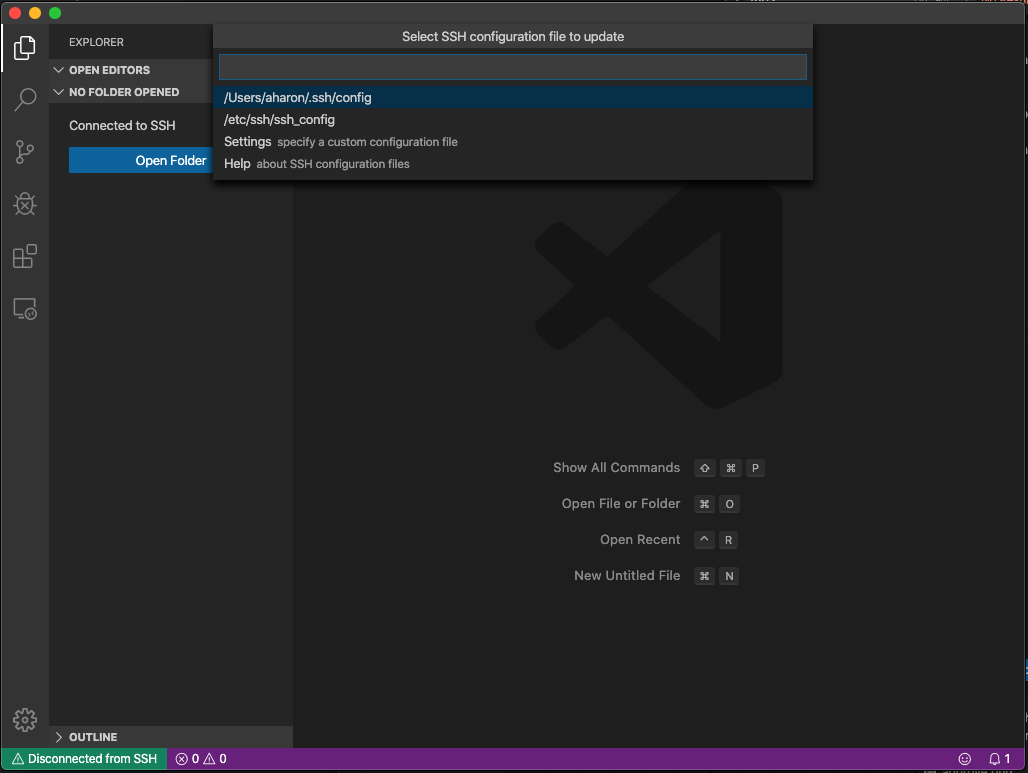
- You may be prompted to choose which
ssh configfile to update. Choose the relevant config file from the list.
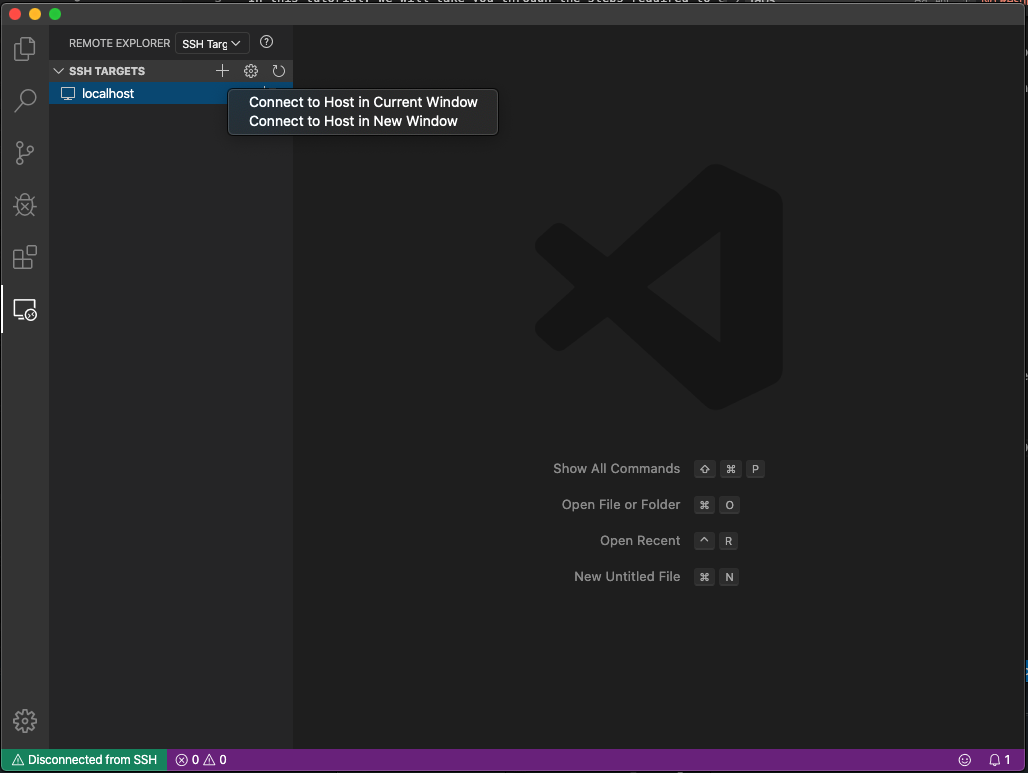
- Go to the Remote - SSH tab of Visual Studio Code and connect to the newly added SSH host from your IDE.
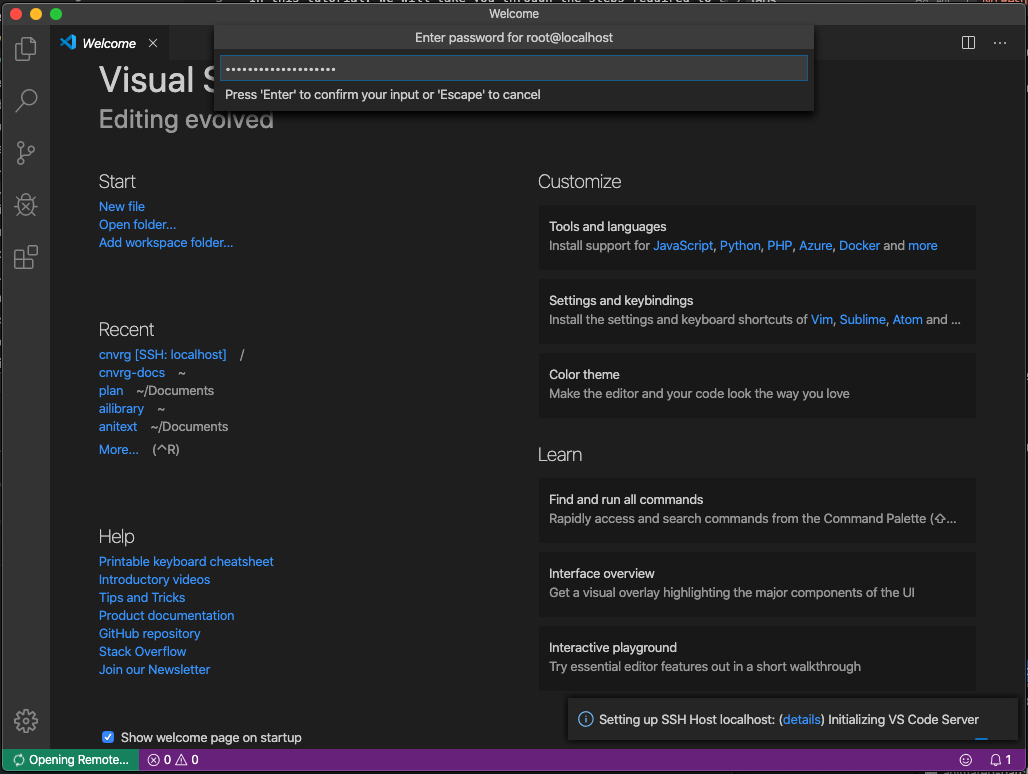
- You will be prompted for the
password.
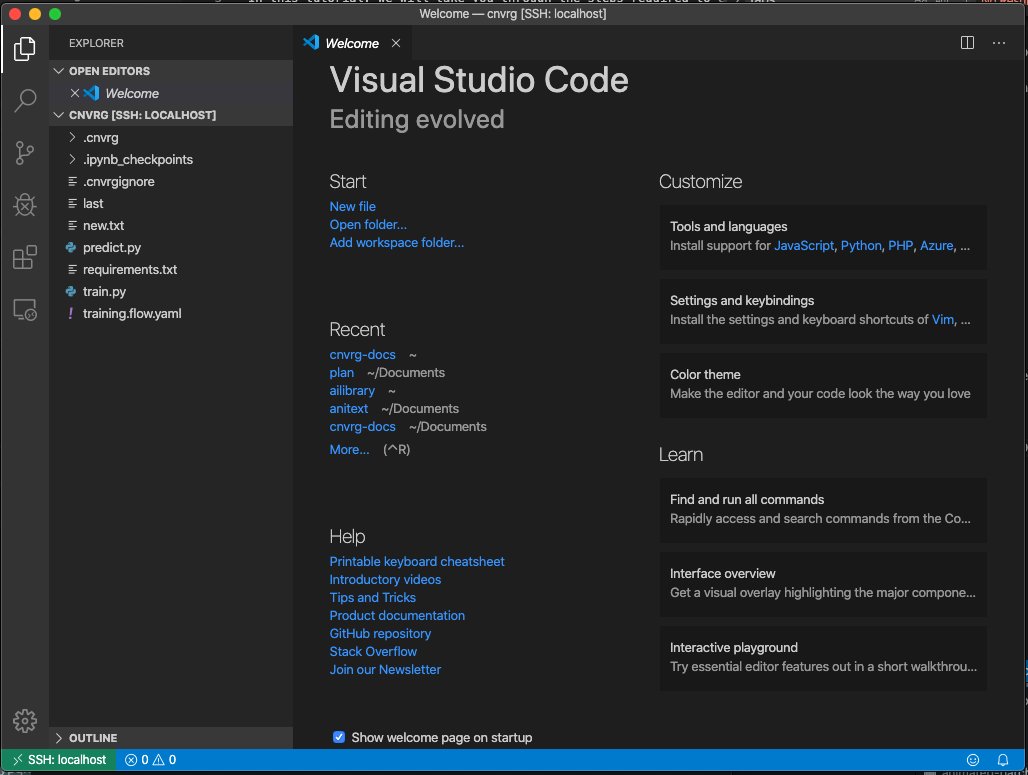
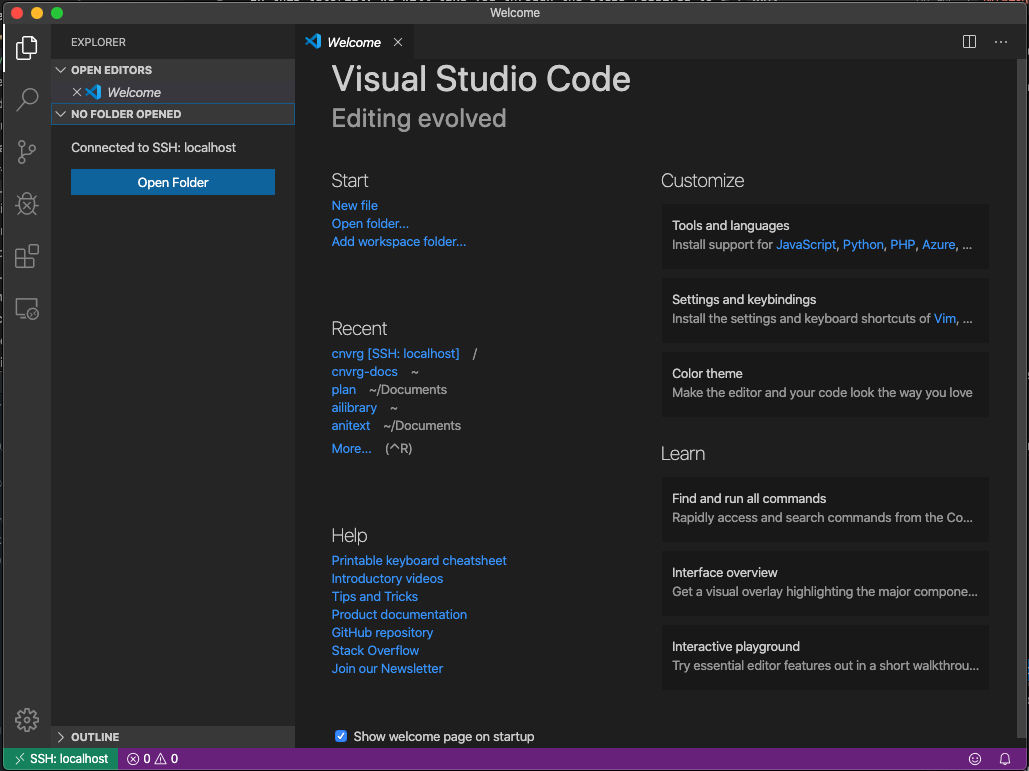
- Congratulations, you will now have connected to the remote workspace! However, we should now set the correct folder to access the remote files.
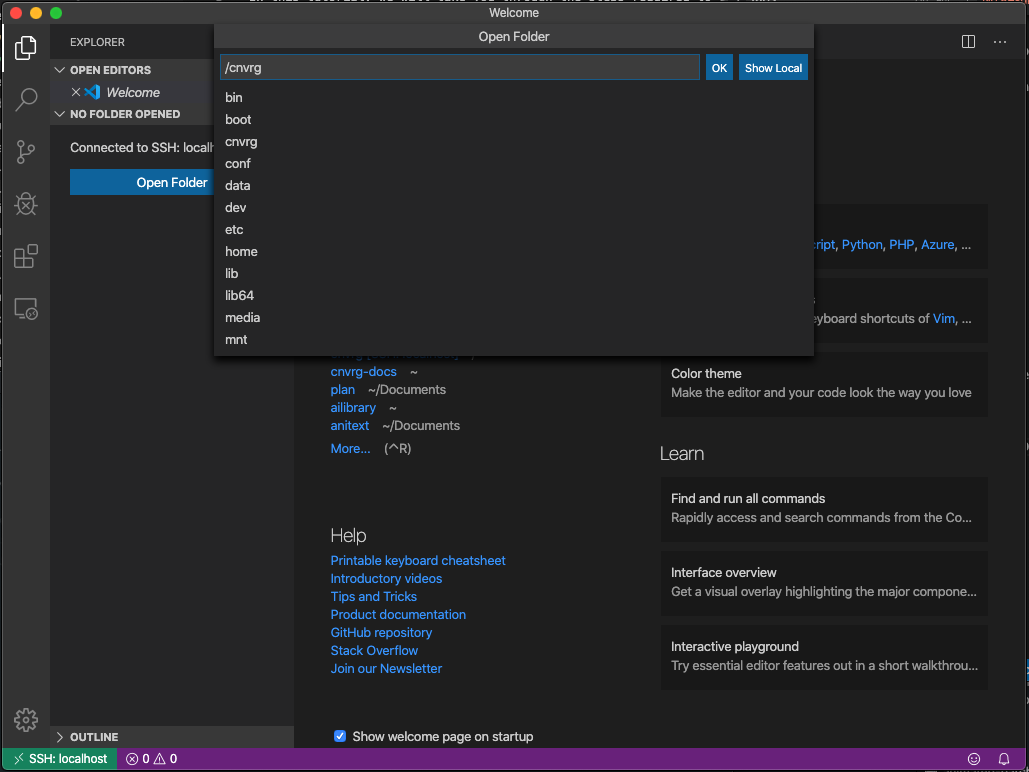
- Click Open Folder.
- Set the path as
/cnvrg.
- You will be prompted to re-enter the password.
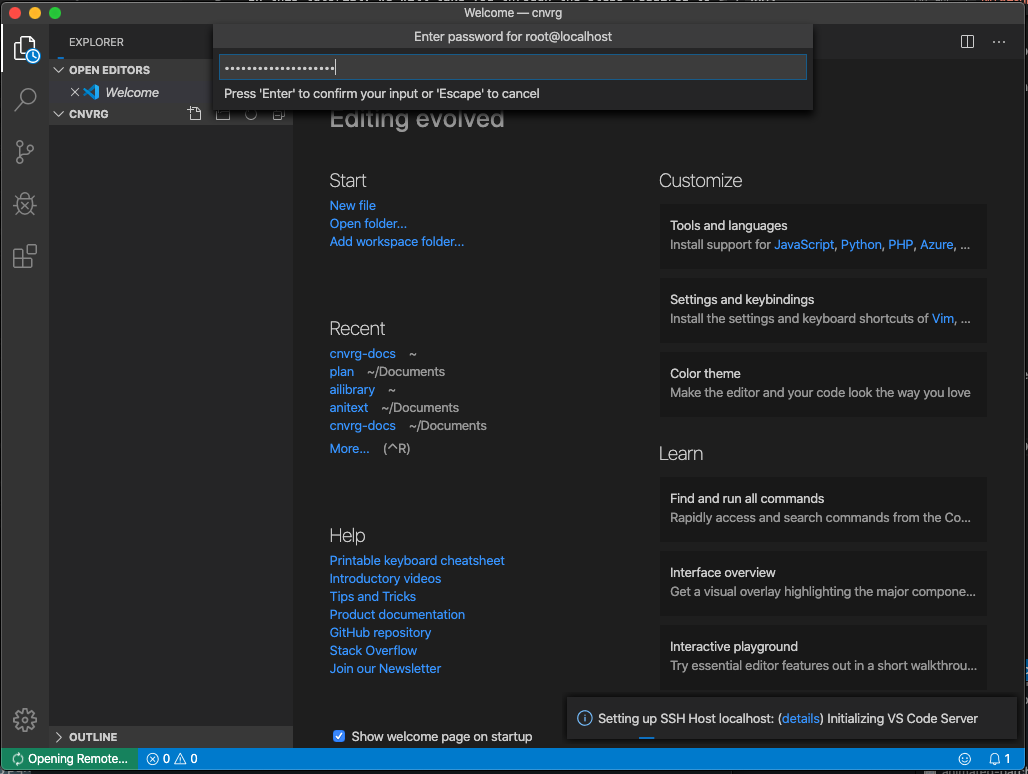
- Now you are done! You can access the files and use your remote compute, right from your local Visual Studio Code.