# Pose Detection AI Blueprint - deprecated from 11/2024
# Batch-Predict
Pose detection refers to detecting humans, their key pose points, and locations in images. The pose-detector model’s output provides key checkpoints and draws a bounding box over them. This blueprint’s pose-classification model uses Ultralytics YOLOv5 to detect humans in each image and classify their poses. YOLOv5 detects humans in images and then a custom-trained Keras model classifies those humans into various poses.
# Purpose
Use this batch blueprint to run in batch mode a pretrained tailored model that detects human body poses in images using your custom data. The model can be trained using this counterpart’s training blueprint, after which the trained model can be uploaded to the S3 Connector. To train this model with your data, create a folder also located in the S3 Connector containing the images (with humans in various poses) on which to train the model.
# Deep Dive
The following flow diagram illustrates this batch-predict blueprint’s pipeline:
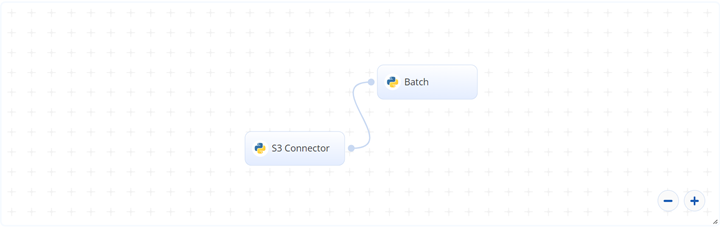
# Flow
The following list provides a high-level flow of this blueprint’s run:
- In the S3 Connector, the user provides the directory path where the pose (e.g., yoga) images are stored.
- In the Batch task, the user provides the S3 locations for
test_dir_img,model_weights, andclass_names. - The blueprint outputs a CSV file and images of each human with the bounding box, along with a classified pose and associated confidence.
# Arguments/Artifacts
For more information on this blueprint’s tasks, its inputs, and outputs, click here.
# Inputs
-- test_dir_img is the directory containing all the test images, for example:
- | - Input Arguments
- | - img13.jpg
- | - img24.jpg
- | ..img25.jpg
- | - img2.jpg
- | - img50.jpg
- | ..img75.jpg
# Outputs
The output contains the location for each human in the form of bounding box (xmin,ymin,xmax,ymax), along with a classified pose and associated confidence.
--output_train_folder is the directory name containing the images with their bounding boxes, for example:
- | - Output Artifacts
- | - img13.jpg
- | - img24.jpg
- | ..img25.jpg
- | - img2.jpg
- | - img50.jpg
- | ..img75.jpg
# Instructions
NOTE
The minimum resource recommendations to run this blueprint are 3.5 CPU and 8 GB RAM.
Complete the following steps to run the pose-detector blueprint in batch mode:
- Click the Use Blueprint button. The cnvrg Blueprint Flow page displays.
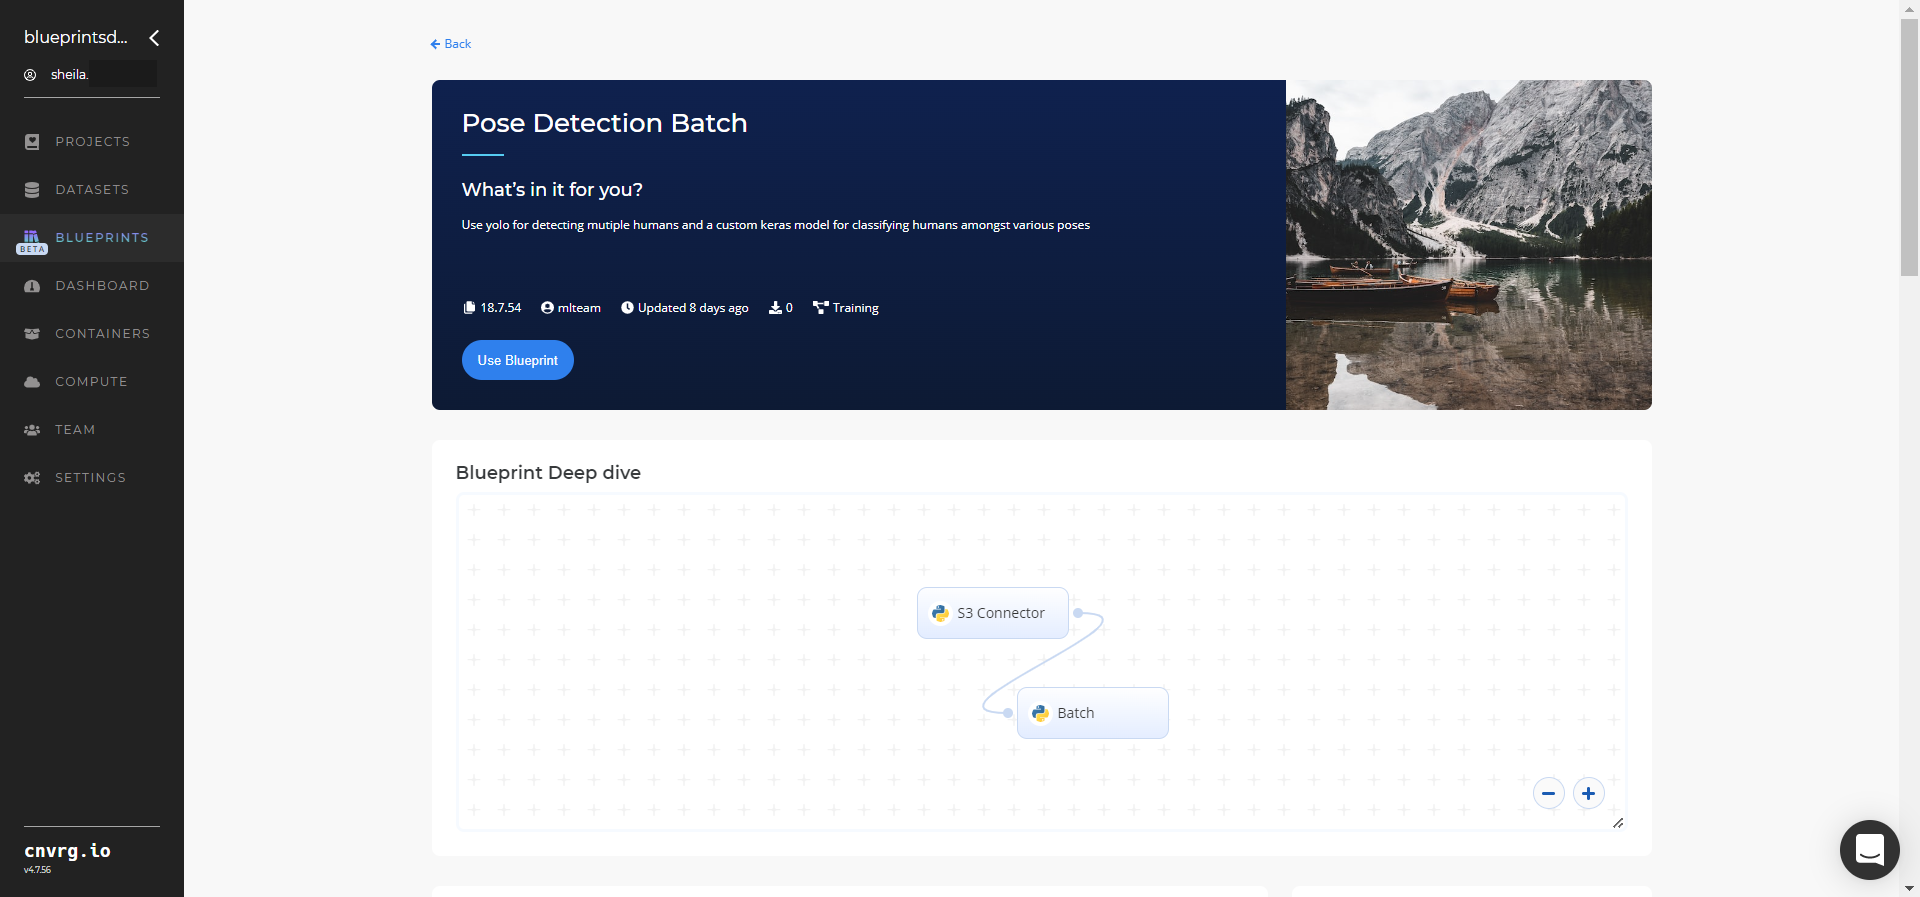
- Click the S3 Connector task to display its dialog.
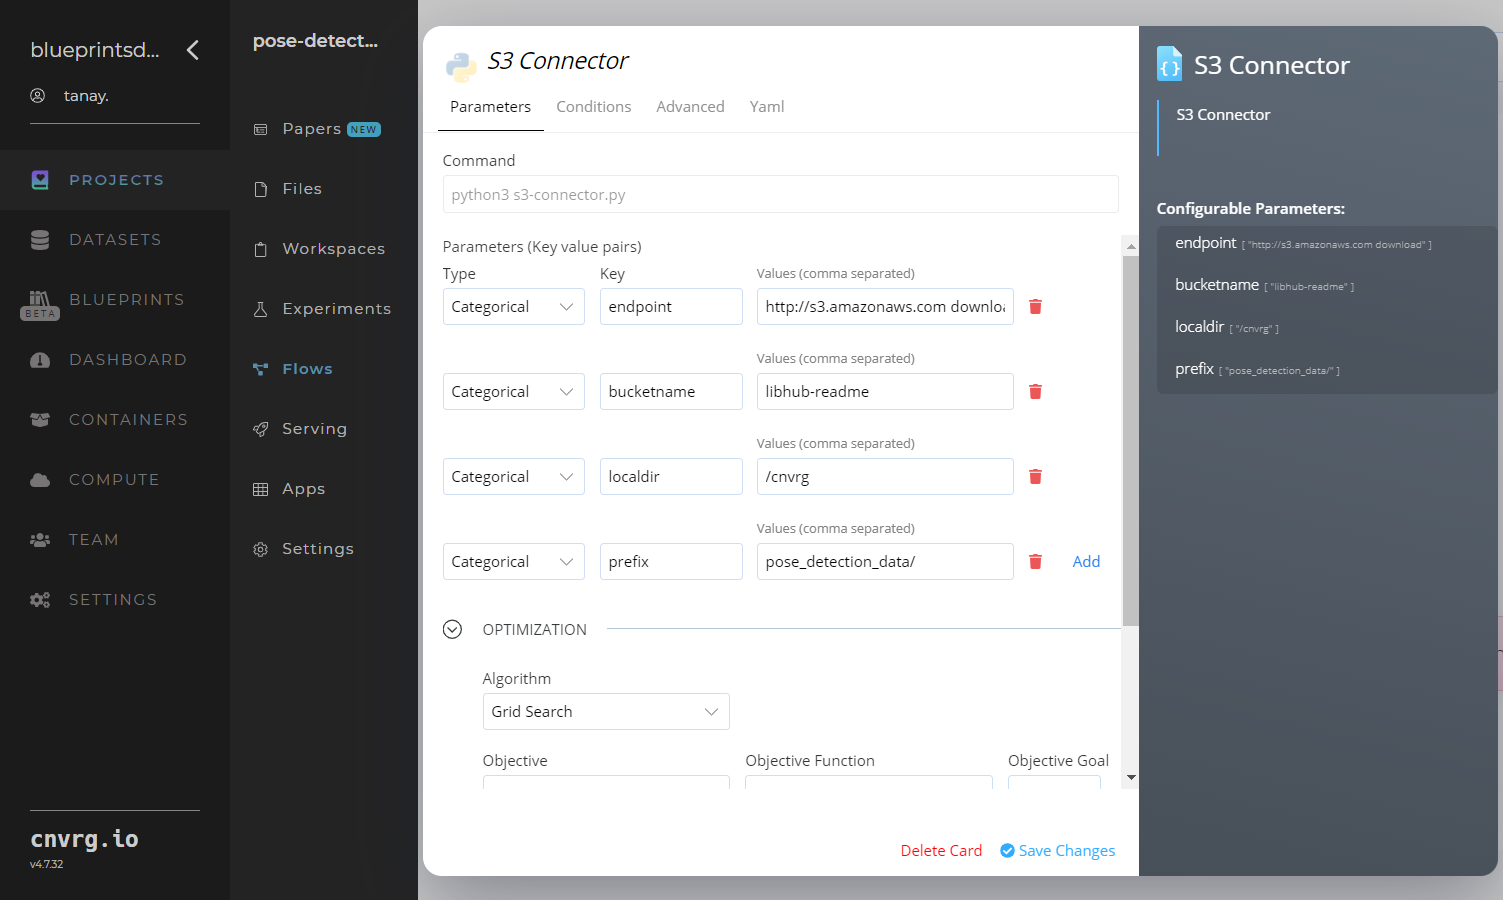
- Within the Parameters tab, provide the following Key-Value pair information:
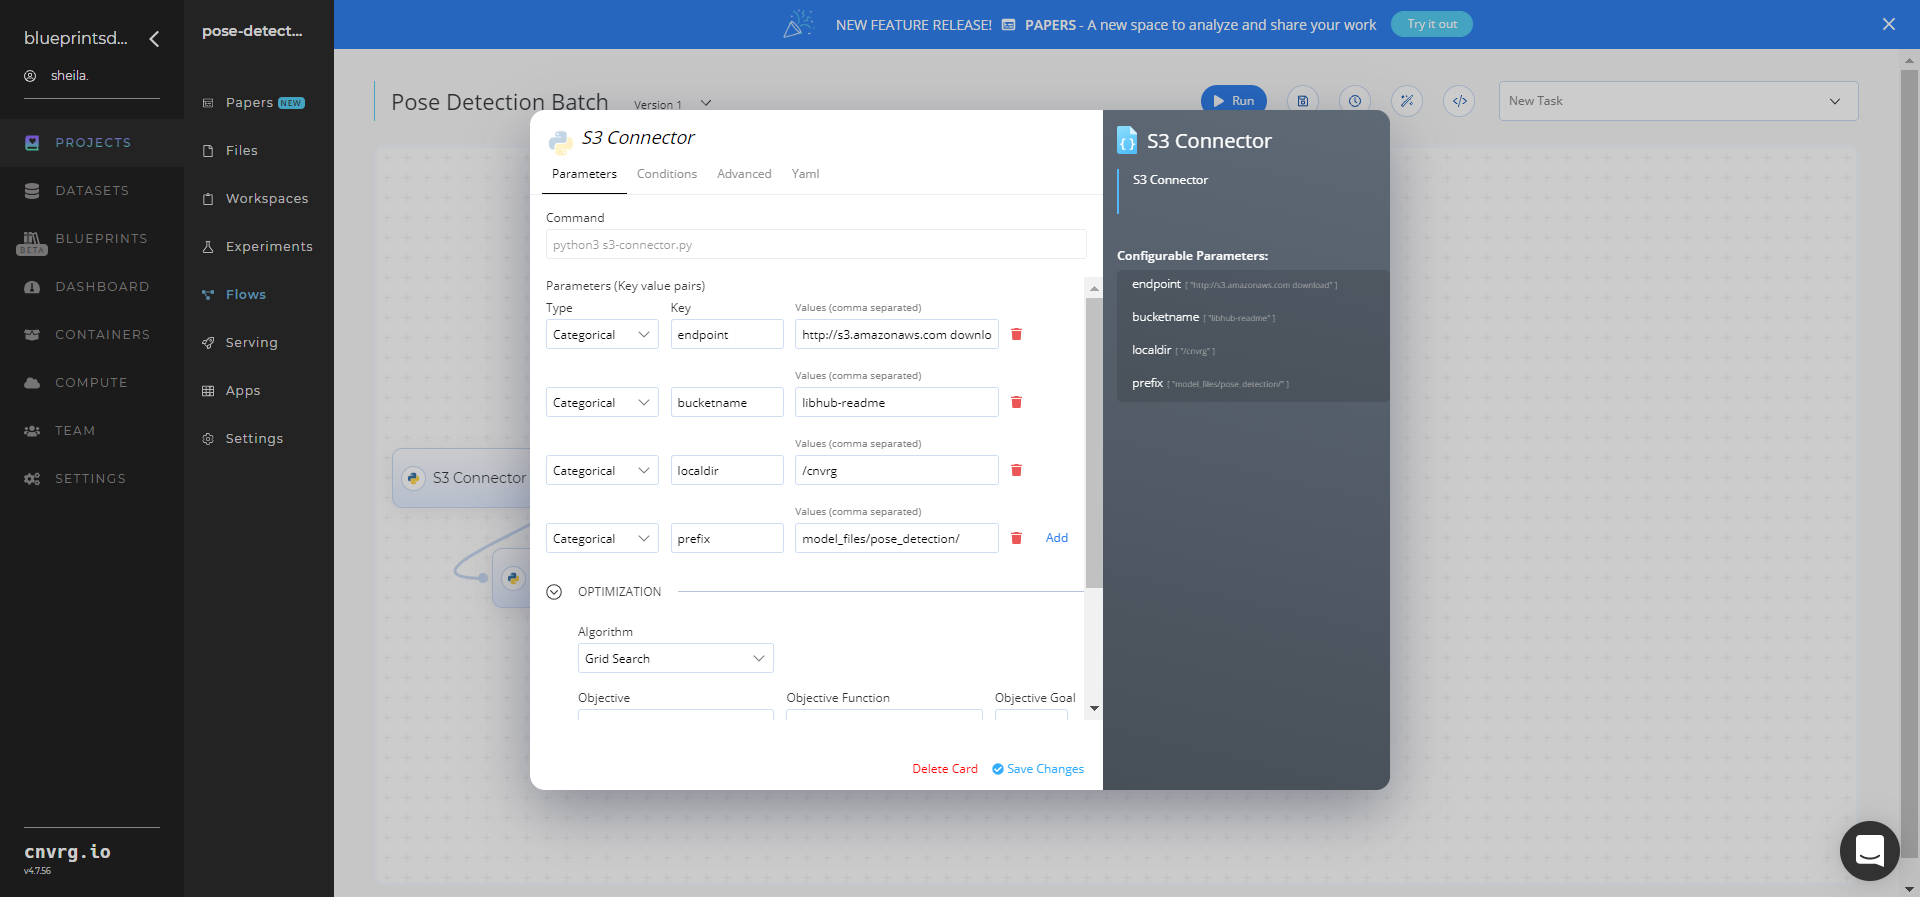
- Key:
bucketname− Value: provide the data bucket name - Key:
prefix− Value: provide the main path to the images folder
- Key:
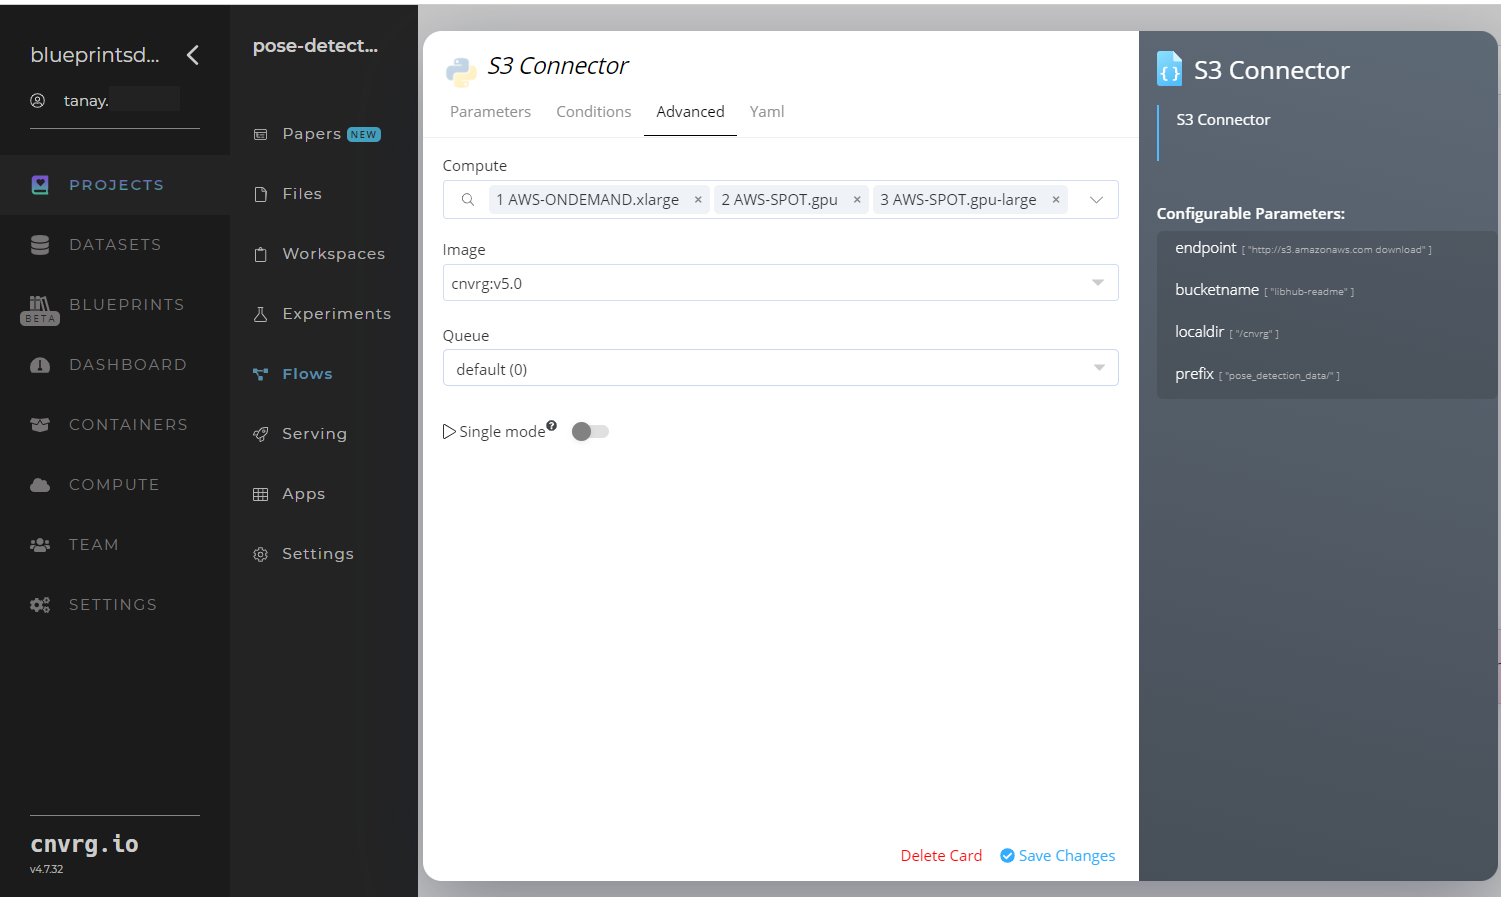
- Click the Advanced tab to change resources to run the blueprint, as required.
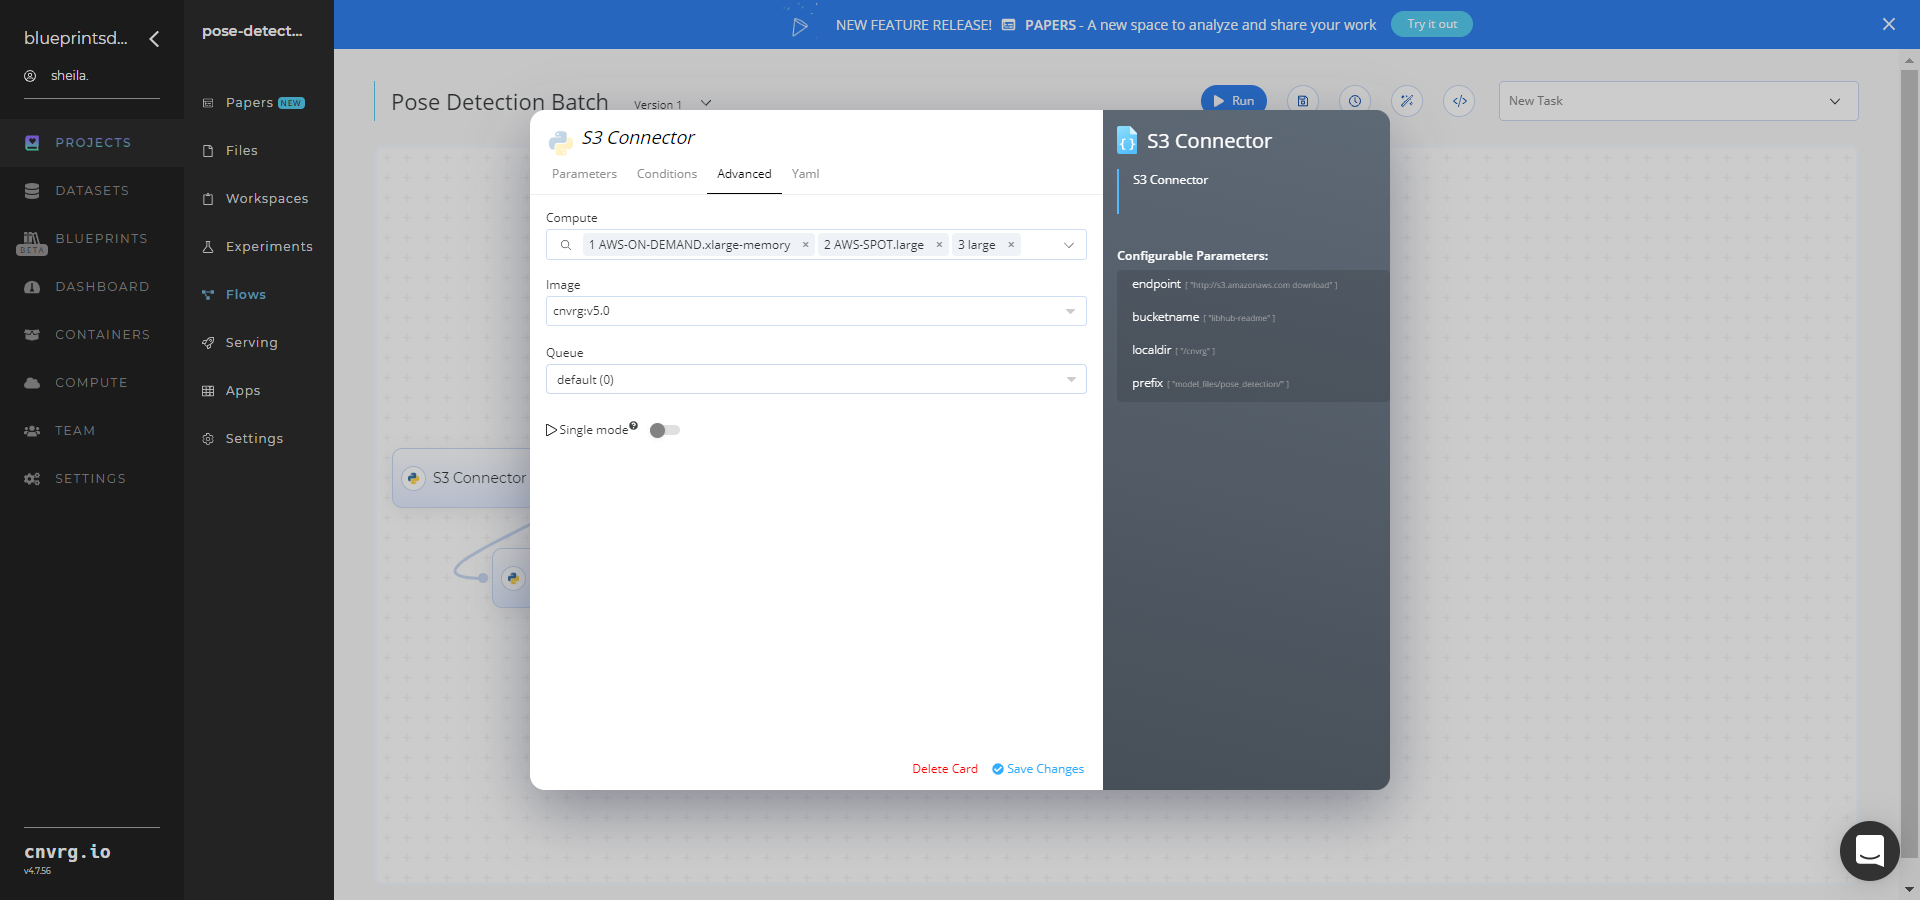
- Within the Parameters tab, provide the following Key-Value pair information:
- Click the Batch task to display its dialog.
Within the Parameters tab, provide the following Key-Value pair information:

- Key:
test_dir_img− Value: provide the S3 location containing all the test images in the following format:/input/s3_connector/model_files/pose_detection/test_images/ - Key:
model_weights− Value: provide the S3 location containing the model weights in the following format:/input/s3_connector/model_files/pose_detection/generic/weights.best.hdf5 - Key:
class_names− Value: provide the S3 location containing the class names in the following format:/input/s3_connector/model_files/pose_detection/generic/class_names.csv
NOTE
You can use prebuilt data example paths provided.
- Key:
Click the Advanced tab to change resources to run the blueprint, as required.

- Click the Run button.
 The cnvrg software deploys a pose-detector model that detects human poses, their classifications, and their locations in images.
 - Track the blueprint’s real-time progress in its Experiments page, which displays artifacts such as logs, metrics, hyperparameters, and algorithms.
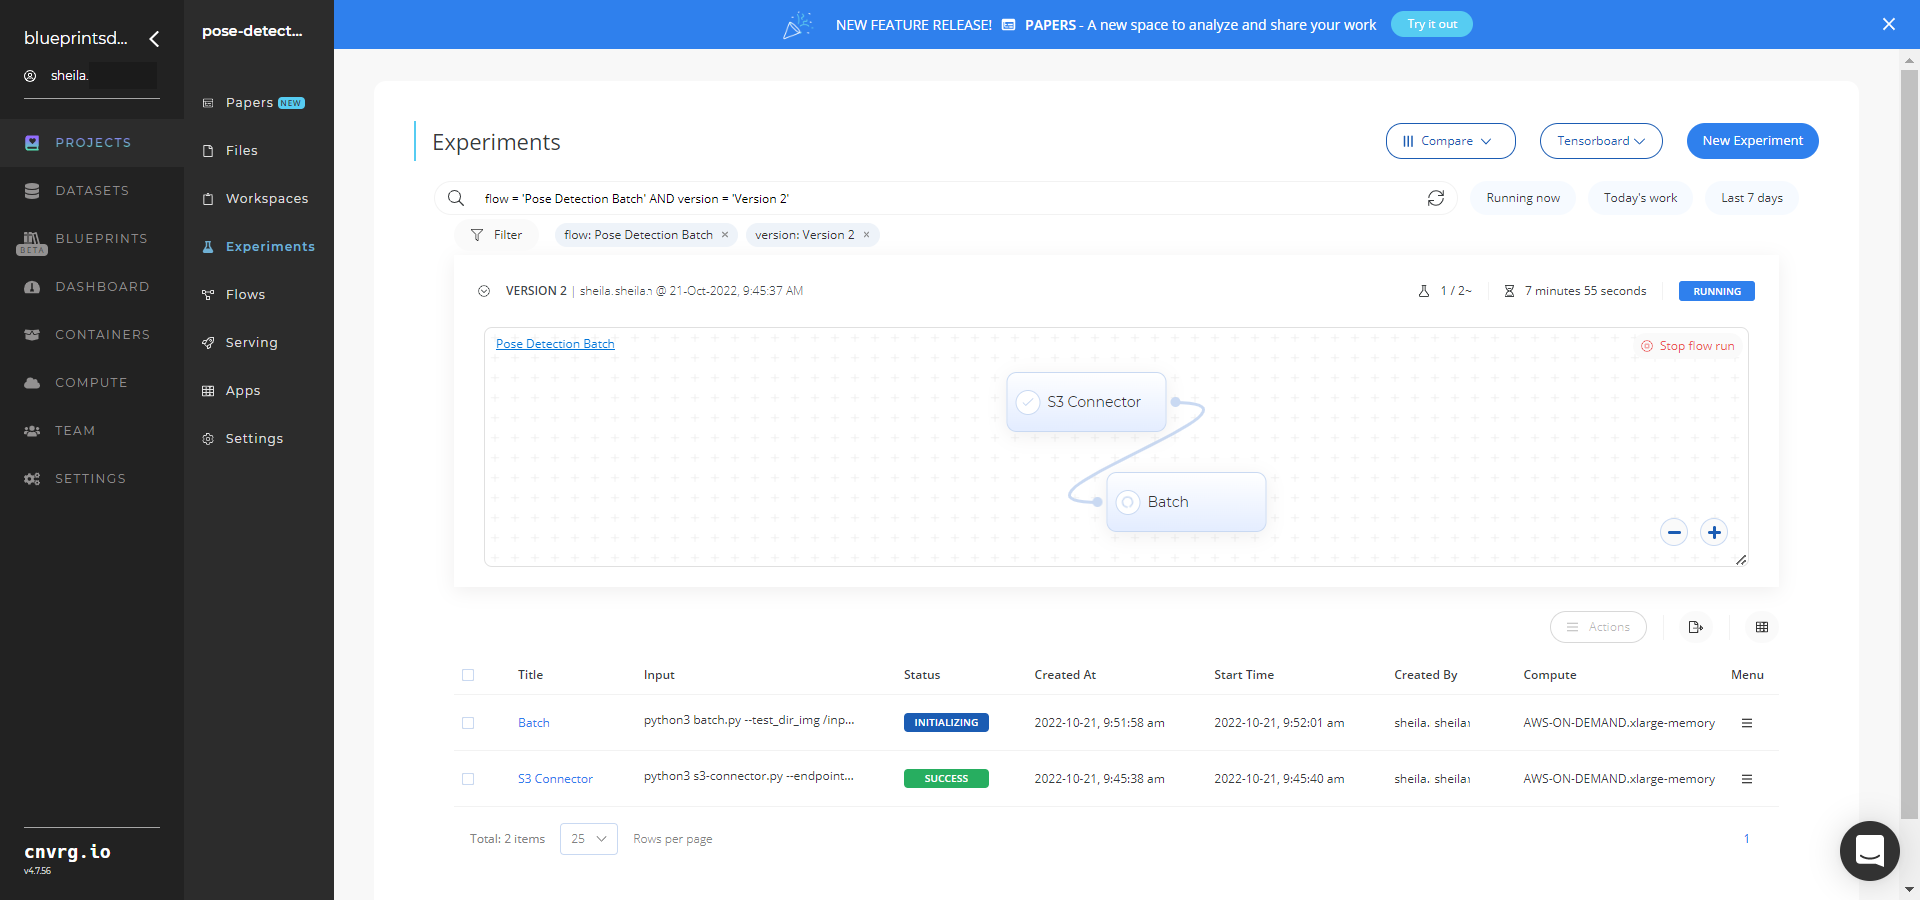
- Select Batch > Experiments > Artifacts and locate the bounding box images and output CSV file.
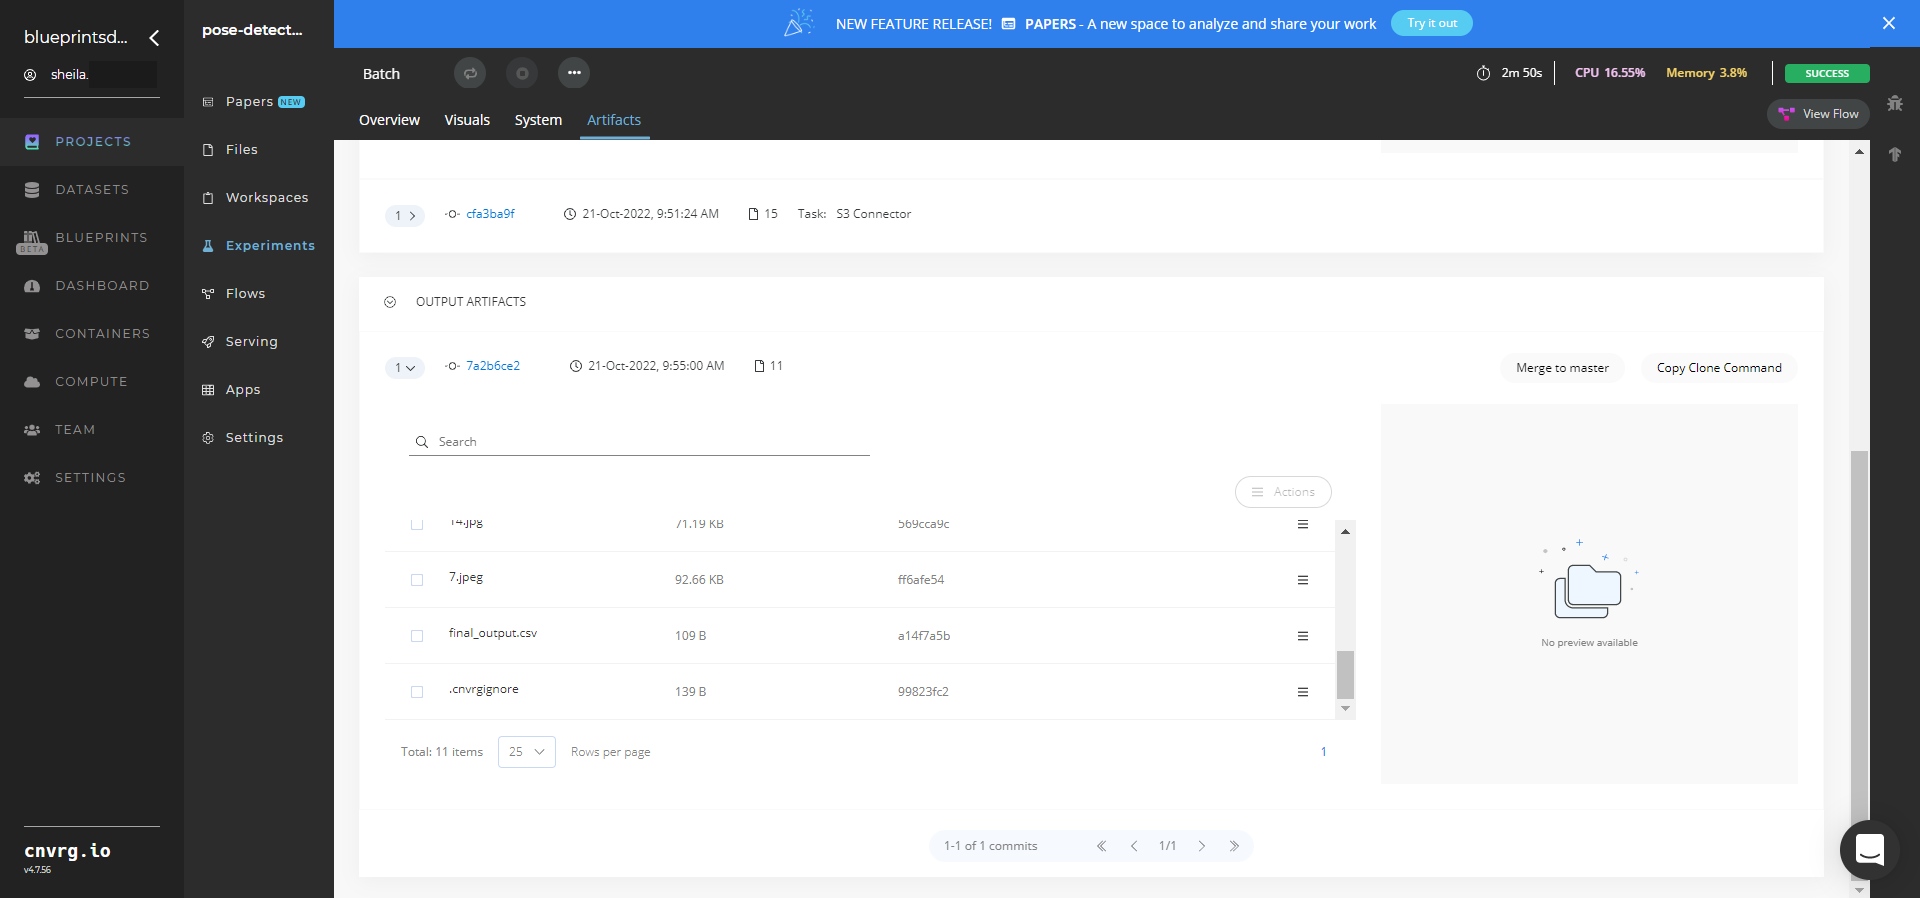
- Select the final_output.csv File Name, click the right Menu icon, and select Open File to view the output CSV file.
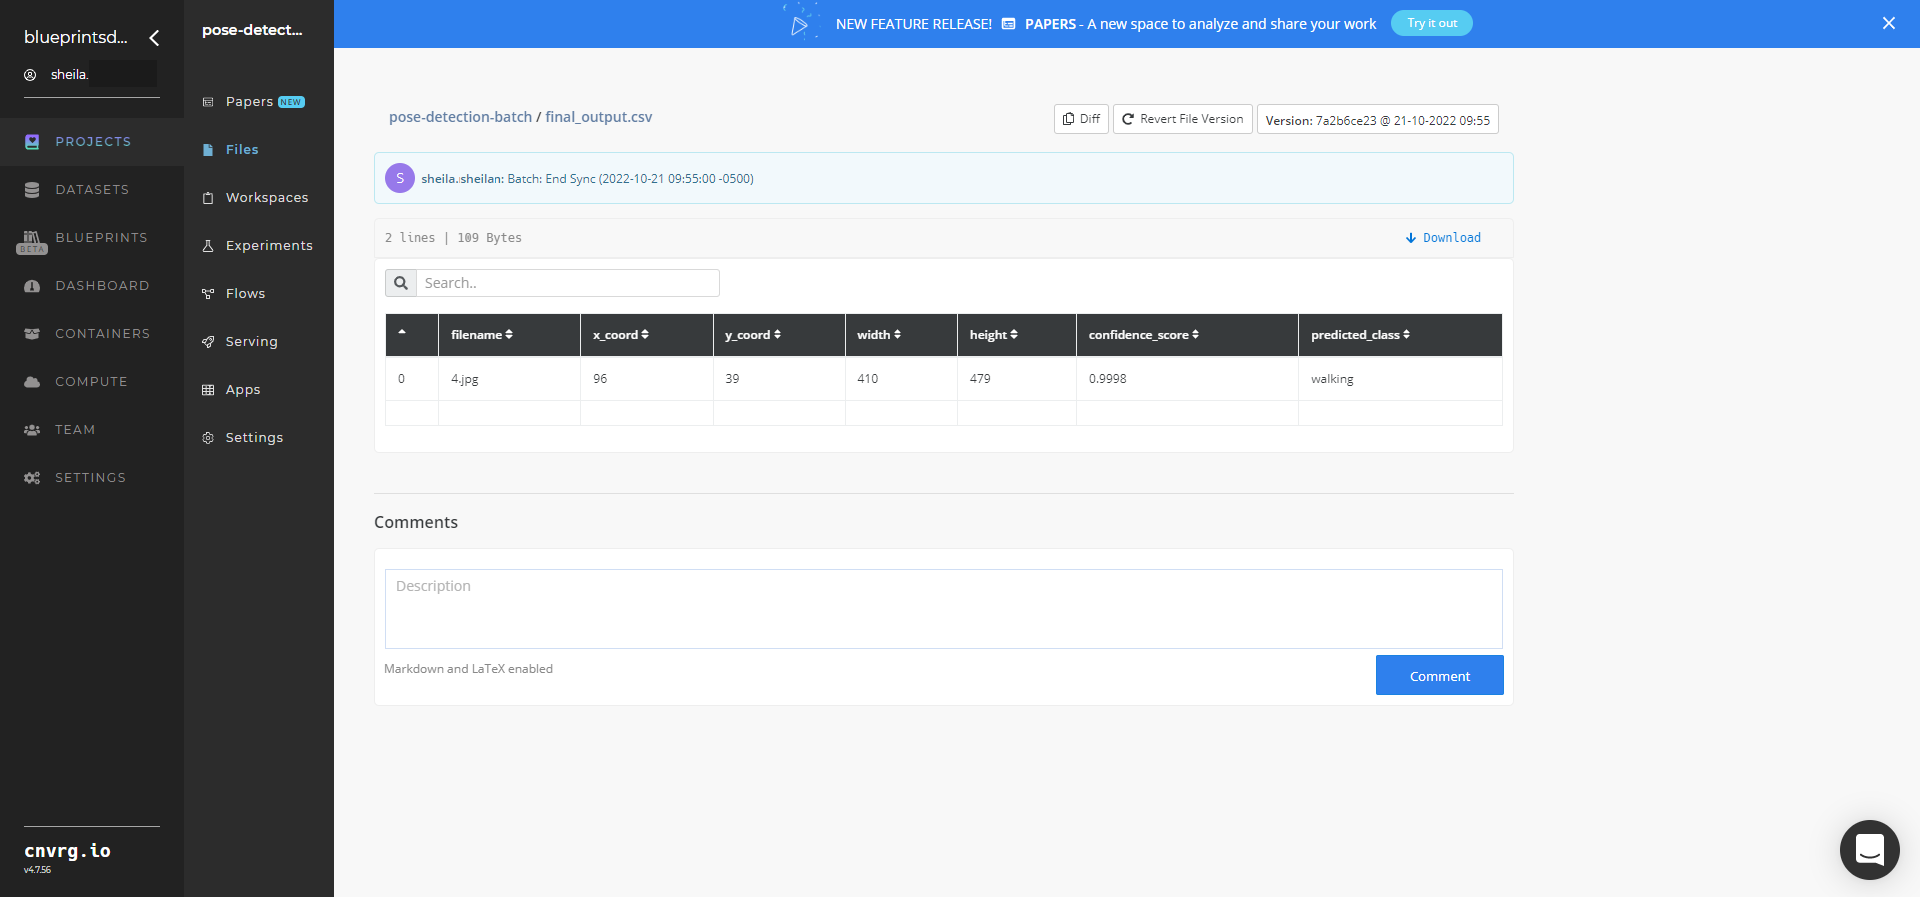
A custom model that can detect an image’s human body poses has now been deployed in batch mode. For information on this blueprint's software version and release details, click here.
# Connected Libraries
Refer to the following libraries connected to this blueprint:
# Related Blueprints
Refer to the following blueprints related to this batch blueprint:
- Pose Detection Training
- Pose Detection Inference
- Scene Classification Training
- Scene Classification Inference
- Scene Classification Batch
# Inference
Pose detection refers to detecting humans, their key pose points, and locations in images. Using MoveNet, the module detects the key pose points and places a bounding boxes over the human images. The pose-detector model’s output provides key pose checkpoints and their bounding boxes.
# Purpose
Use this inference blueprint to immediately detect human body poses and their positions in images. To use this pretrained pose-detector model, create a ready-to-use API-endpoint that can be quickly integrated with your data and application.
This inference blueprint’s model was trained using the following two sets of pose-specific weights:
- Yoga Poses − plank, cobra, warrior, chair, tree, dog, plane, goddess
- Generic Poses – bending, shoveling, cycling, jumping, sitting, standing, walking, sleeping
To use custom pose data according to your specific business, such as people falling, run this counterpart’s training blueprint, which trains the model and establishes an endpoint based on the newly trained model.
# Instructions
NOTE
The minimum resource recommendations to run this blueprint are 3.5 CPU and 8 GB RAM.
Complete the following steps to deploy this pose-detector API endpoint:
- Click the Use Blueprint button. The cnvrg Blueprint Flow page displays.
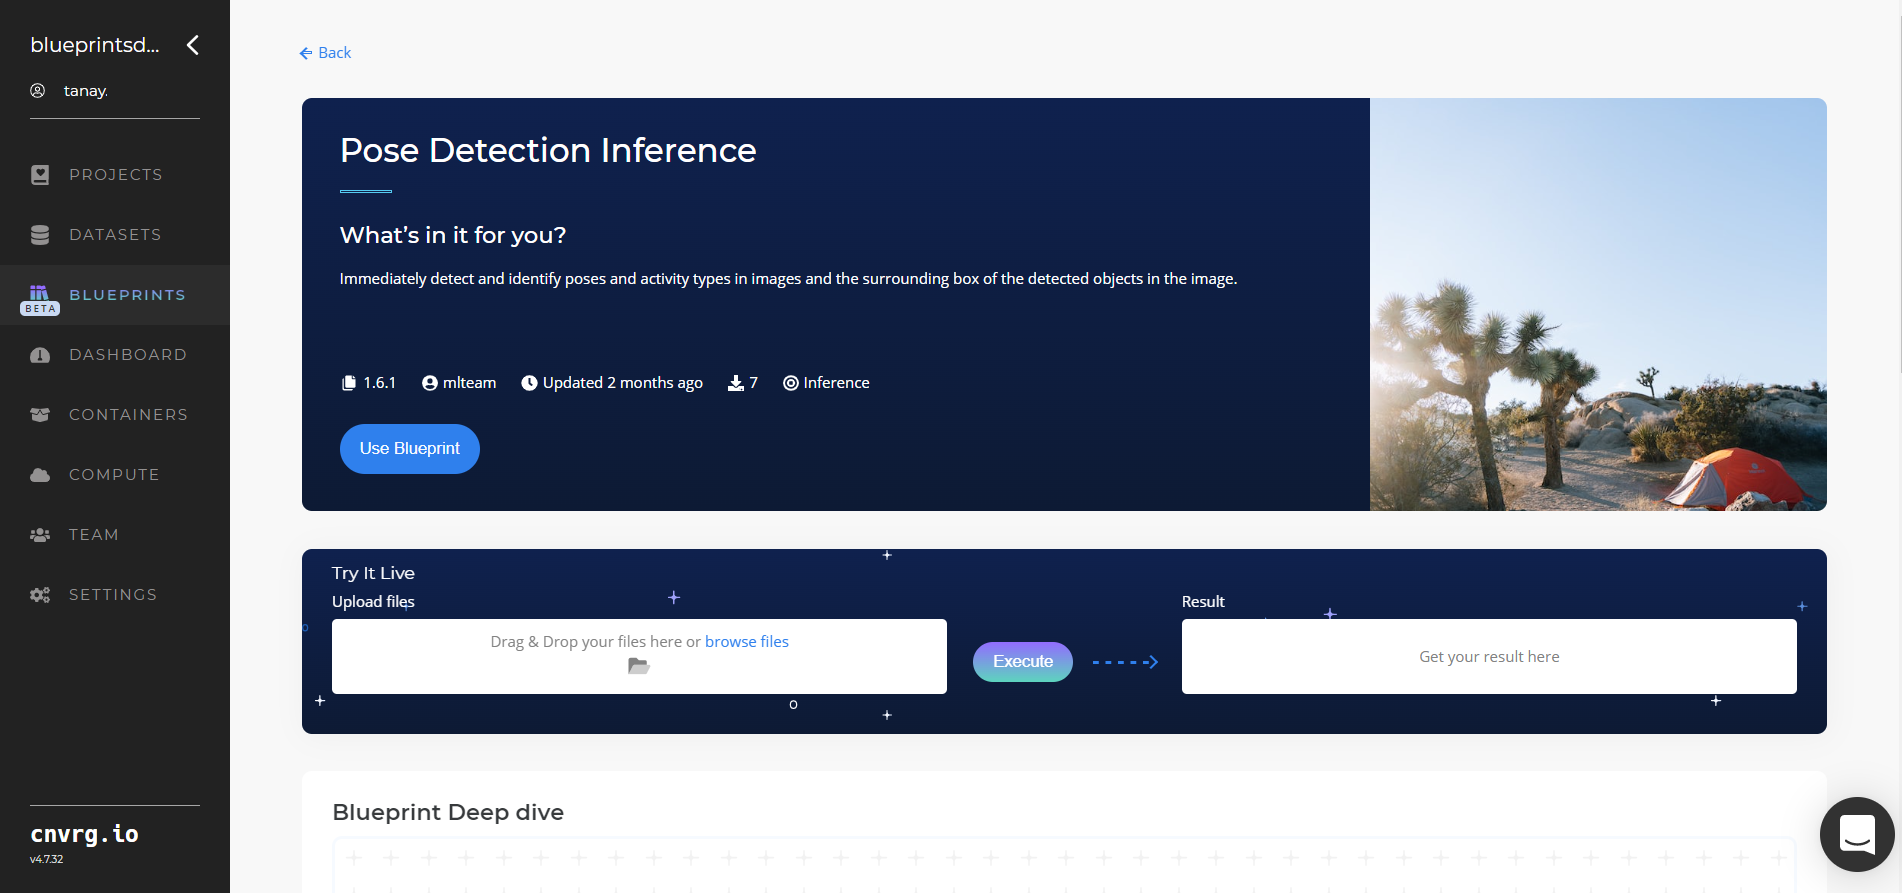
- In the dialog, select the relevant compute to deploy API endpoint and click the Start button.
- The cnvrg software redirects to your endpoint. Complete one or both of the following options:
- Use the Try it Live section with any pose-containing image to check the model.
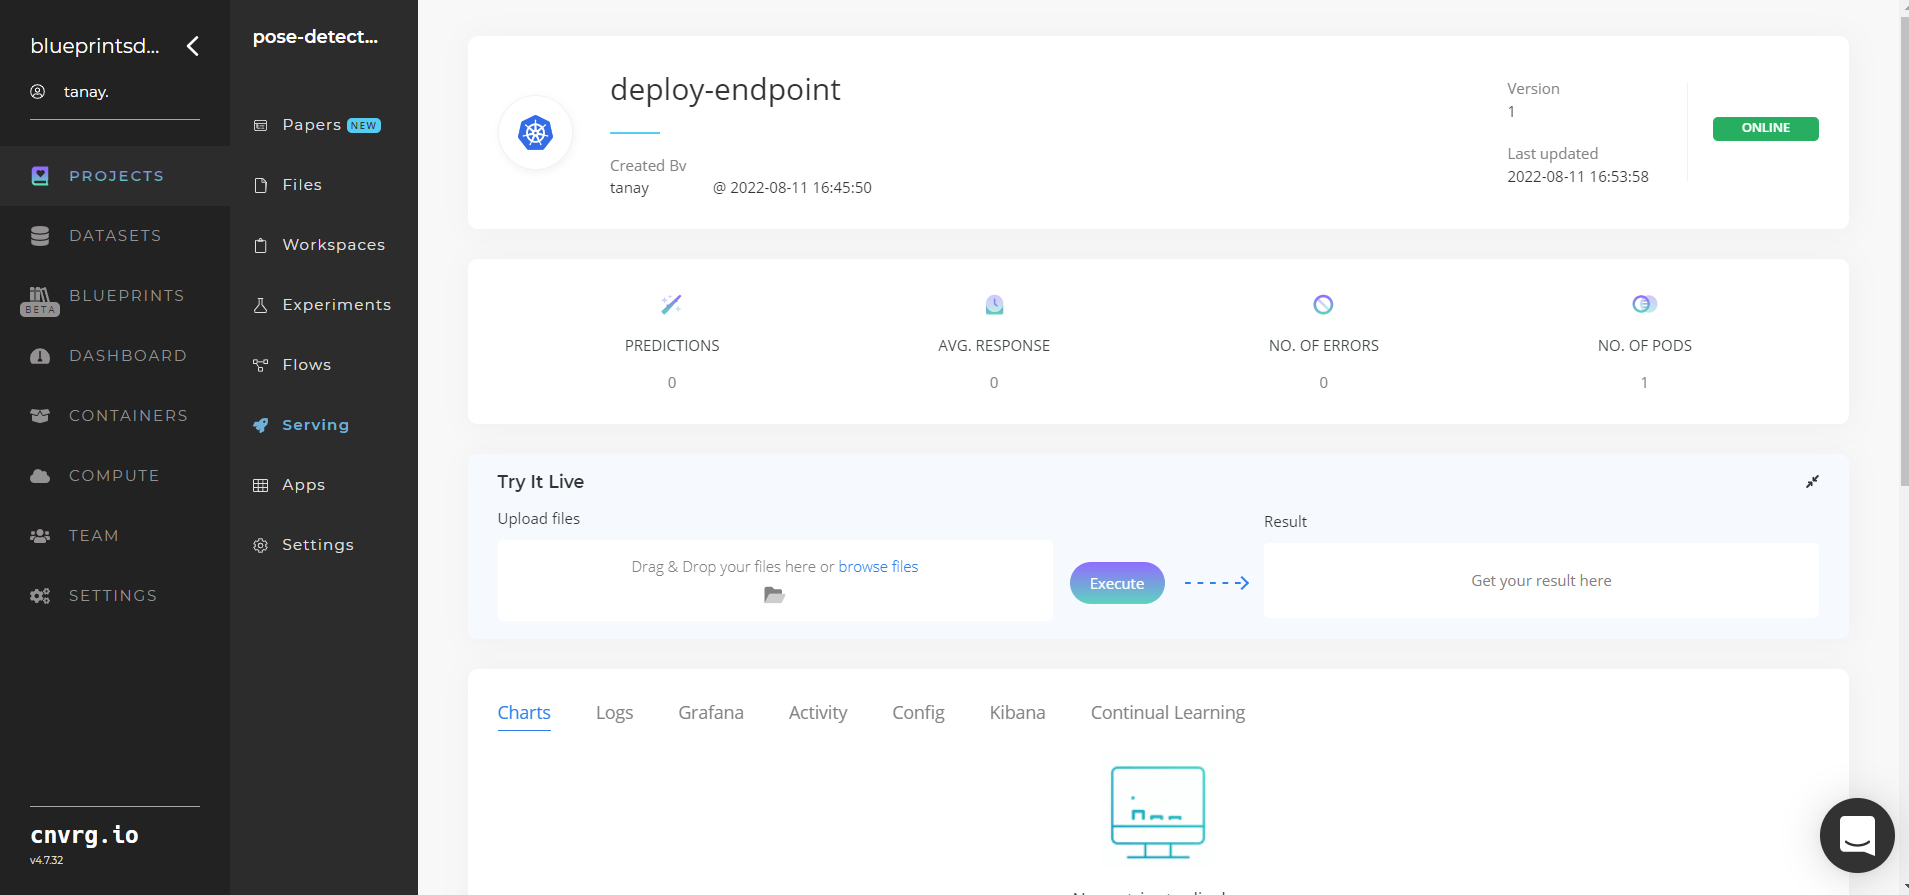
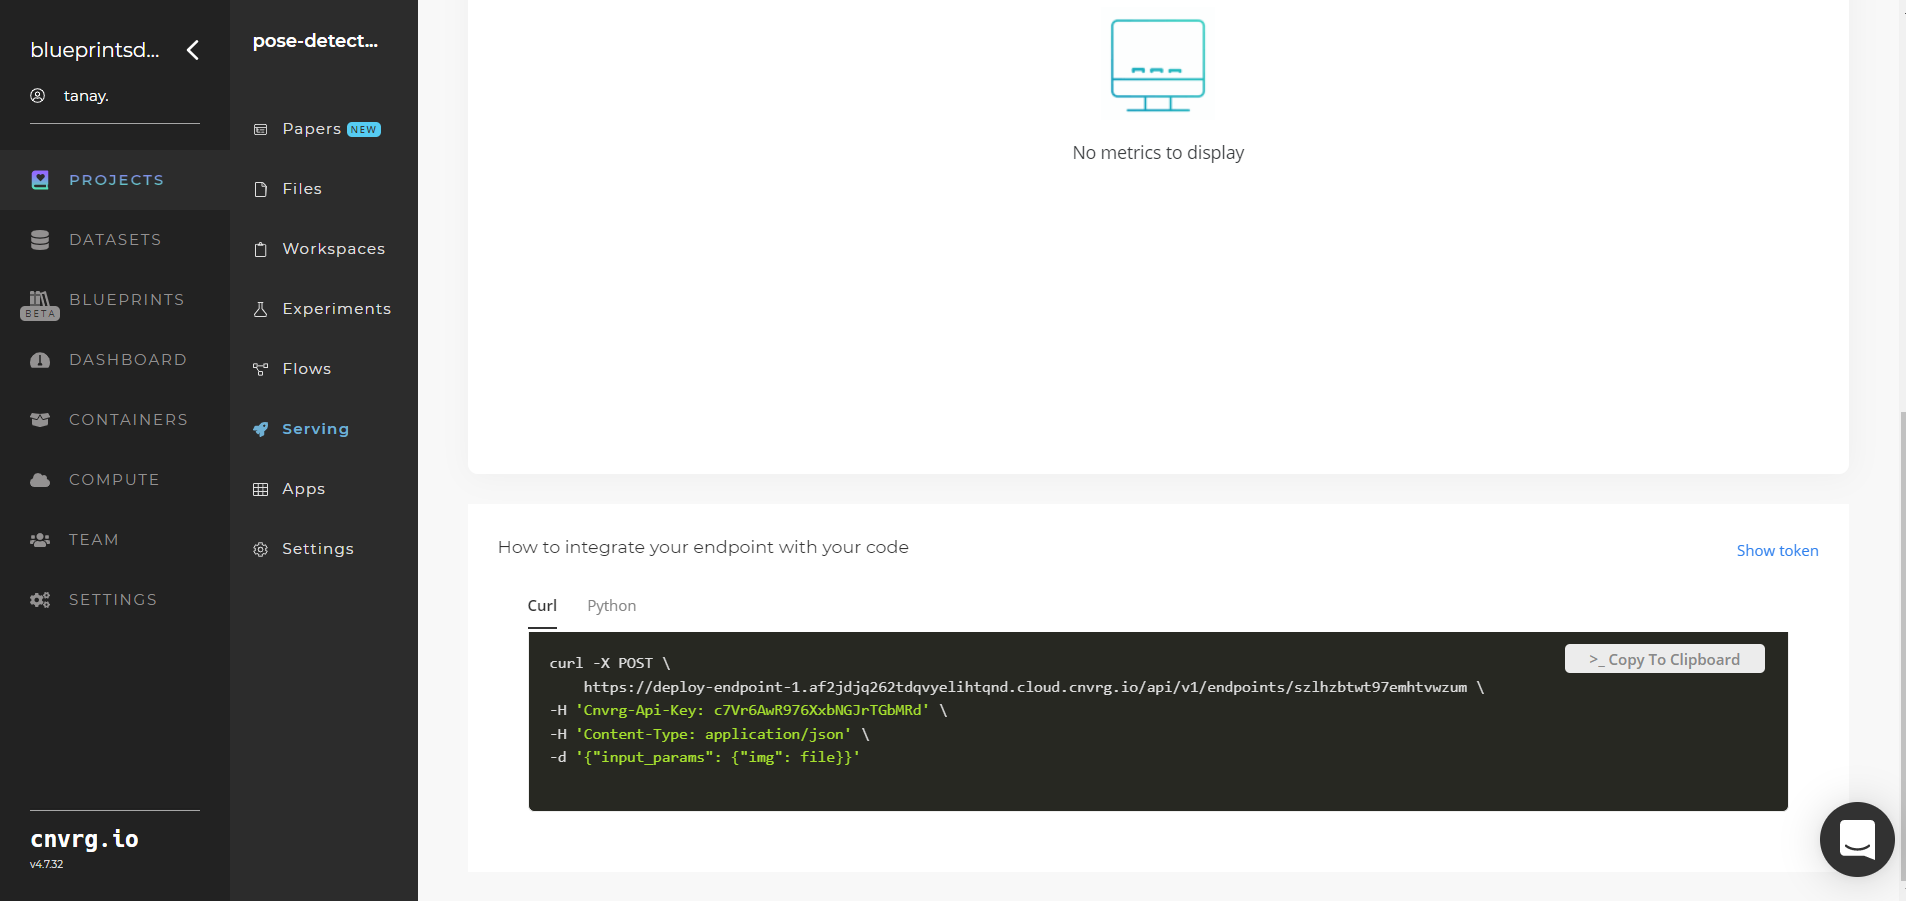
- Use the bottom integration panel to integrate your API with your code by copying in your code snippet.
- Use the Try it Live section with any pose-containing image to check the model.
An API endpoint that detects human body poses in images has now been deployed. For information on this blueprint's software version and release details, click here.
# Related Blueprints
Refer to the following blueprints related to this inference blueprint:
- Pose Detection Training
- Pose Detection Batch
- Scene Classification Training
- Scene Classification Inference
- Scene Classification Batch
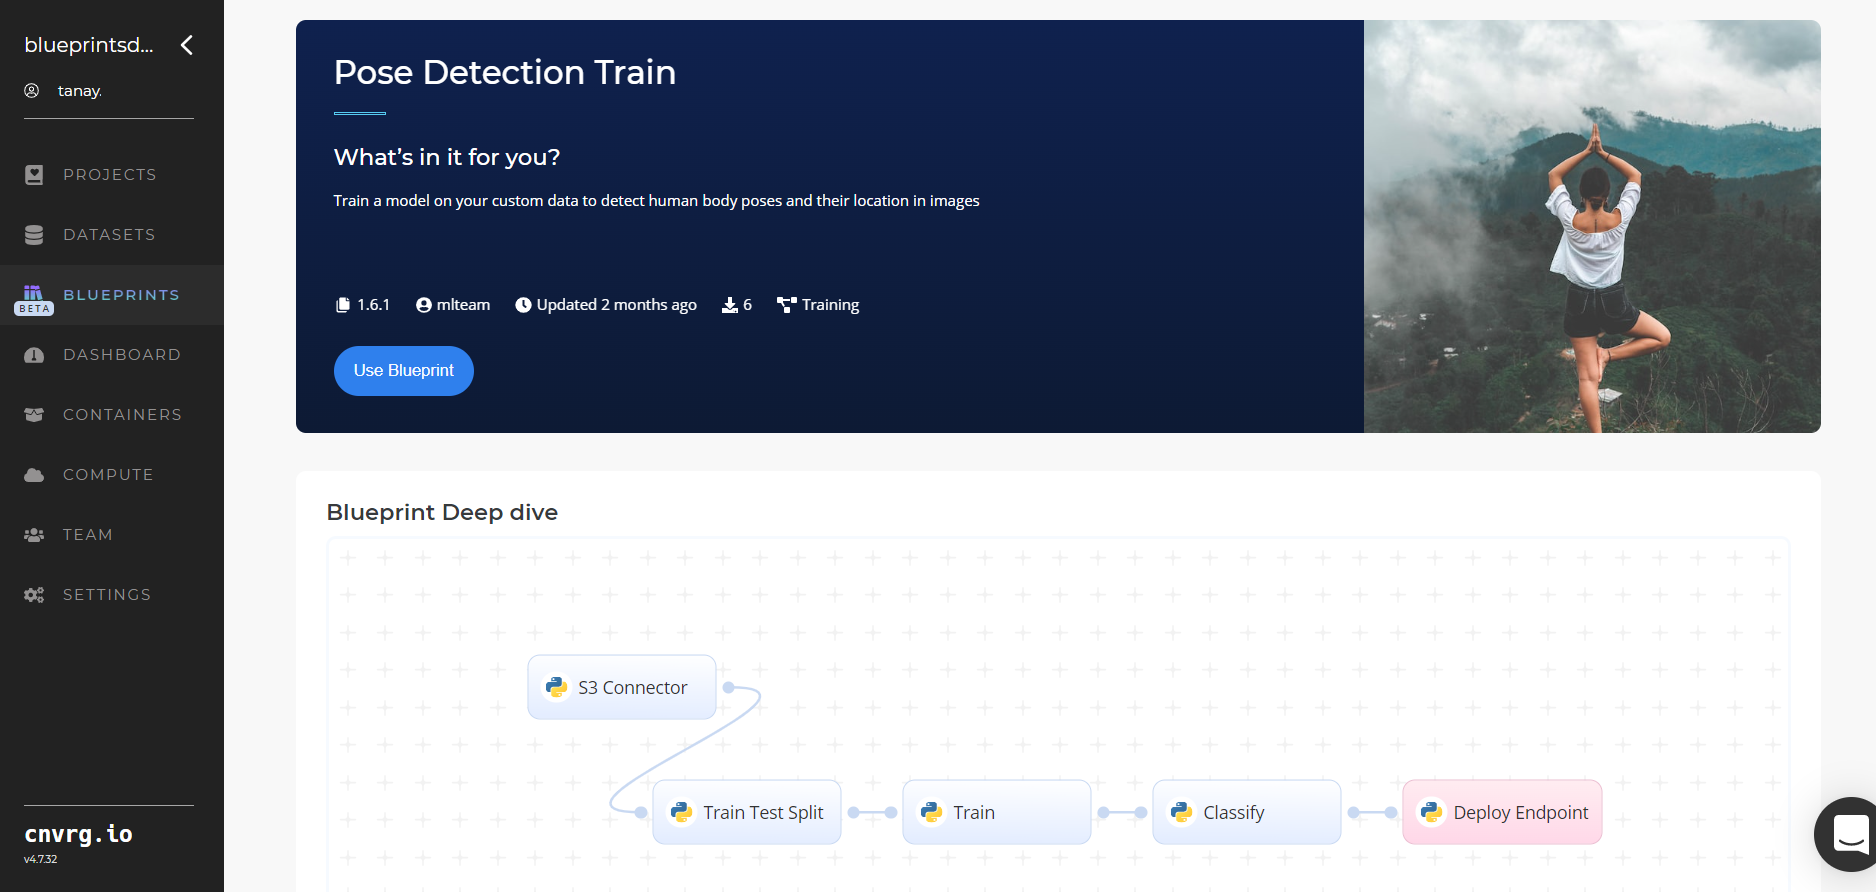
# Training
Pose detection refers to detecting humans, their key pose points, and locations in images. Using MoveNet, the module detects the key pose points and places a bounding boxes over the human images. The pose-detector model’s output provides key pose checkpoints and their bounding boxes.
# Overview
The following diagram provides an overview of this blueprint's inputs and outputs.

# Purpose
Use this training blueprint with your custom data to train a tailored model that detects human body poses in images. This blueprint also establishes an endpoint that can be used to detect poses in images based on the newly trained model. To train this model with your data, provide the path to the directory containing the train and test datasets. Create an images folder in the S3 Connector to store the images on which to train the model, divided to subdirectories representing the human poses.
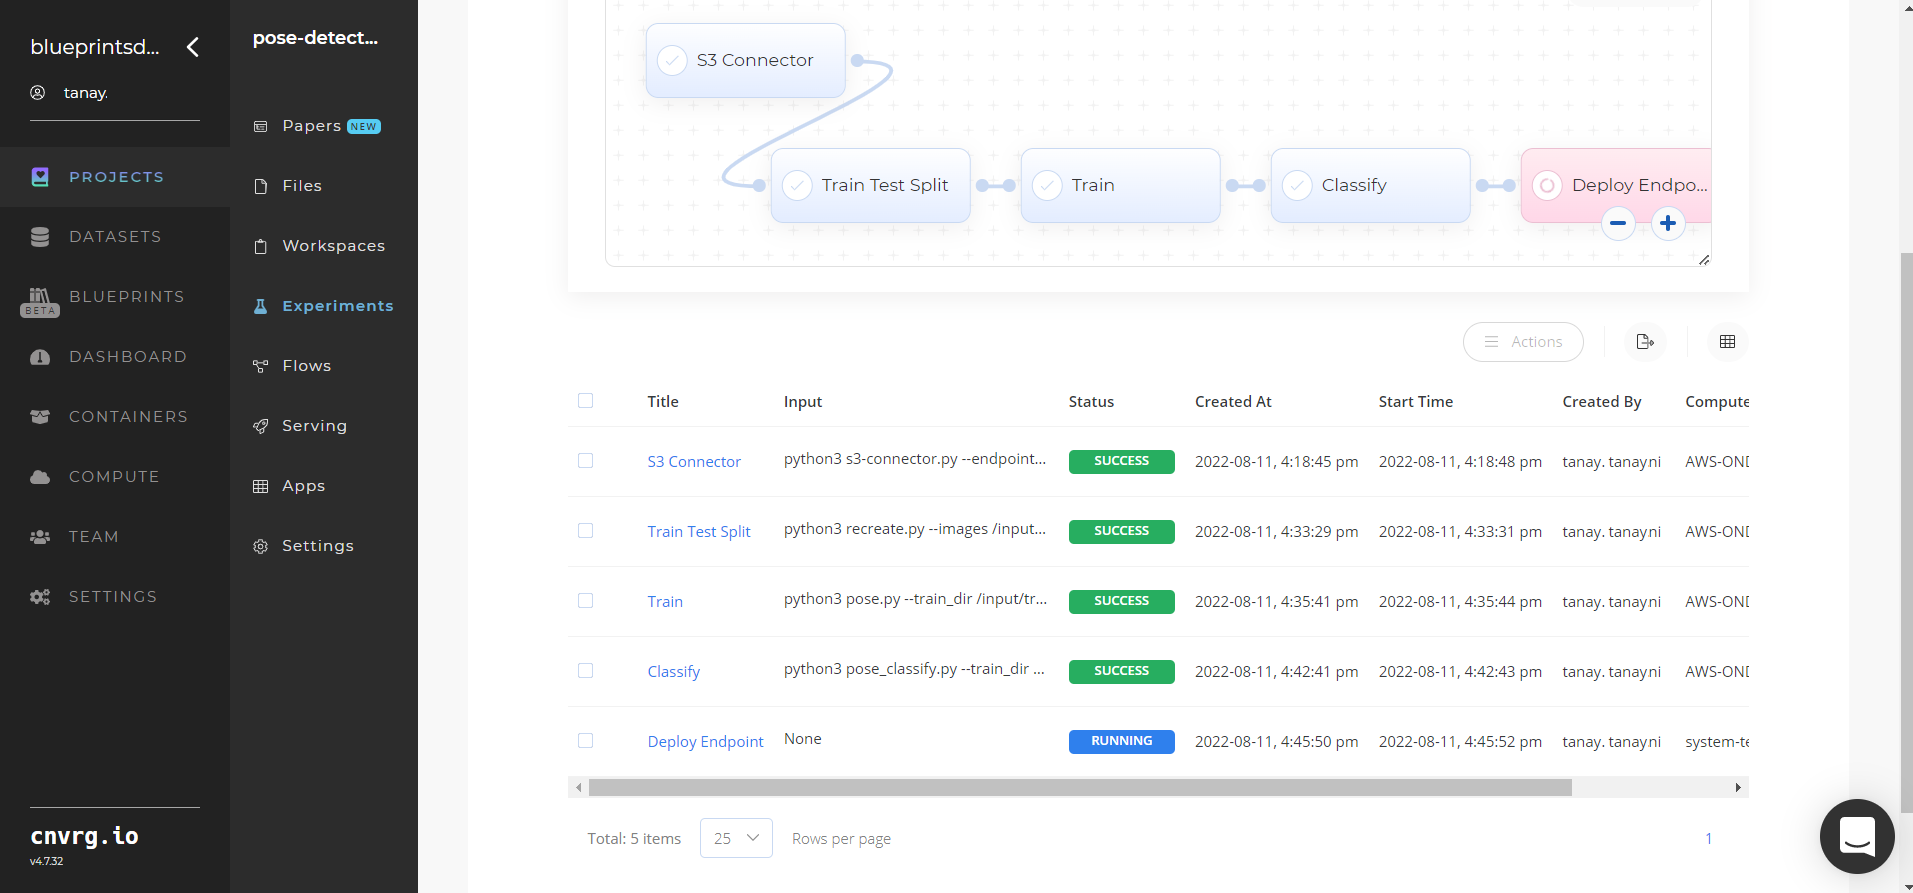
# Deep Dive
The following flow diagram illustrates this blueprint's pipeline:
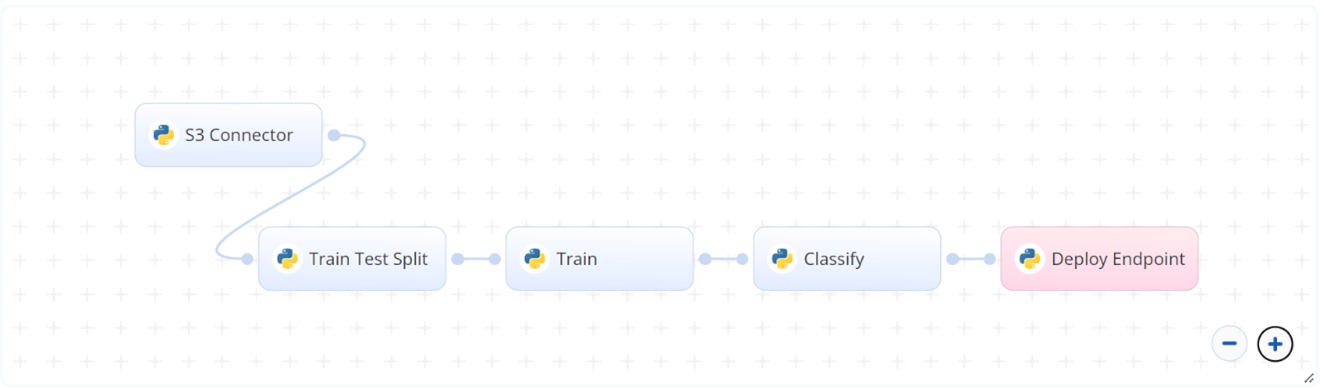
# Flow
The following list provides a high-level flow of this blueprint’s run:
- In the S3 Connector, provide the directory path where the pose (e.g., yoga) images are stored, divided in the directory into their respective folders named for their class, using the correct folder structure, for example:
| - yoga_poses
| - chair | - img13.jpg | - img24.jpg | - img25.jpg | - tree | - img2.jpg | - img50.jpg | .. - In the Train Test Split task, provide the path to the pose image directory including the S3 prefix.
- In the Train task, provide the two-directory paths that contain the training and test pose images.
- In the Classify task, provide the input CSV files with the train and test pose image checkpoints and keypoints, among other key-value pair information.
# Arguments/Artifacts
For more information on this blueprint's tasks, its inputs, and outputs, click here.
# Train/Test/Split
For more information and examples of this task's inputs and outputs, click here.
# TTS Inputs
imagesfolder is the name of the directory path where pose images are stored, divided into their respective folders named after their classes.
# TTS Outputs
- --
trainfolder is the name of the folder that contains the images to be used for training the classification model. - --
testfolder is the name of the folder that contains the images to be used for testing the classification model.
# Train
For more information and examples of this task's inputs and outputs, click here.
# Train Inputs
train_diris the directory that contains the training images.test_diris the directory that contains the test images.
# Train Outputs
--output_train_folderis the directory name that contains the training images with their bounding boxes.--output_test_folderis the directory name that contains the test images with their bounding boxes.--trainis the CSV file name that contains the coordinates of the key pose checkpoints (such as elbow, eye, and nose locations) of the images in training folder.--testis the CSV file name that contains the coordinates of the key pose checkpoints (such as elbow, eye, and nose locations) of the images in test folder.--box_fileis the name of the file that contains the bounding box information.
# Classify
For more information and examples of this task's inputs and outputs, click here.
# Classify Inputs
--train_diris the input CSV file containing the checkpoints and keypoints of the train images.--test_diris the input CSV file containing the checkpoints and keypoints of the test images.--box_fileis the input CSV file that contains the bounding box information for displaying as a JSON response or a CSV file.--optimizer_1is the type of optimizer used in compiling the Keras models, e.g.,--adam.--loss_1is the loss function used to fit the model, e.g.,--categorical_crossentropy.--epoch_1is the number of iterations the model undergoes to fit, e.g.,--200.--patience_1is the number of epochs of no improvement after when training stops, e.g.,--20.
# Classify Outputs
--test_data_frameis the name of the file containing the compiled information of the model's outputs.--weights.best.hdf5is the file containing the best weights from the Keras model.--predicted_valuesis the CSV file containing the exact predicted values of the images. The columns refer to theclass_label.--class_namesis the mapping file containing the class names and their assigned labels.--eval_metricsis the file containing the compiled evaluation metrics like precision and recall.--predicted_labelsis the file containing the predicted labels of the test dataset images, instead of the predicted scores.--cmis the file containing the confusion-metrics raw table.--imagesis the output images folder.
# Instructions
NOTE
The minimum resource recommendations to run this blueprint are 3.5 CPU and 8 GB RAM.
Complete the following steps to train the pose-detector model:
Click the Use Blueprint button. The cnvrg Blueprint Flow page displays.
In the flow, click the S3 Connector task to display its dialog.
- Within the Parameters tab, provide the following Key-Value pair information:
- Key:
bucketname- Value: enter the data bucket name - Key:
prefix- Value: provide the main path to the data folder
- Key:
- Click the Advanced tab to change resources to run the blueprint, as required.
- Within the Parameters tab, provide the following Key-Value pair information:
Return to the flow and click the Train Test Split task to display its dialog.
Within the Parameters tab, provide the following Key-Value pair information:
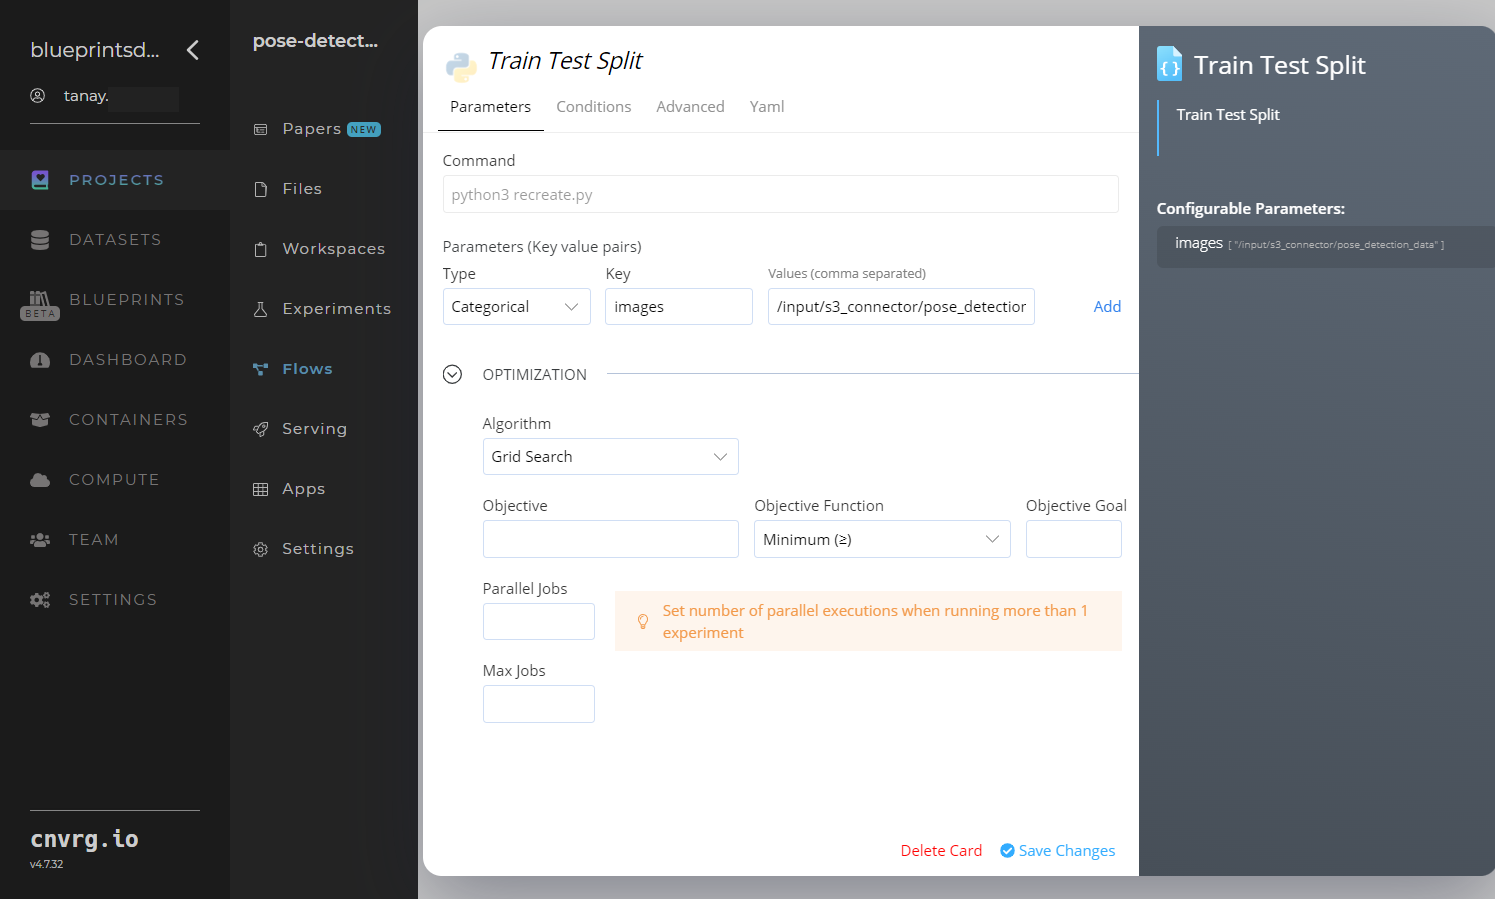
- Key:
images– Value: provide the path to the pose images including the S3 prefix /input/s3_connector/<prefix>/images- ensure the path adheres to this format
NOTE
You can use prebuilt example data paths provided.
- Key:
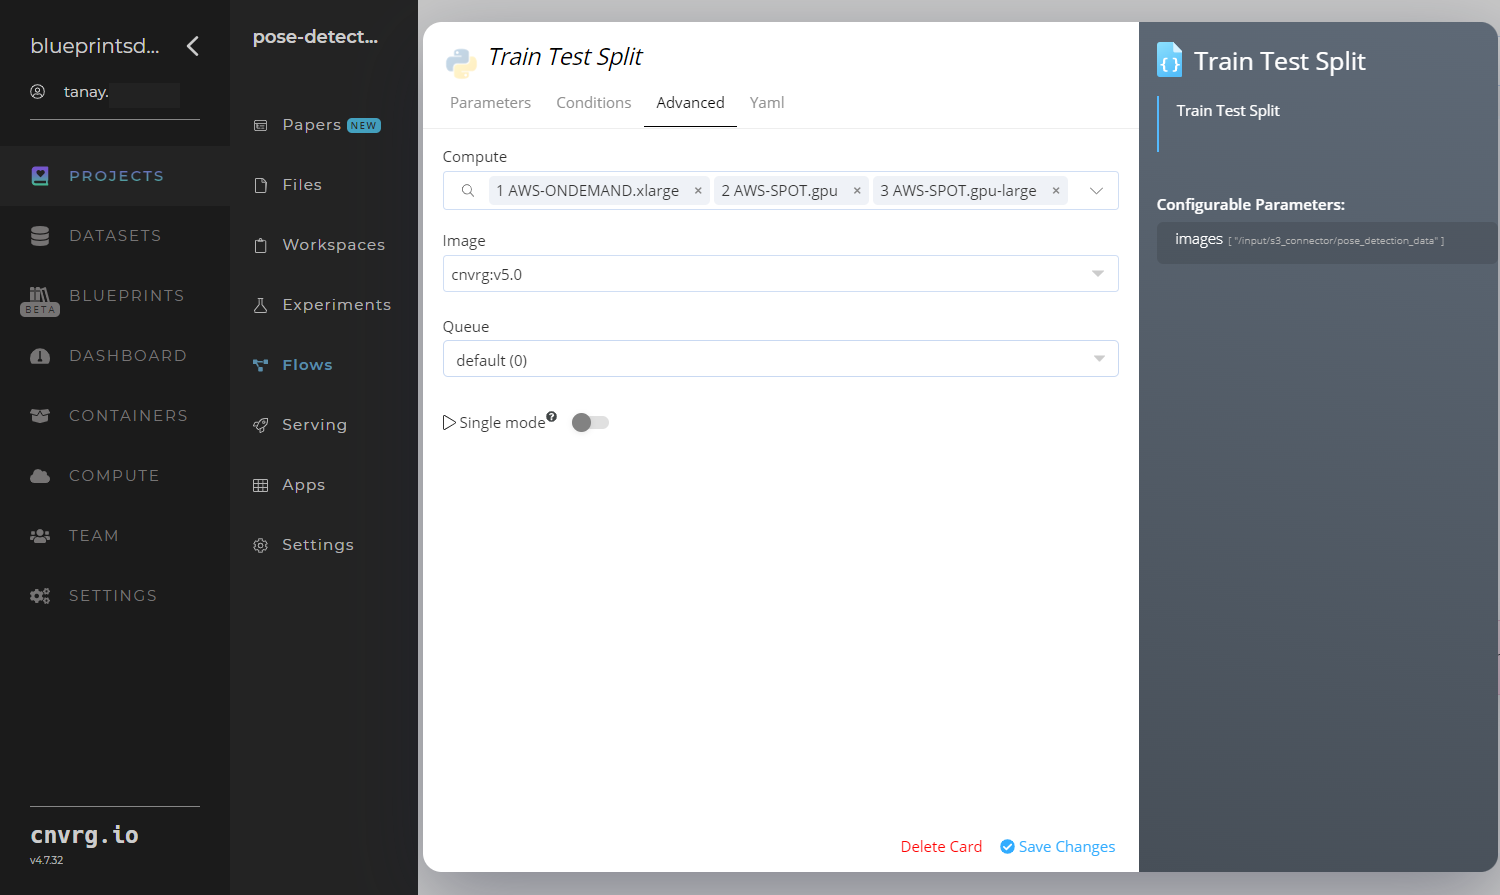
Click the Advanced tab to change resources to run the blueprint, as required.
Click the Train task to display its dialog.
Within the Parameters tab, provide the following Key-Value pair information:
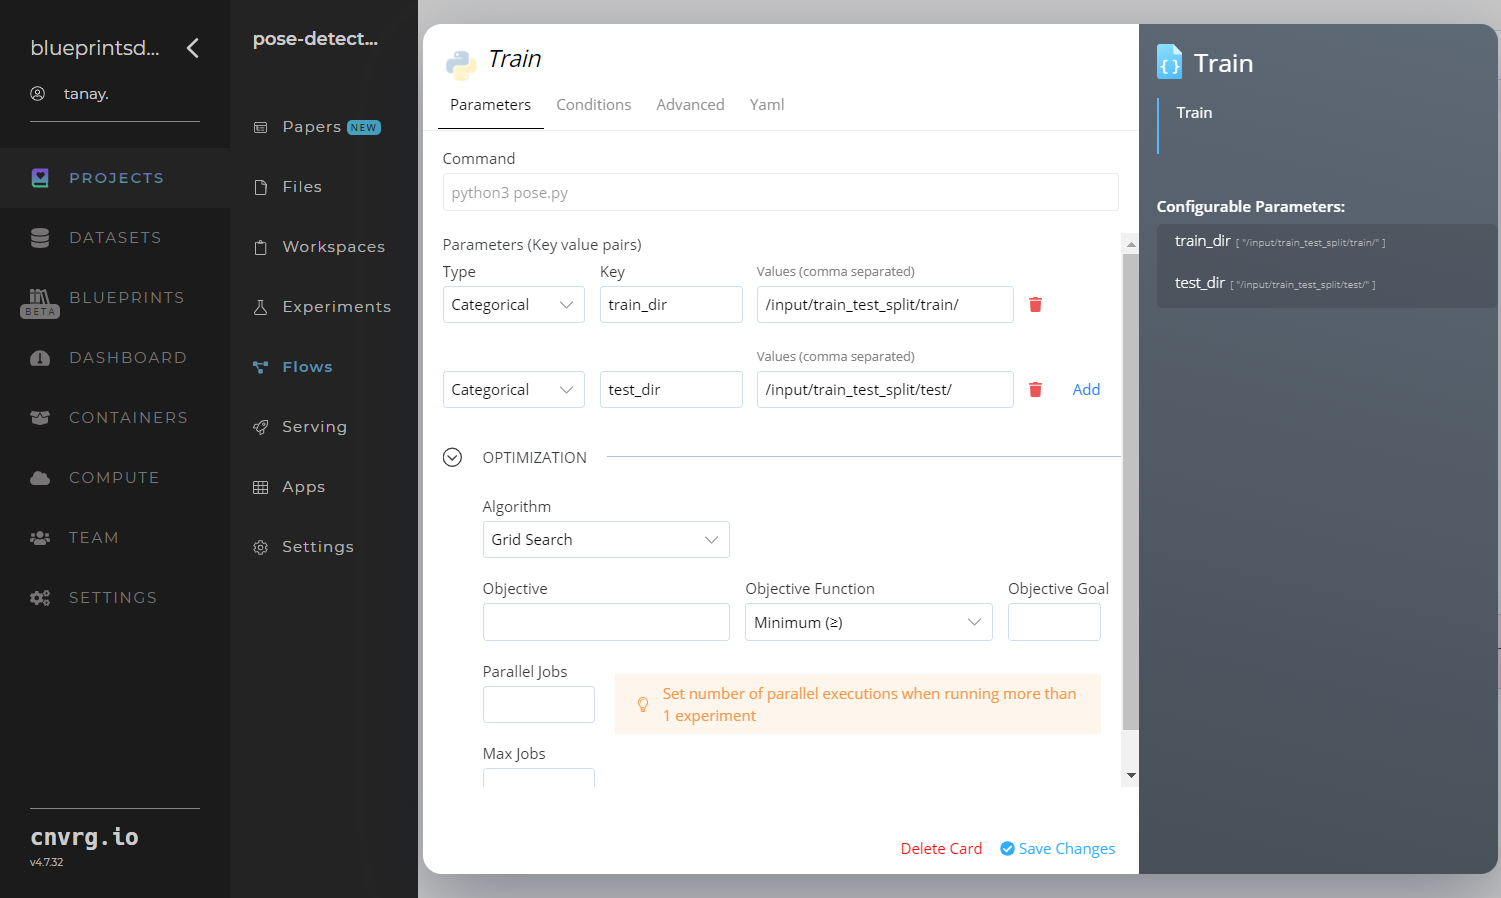
- Key:
train_dir– Value: provide the directory path that contains the training images; see Train Inputs - Key:
test_dir– Value: provide the directory path that contains the testing images; see Train Inputs
NOTE
You can use prebuilt example data paths provided.
- Key:
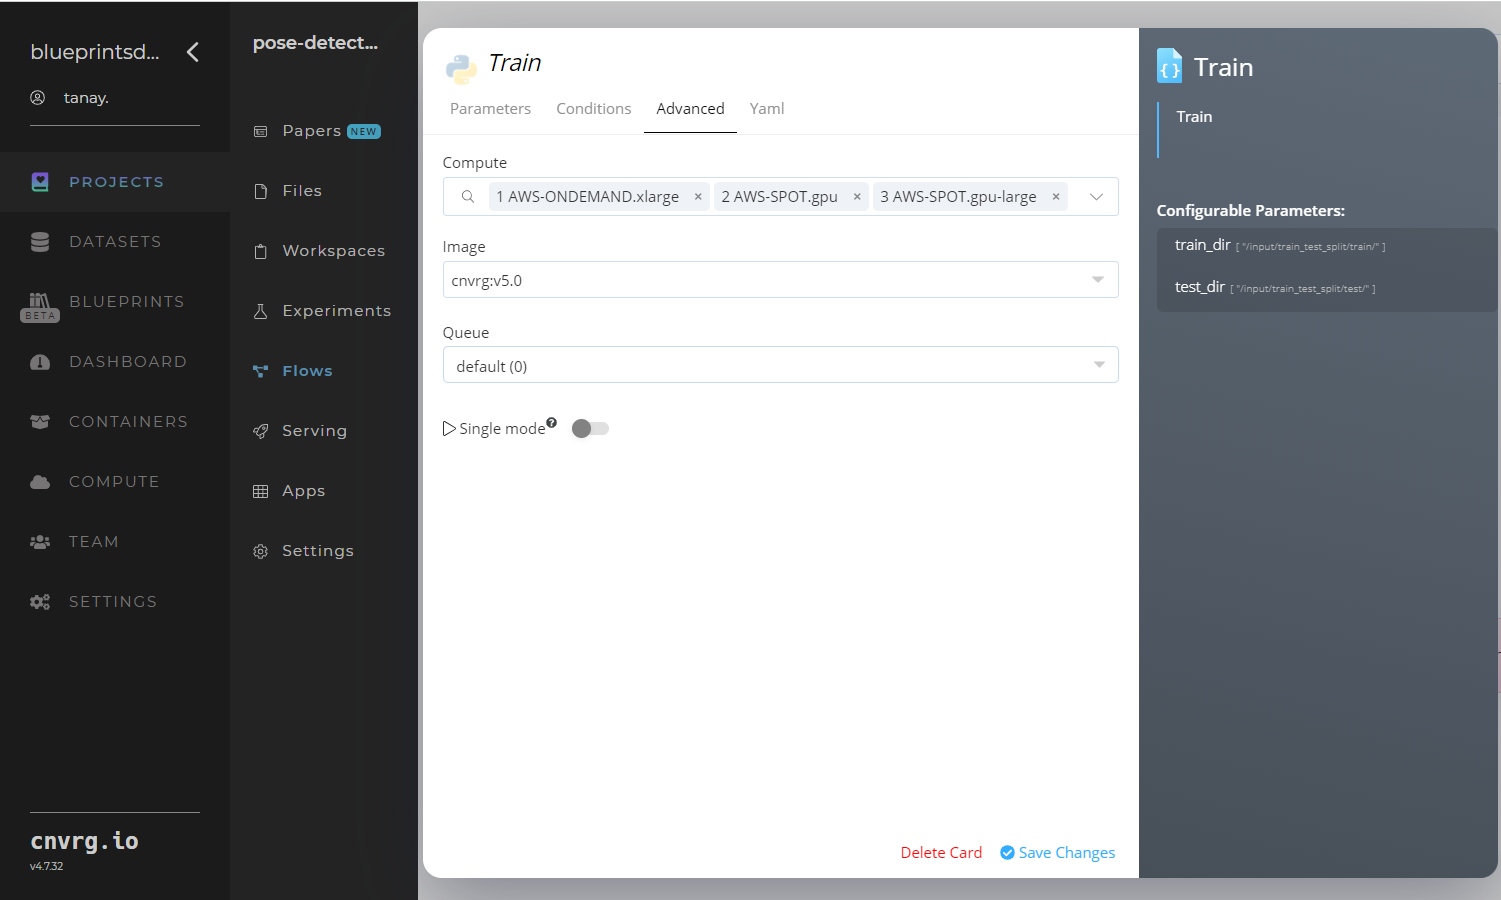
Click the Advanced tab to change resources to run the blueprint, as required.
Click the Classify task to display its dialog.
- Within the Parameters tab, provide the following Key-Value pair information:
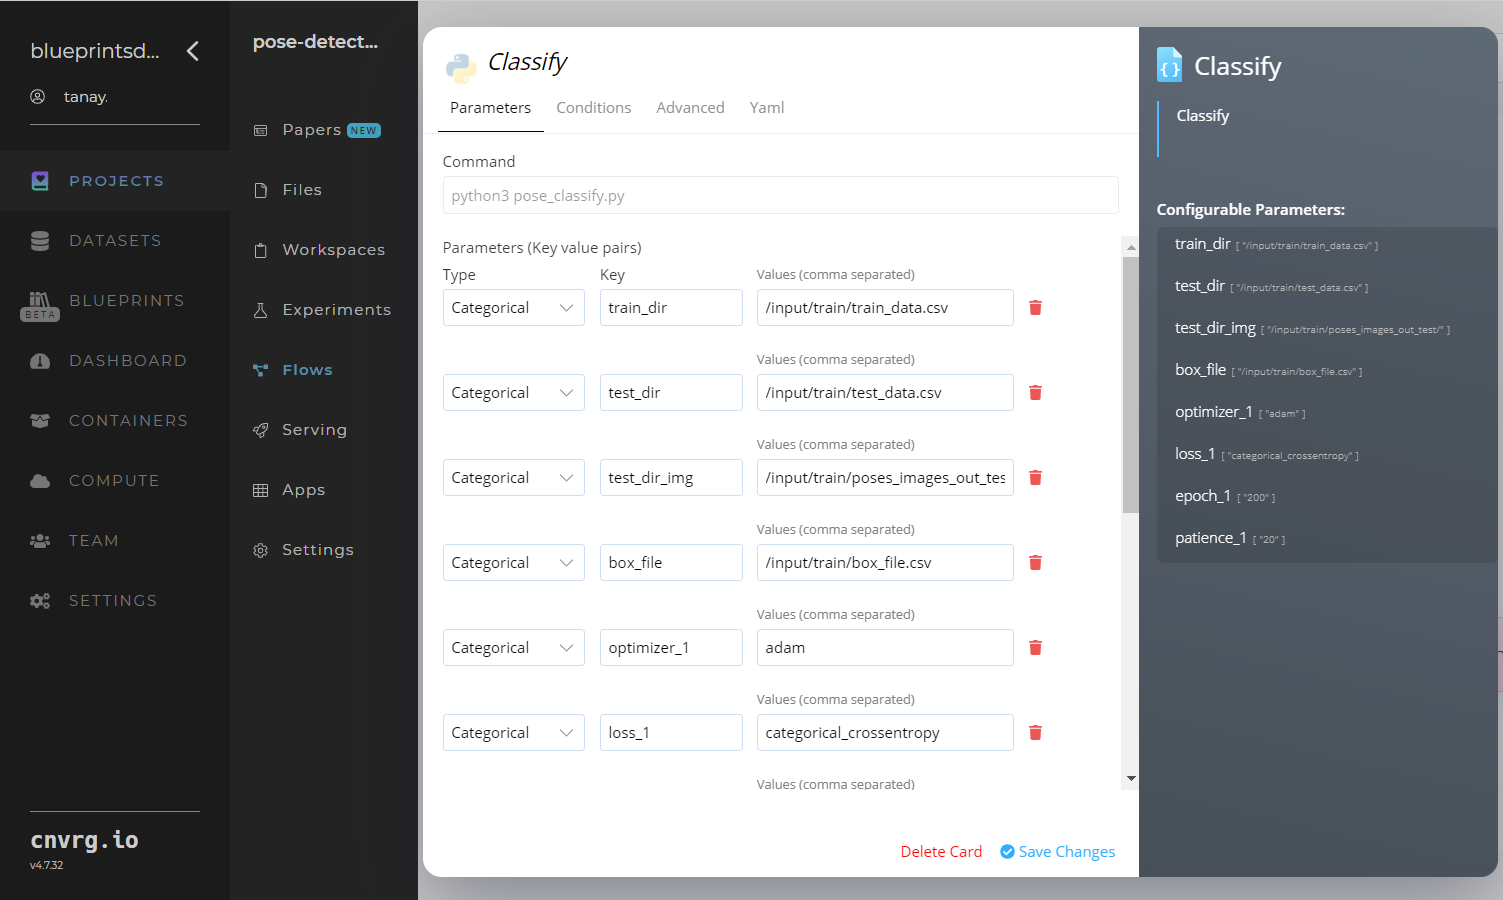
- Key:
--train_dir– Value: provide the input CSV file containing the checkpoints and keypoints of the train images; see Classify Inputs - Key:
--test_dir– Value: provide the input CSV file containing the checkpoints and keypoints of the test images; see Classify Inputs - Key:
--test_dir_img– Value: provide the directory name containing the bounded images; see Classify Inputs - Key:
--box_file– Value: provide the input CSV file that contains the bounding box information; see Classify Inputs - Key:
--optimizer_1– Value: set the type of optimizer used in compiling the Keras models; see Classify Inputs - Key:
--loss_1– Value: set the loss function used to fit the model; see Classify Inputs - Key:
--epoch_1– Value: set the number of iterations the model undergoes to fit; see Classify Inputs - Key:
--patience_1– Value: set the number of epochs of no improvement after which training is stopped; see Classify Inputs
- Key:
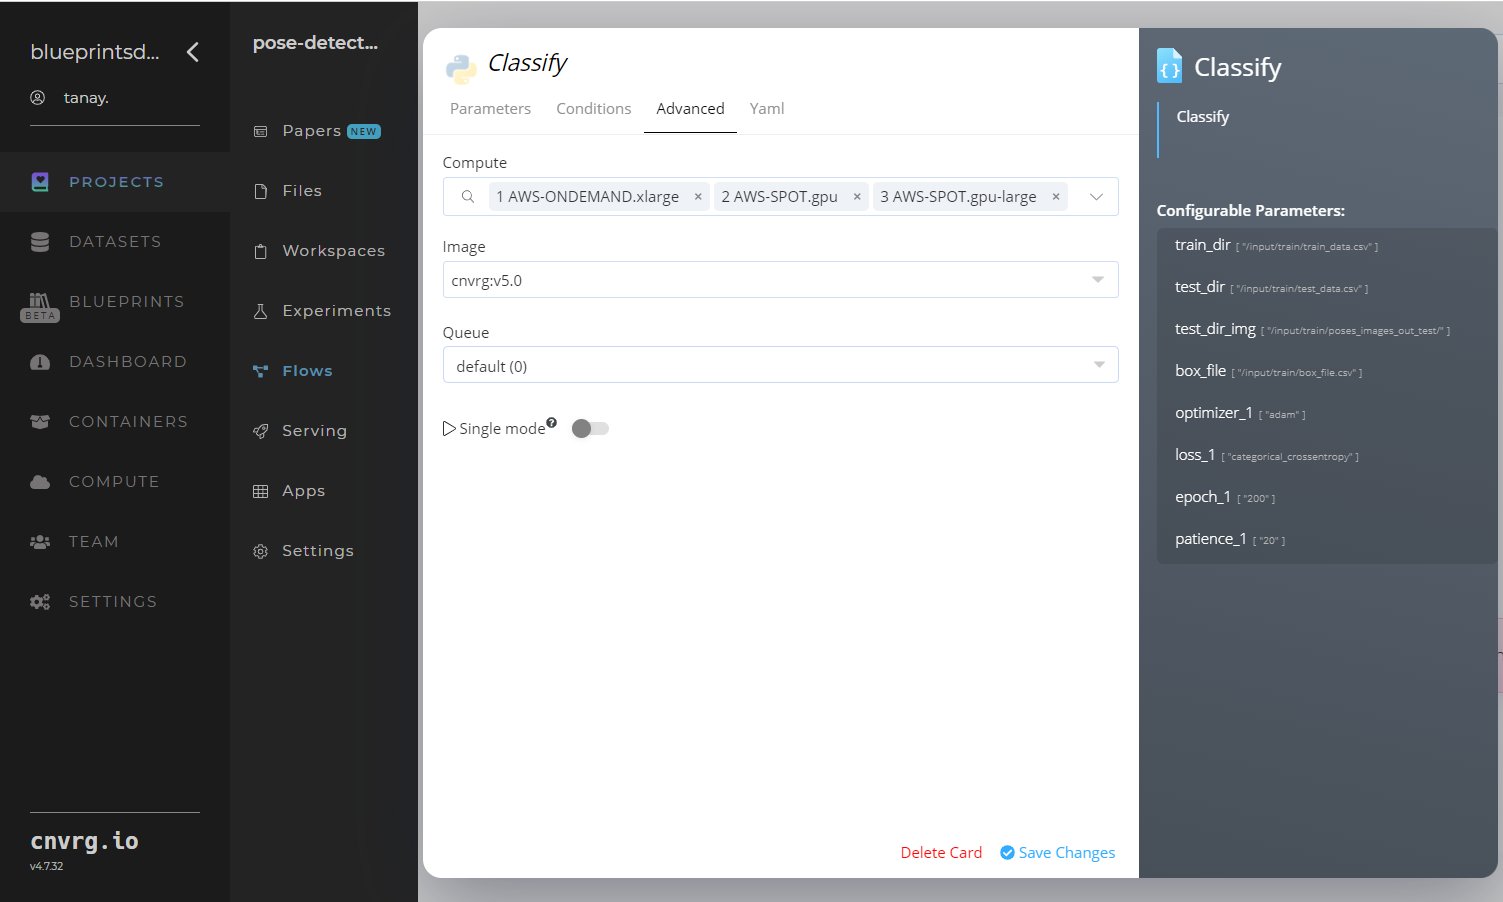
- Click the Advanced tab to change resources to run the blueprint, as required.
- Within the Parameters tab, provide the following Key-Value pair information:
Click the Run button.
 The cnvrg software launches the training blueprint as set of experiments, generating a trained pose-detector model and deploying it as a new API endpoint.
NOTE
The time required for model training and endpoint deployment depends on the size of the training data, the compute resources, and the training parameters.
For more information on cnvrg endpoint deployment capability, see cnvrg Serving.
Track the blueprint's real-time progress in its Experiments page, which displays artifacts such as logs, metrics, hyperparameters, and algorithms.
Click the Serving tab in the project and locate your endpoint.
Complete one or both of the following options:
- Use the Try it Live section with any pose-containing image to check the model.
- Use the bottom integration panel to integrate your API with your code by copying in your code snippet.
- Use the Try it Live section with any pose-containing image to check the model.
A custom model and API endpoint, which can detect human poses in images, have now been trained and deployed. For information on this blueprint's software version and release details, click here.
# Connected Libraries
Refer to the following libraries connected to this blueprint:
- S3 Connector
- Pose Detection Recreate
- Pose Detection Retrain
- Pose Detection Classify
- Pose Detection Inference
# Related Blueprints
Refer to the following blueprints related to this training blueprint: