# Datasources
 In the Intel® Tiber™ AI Studio platform, a datasource is a data repository or storage location that you can connect to for importing, exporting, or processing data.
The platform supports various types of datasources, including cloud storage solutions like Amazon S3 and MinIO buckets.
This documentation provides detailed information on how to configure and use these datasources within the Intel® Tiber™ AI Studio platform.
The topics in this page:
# Supported Datasources
1. Amazon S3
- Amazon S3 (Simple Storage Service) is a scalable cloud storage service provided by AWS. You can use S3 buckets to store and manage large volumes of data.
Key Features:
- Object storage with high durability and availability.
- Support for hierarchical organization using folders and prefixes.
- Integration with various AWS services and tools.
2. MinIO
- MinIO is an open-source, high-performance object storage solution compatible with Amazon S3. It provides a scalable and cost-effective alternative for storing data.
Key Features:
- Fully compatible with the S3 API.
- High-performance and minimal resource requirements.
NOTE
In the AI Studio platform, the Datasource component does not directly store any files.
Instead, it is responsible for managing and storing only credentials and configuration data. Actual file storage is handled externally in cloud storage solutions such as AWS S3 or MinIO. This architecture allows for secure and efficient management of access credentials while ensuring that data files reside in scalable, dedicated storage services.
# Datasources Operations
# Create New Datasource:
Note
- In order to create a datasource in AI Studio, you need secret key and access key of a IAM user in your AWS acount.
- Create a IAM user in aws,assign the relevant permissions to the IAM user (read / write etc on any specific bucket) use the creds + bucket name to create a datasource
- One IAM user can be used to create several datasources, each one with a different path for instance
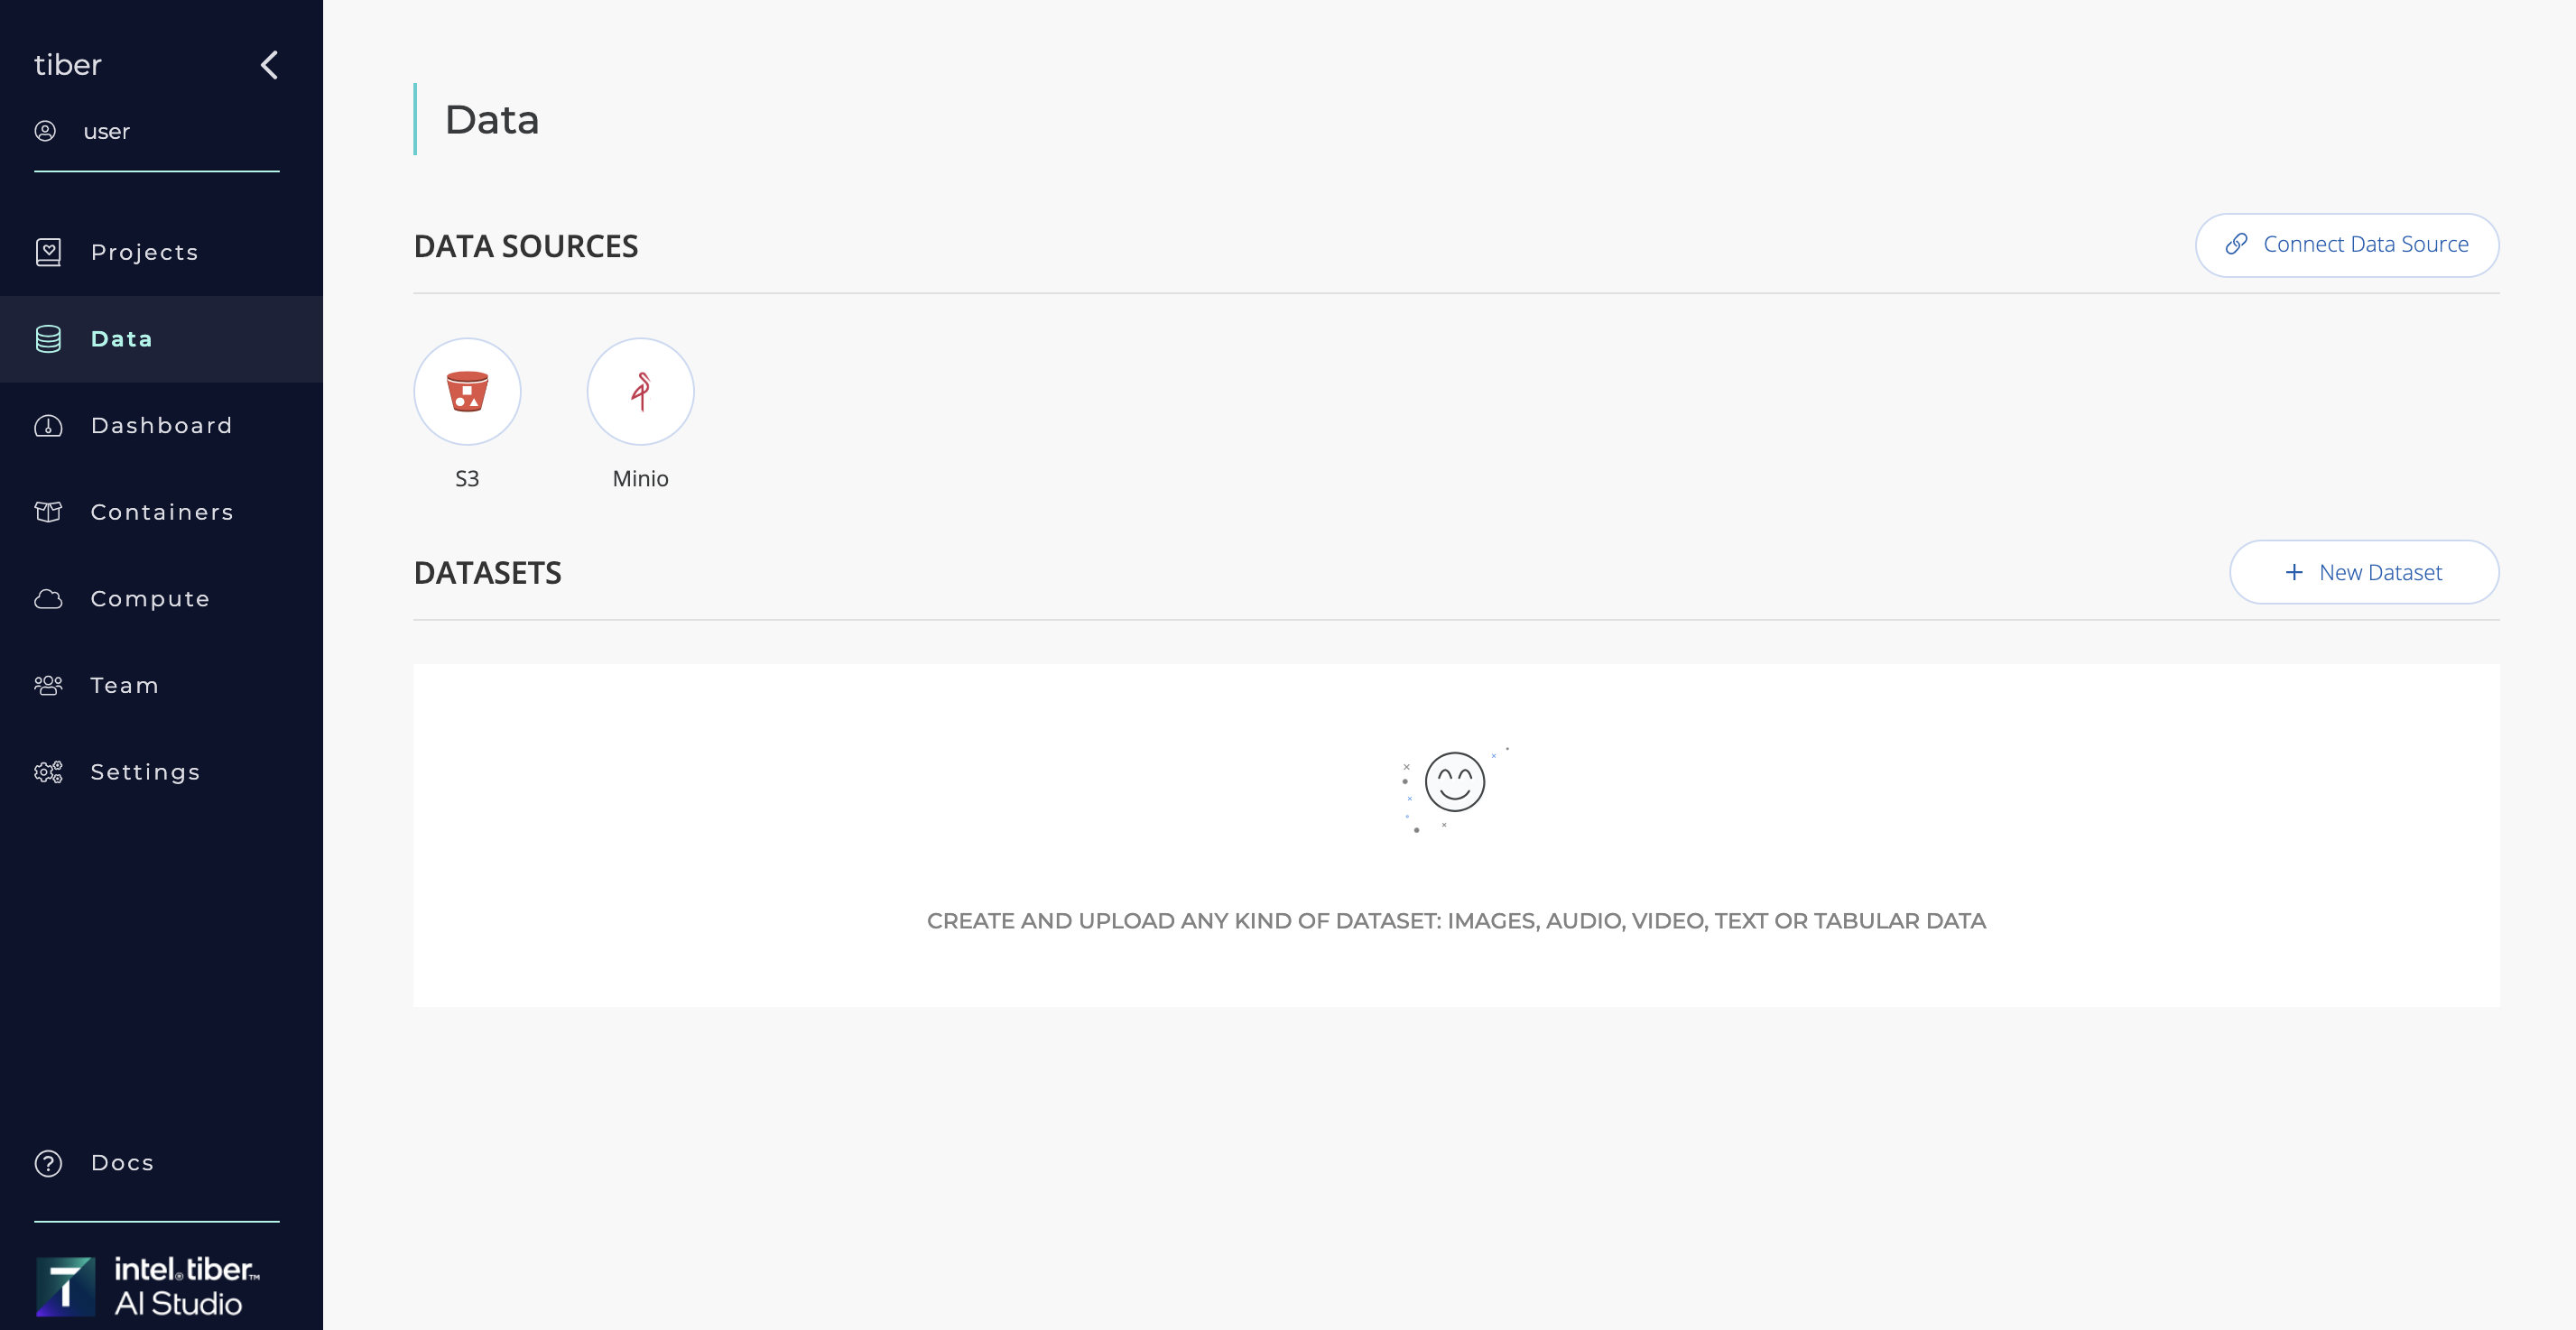
- Navigate to Data page: Go to the Datasources section in the platform.
- Create New Datasource: Click on "Connect datasource".
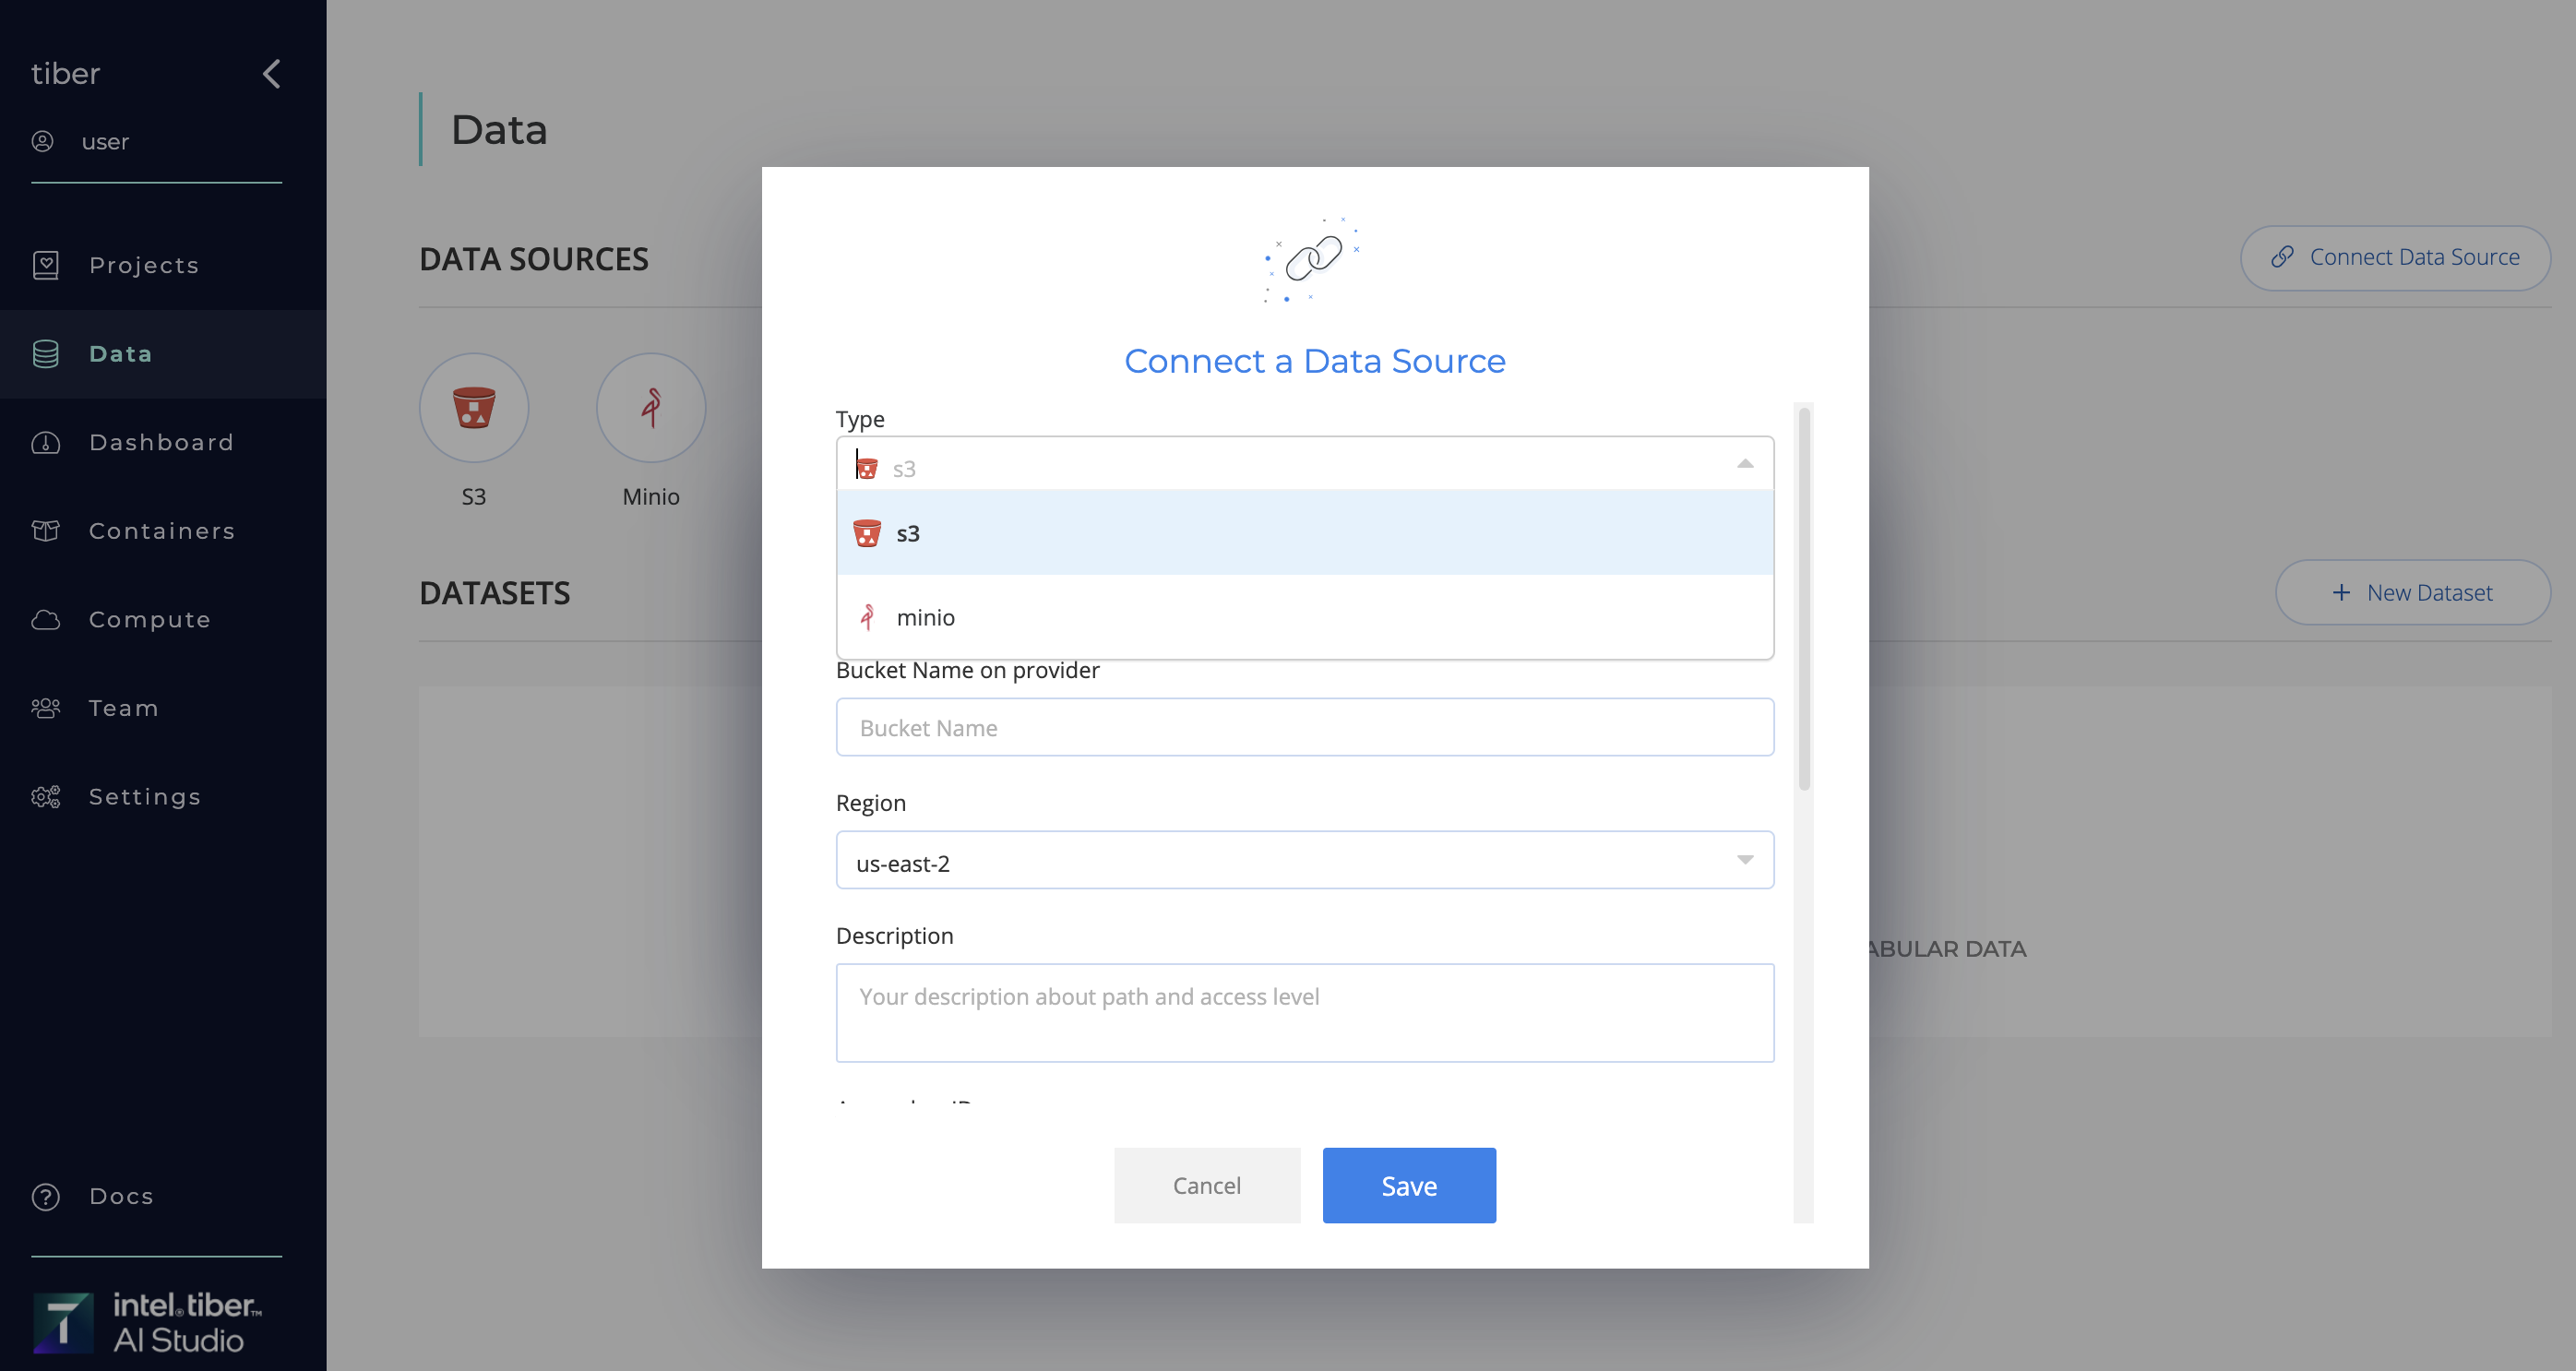
- Selection of Datasource type: Select "S3" or "Minio" from the list of available Datasource types.
- Define a Datasource Name
- Enter Connection Details:
- Bucket Name on provider: The name of the bucket you want to connect to.
- Region: The region where your bucket is located.
- Description: Your description about path and access level.
- Access Key ID: Your Access Key ID with permissions to access the bucket.
- Secret Access Key: Your Secret Access Key.
- Path (Optional)
- Endpoint URL (Optional): Custom endpoint URL if using S3-compatible services.
- Connector Access: Define Datasource access level.
- Public: All users within the organization are granted access permissions.
- Private: Identify and select the users who are authorized to utilize this Datasource.
- Save Configuration: Click "Save" to finalize the configuration.
NOTE
The Test Connection function on the AI Studio platform will validate connectivity to the specified datasources. If the connection fails, an error will be thrown, indicating that the datasource has not been created. The following actions will be performed during the connection test:
- S3 Connection Test:
Attempt to retrieve an AWS Security Token Service (STS) token. This verification is performed at the AWS account level and is not specific to any S3 bucket.
*If the credentials are valid, but the bucket name isn't (doesn't exist, typo etc..) test connection will be successful - Minio Connection Test: Attempt to list the first two objects in a specified Minio bucket to verify connectivity and permissions.
# Managing Datasources:
Once a datasource is configured, you can manage it using the following options:
- Delete: Remove the datasource from the platform.
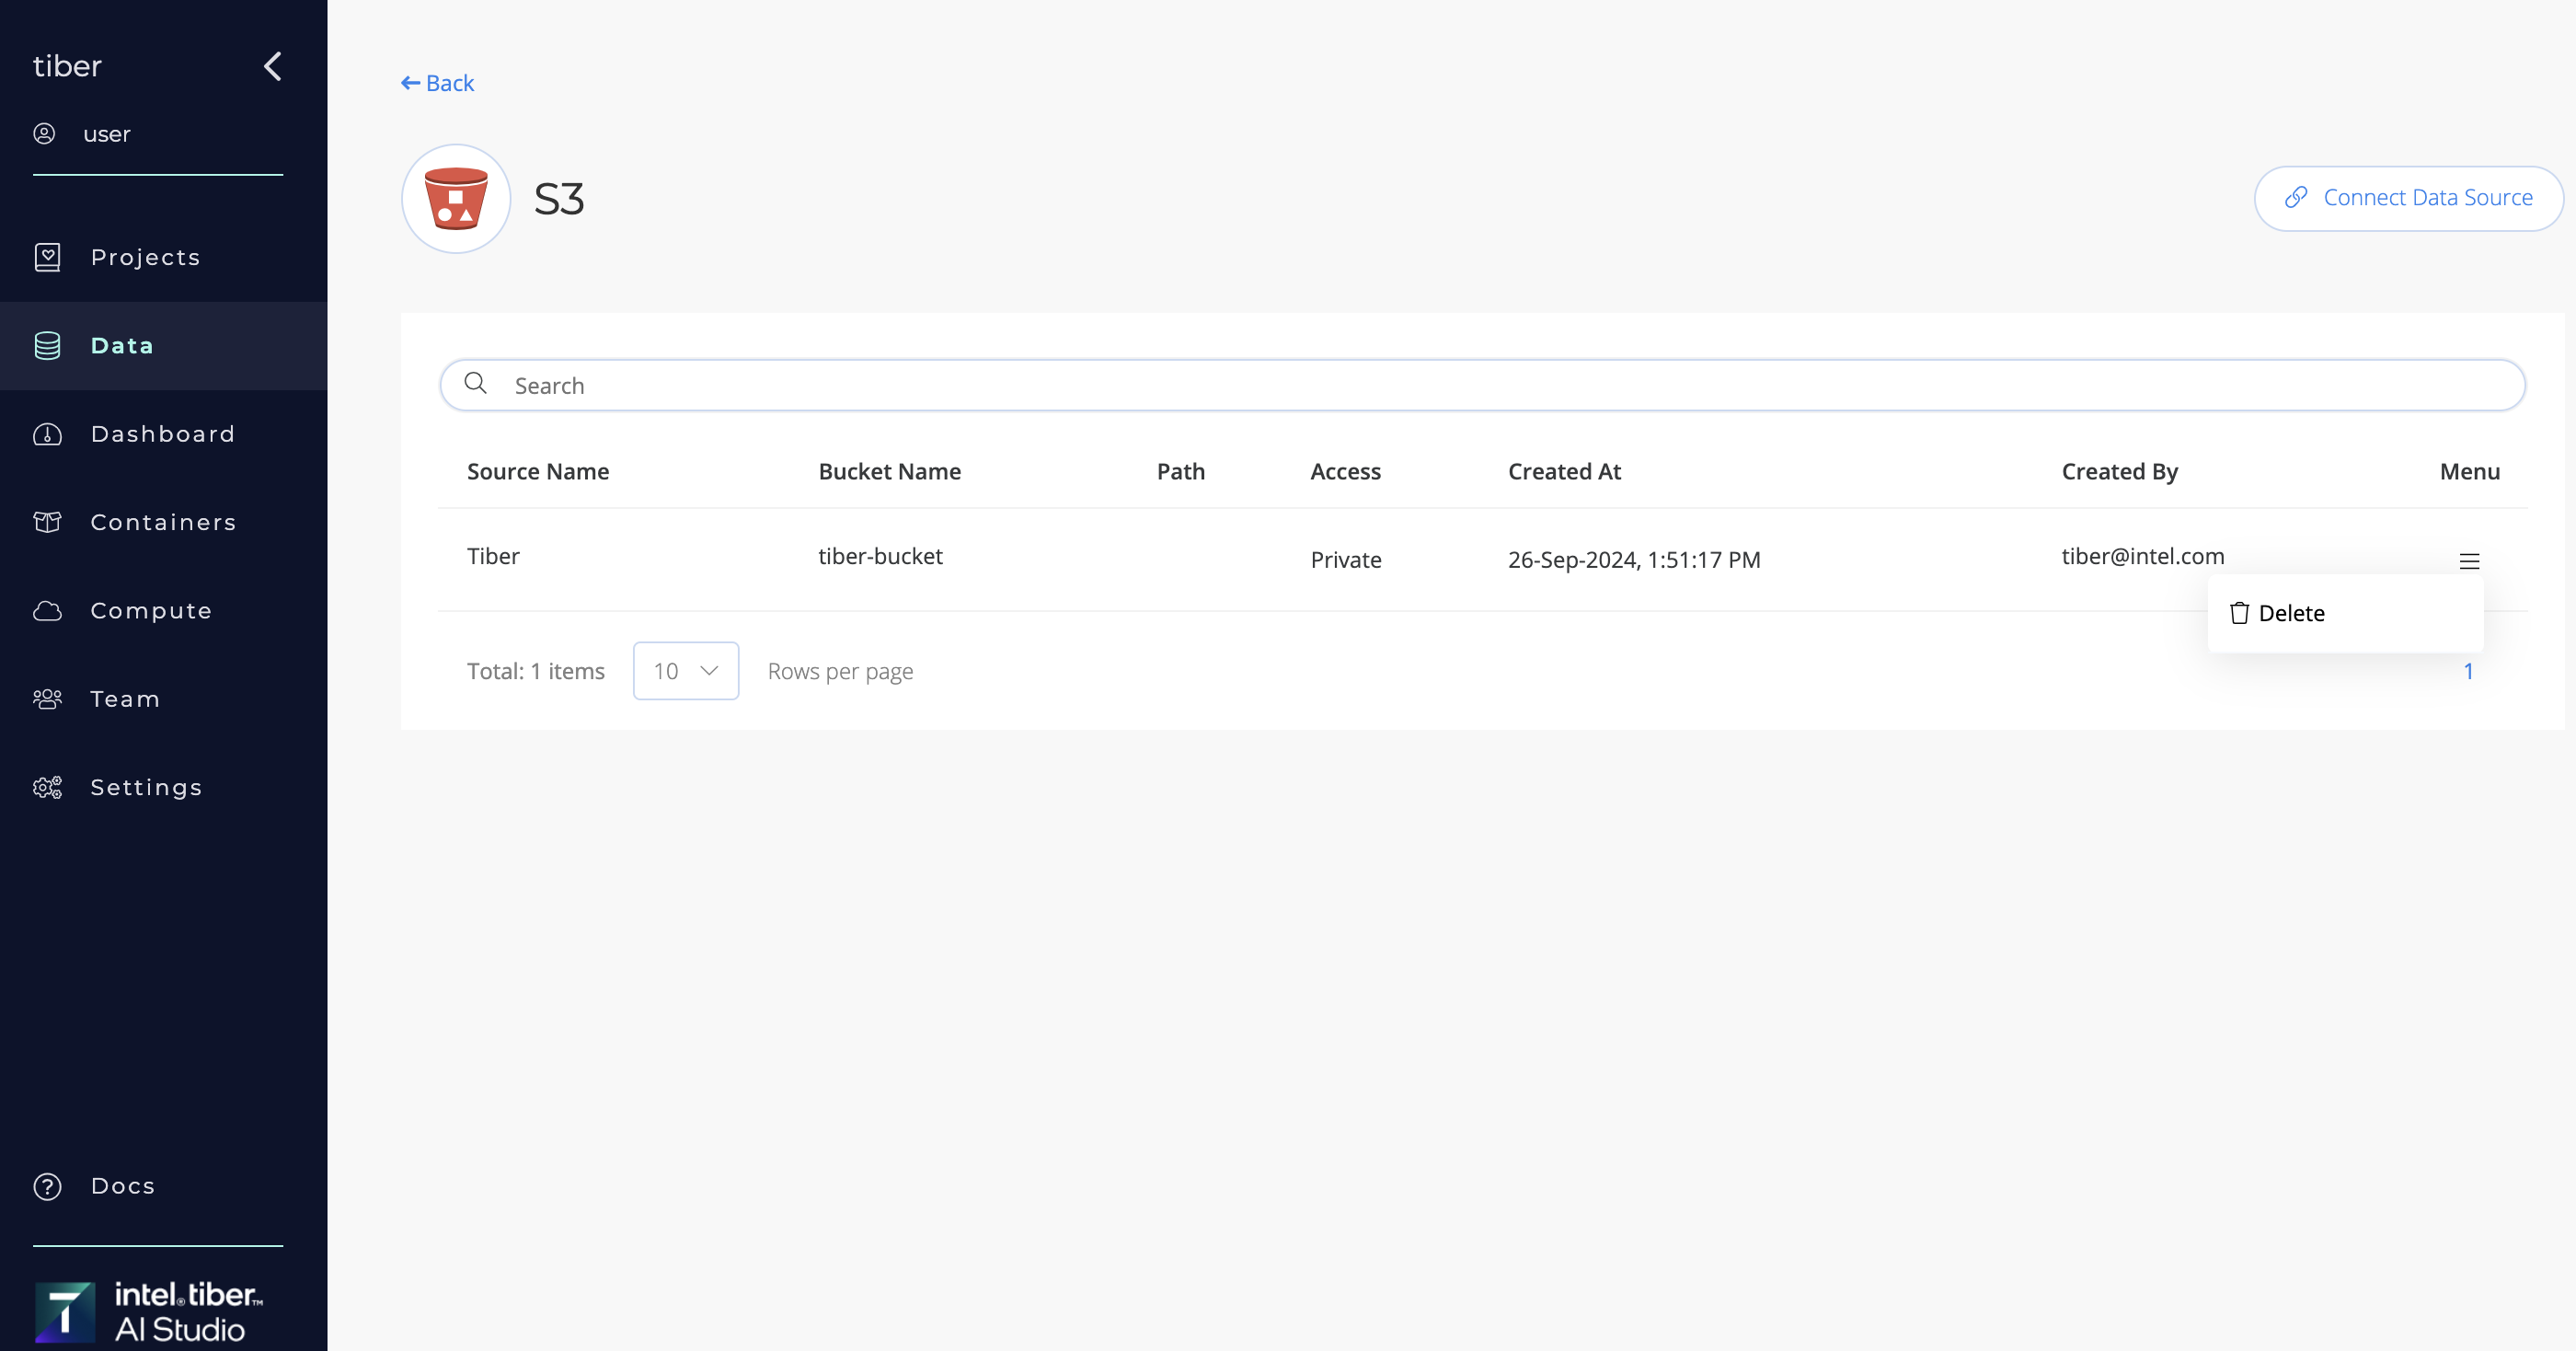
NOTE
Admin permission is required in order to create or delete the Datasources.
# Datasources Additions to Jobs
# At Workspace or Experiment startup
When starting a Workspace or an Experiment from the UI, use the Datasources selector to add one or more Datasources:
- Click Start Workspace or New Experiment and provide the relevant details in the displayed panel.
- To attach your Datasource(s), select the Datasources drop-down list.
- Select the Datasource to add it to the list of Datasource for the Workspace or Experiment.
*You can remove a Datasource from the list by clicking the X next to its name. - Click
Start WorkspaceorRunto startup.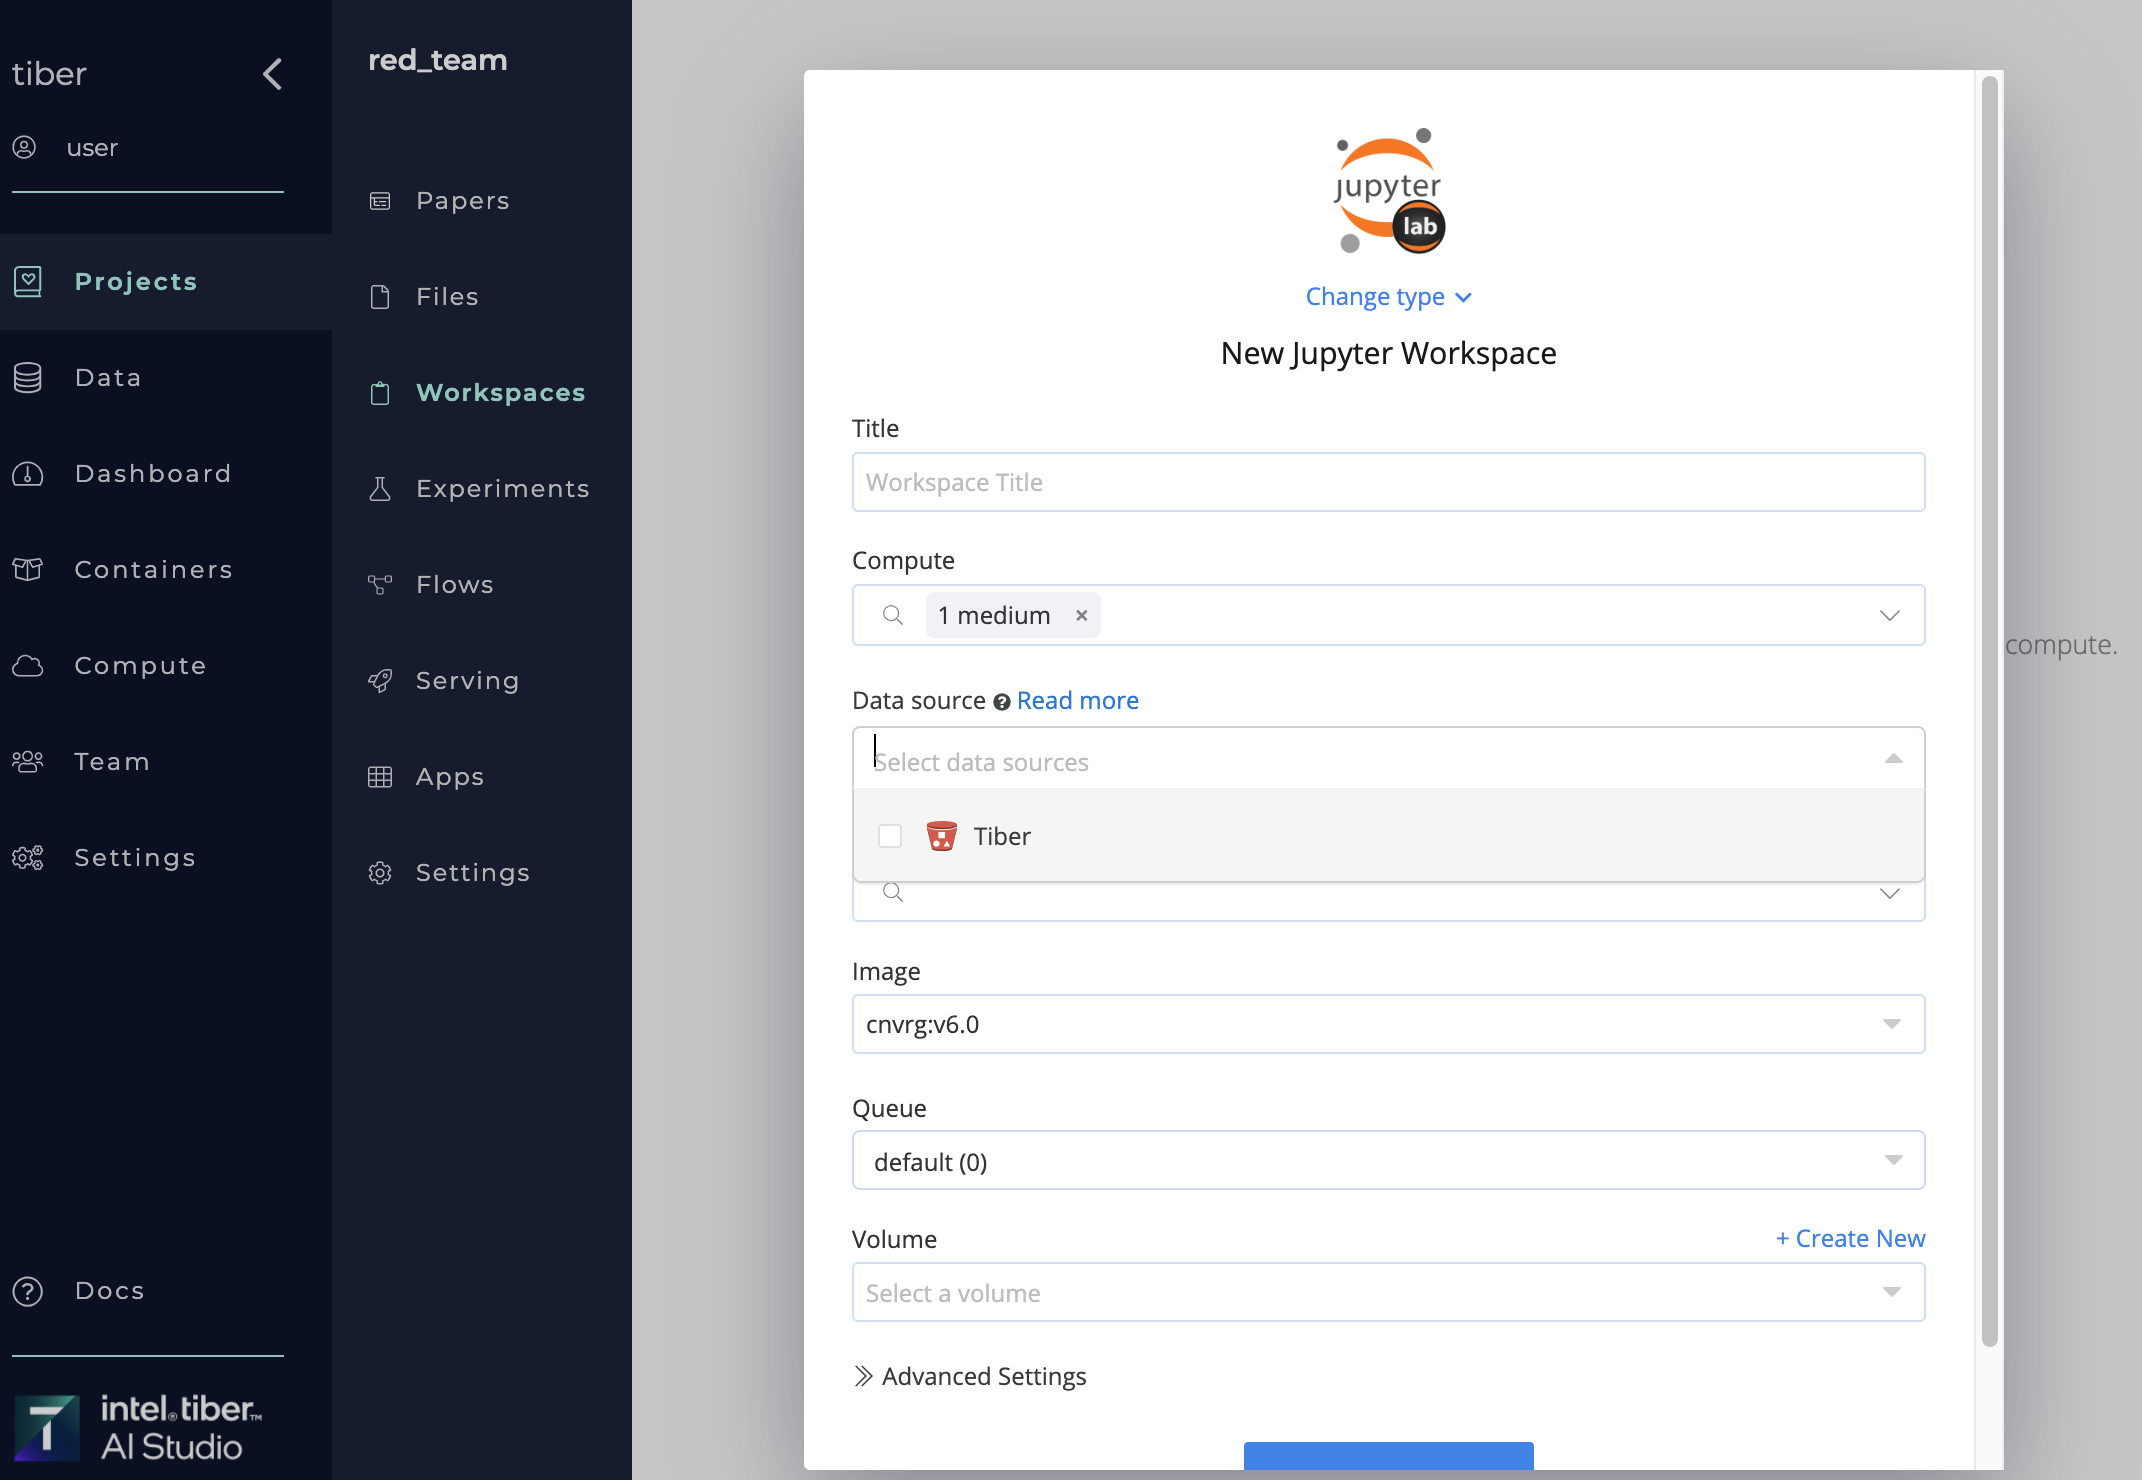 Attached Datasource, cloned to your job. its mounted in the remote compute and is accessible from the absolute path:
 /data/slug_of_datasource/.
For example:
When running an experiment, if you attach the Datasource "Tiber", all its files can be found in the /data/tiber/ directory.
TIP
You can also attach Datasources to jobs using the SDK.