# Projects
A Intel® Tiber™ AI Studio Project is the space where everything related to a specific machine learning (ML) problem or domain resides. You can work and collaborate on Projects.
A Project can include Files, Workspaces, Experiments, Flows, Apps, Serving, artifacts, models, and even research papers.
The topics in this page:
# Project Creation

You can create a Project in AI Studio using the web UI, CLI, or SDK.
Using the AI Studio web UI
Complete the following steps to create a Project within the AI Studio UI:
Navigate to the Projects tab and click Start Project.
Enter a title for the Project and click Create.
The Project is added and the Project dashboard is displayed.
Using the CLI
With AI Studio CLI commands, you can either create an empty Project, or a Project linked to an existing folder.
Create an empty AI Studio Project
Run the following command to create an empty AI Studio Project:
cnvrgv2 project create --name=PROJECT_NAMERunning the
cnvrgv2 project createCLI command creates a default Project tree:
The new AI Studio Project is now created and you can make changes in your local directory.
Create a AI Studio Project and link it to an existing folder
Complete the following steps to create a AI Studio Project and link it to a folder:
- Navigate into the folder.
- From there, use the following command:
cnvrgv2 project link
Using the SDK
For instructions on creating a Project using the SDK, see the SDK documentation.
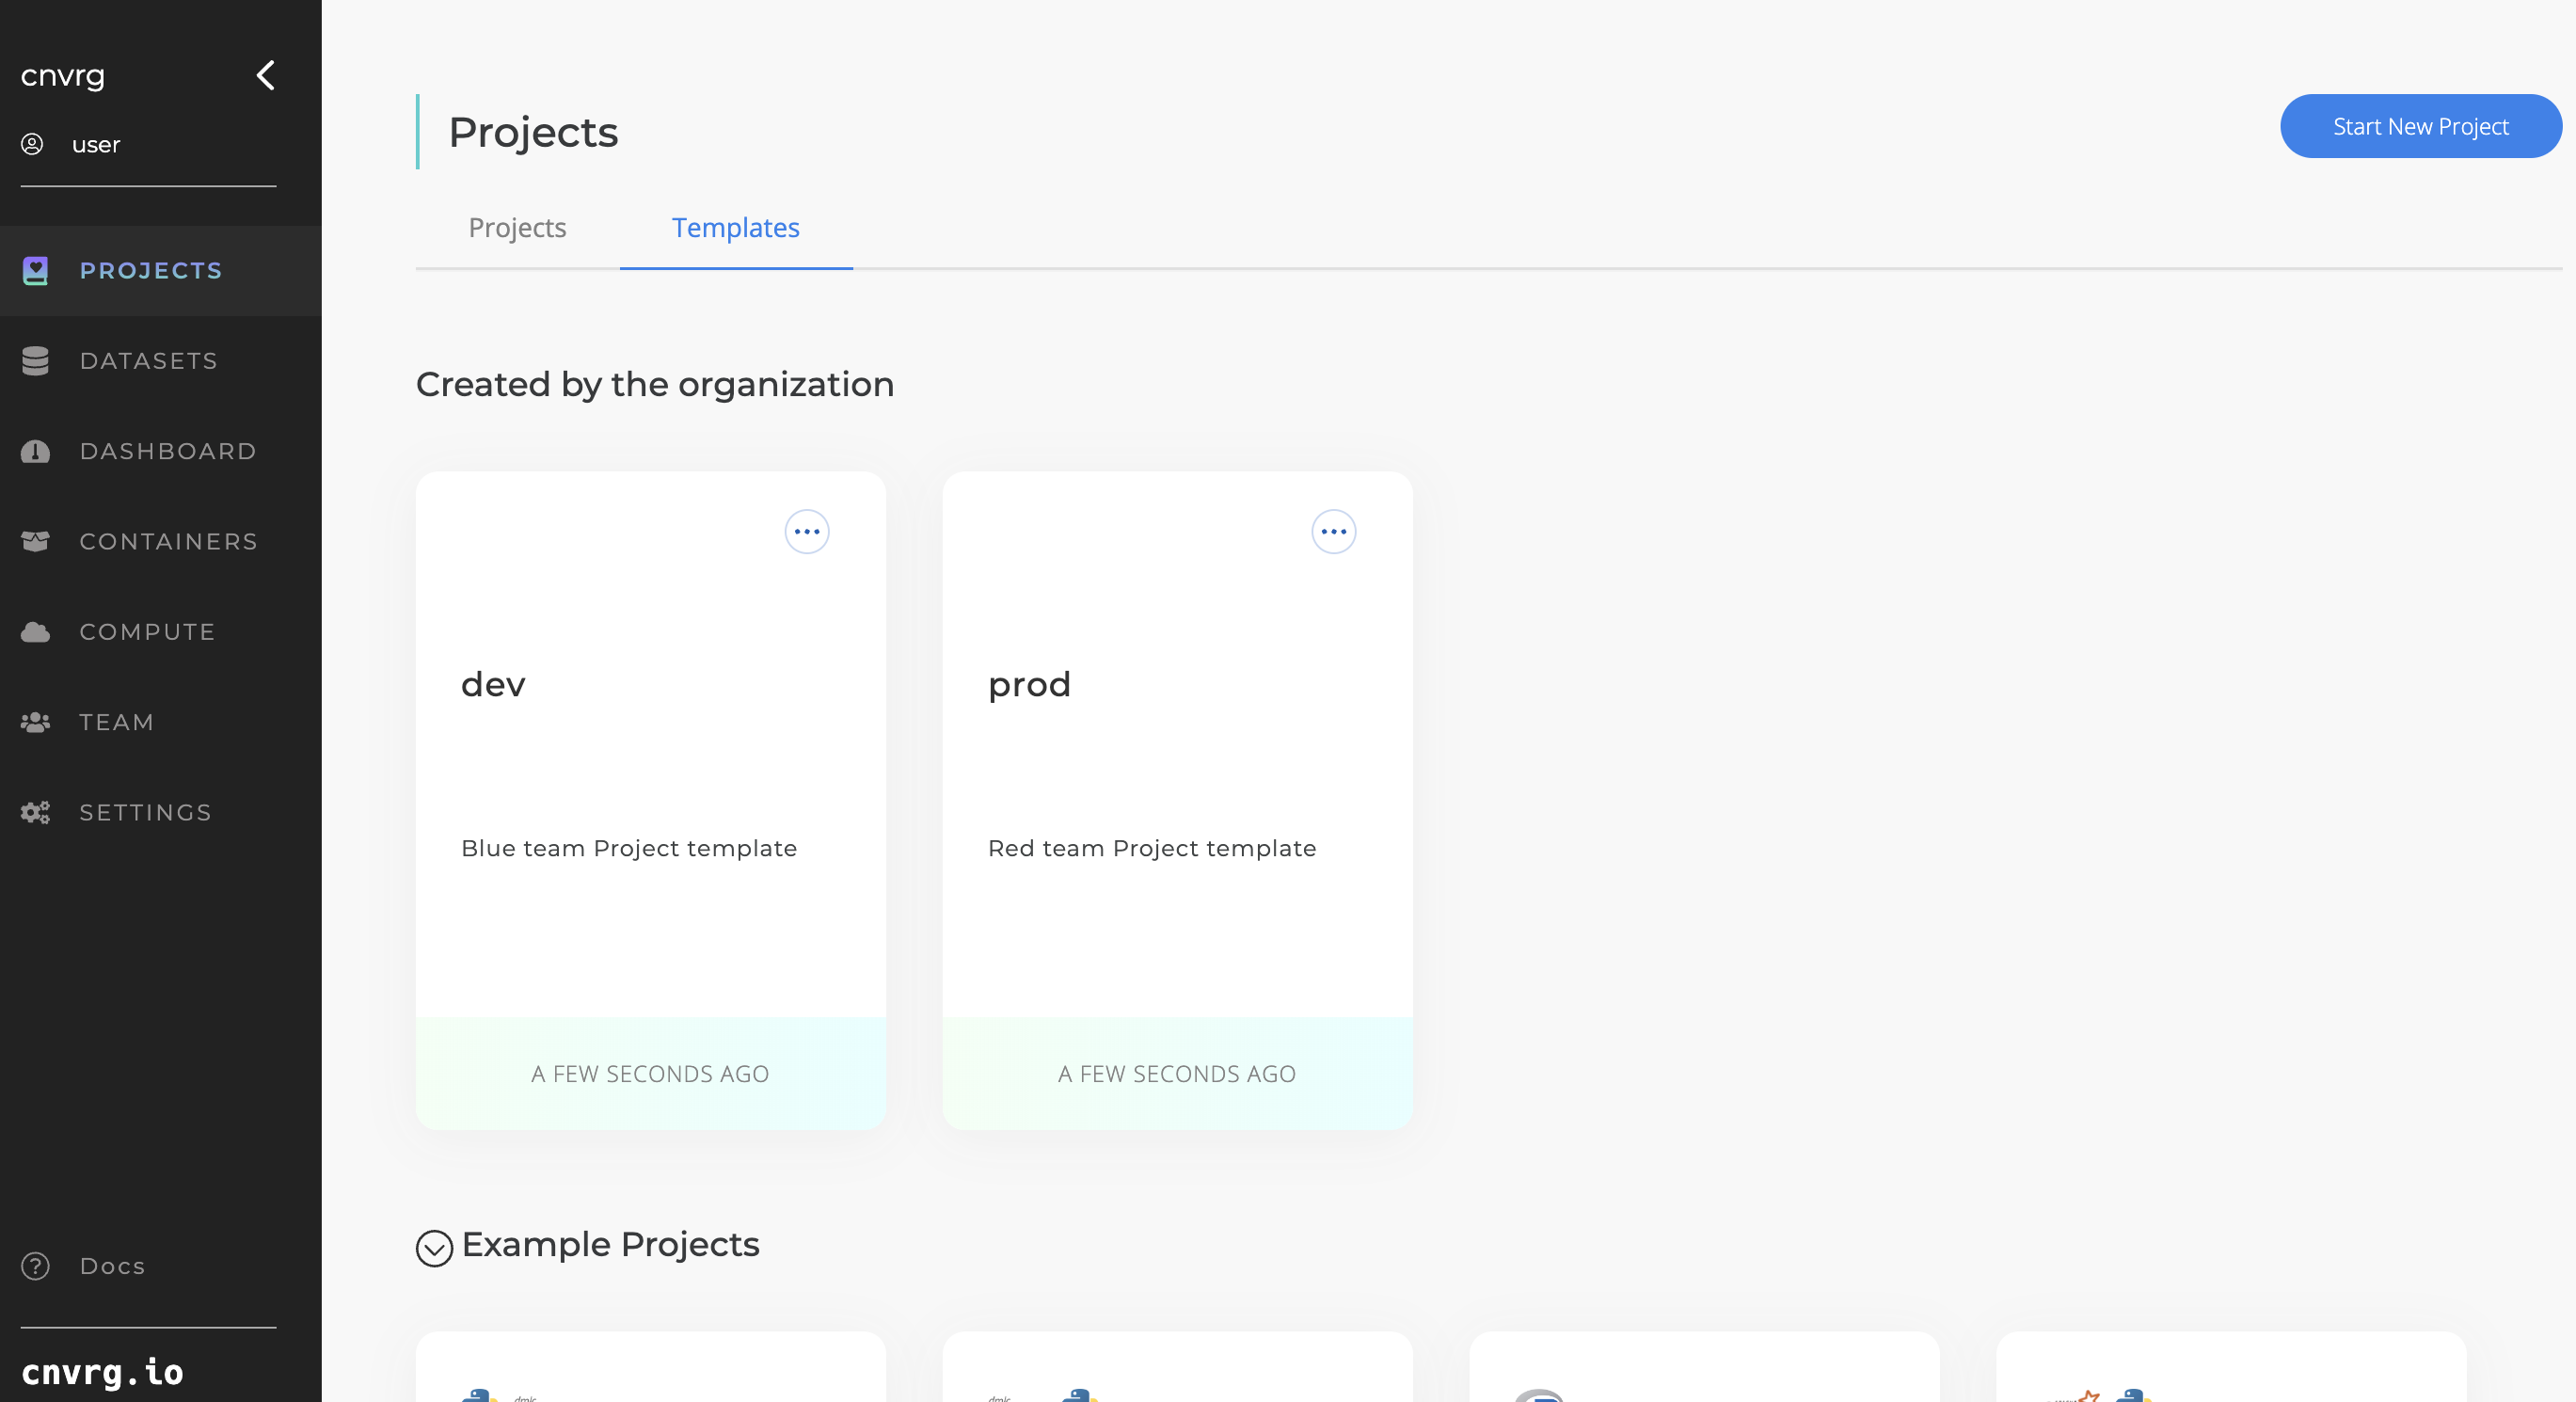
# Project Templates
Allows users to create a new project by using a Project Template that was created by the Organization's managers. A uniform Project Template can be created for the entire Organization or a template for each team separately.
- Efficiency: Speed up Project setup with pre-defined templates, reducing redundant tasks.
- Onboarding: Help new team members get started quickly with standardized templates.
- Consistency: Maintain uniform standards across all organizational Projects.
Note
Admin permission is required in order to create or delete the Project Templates.
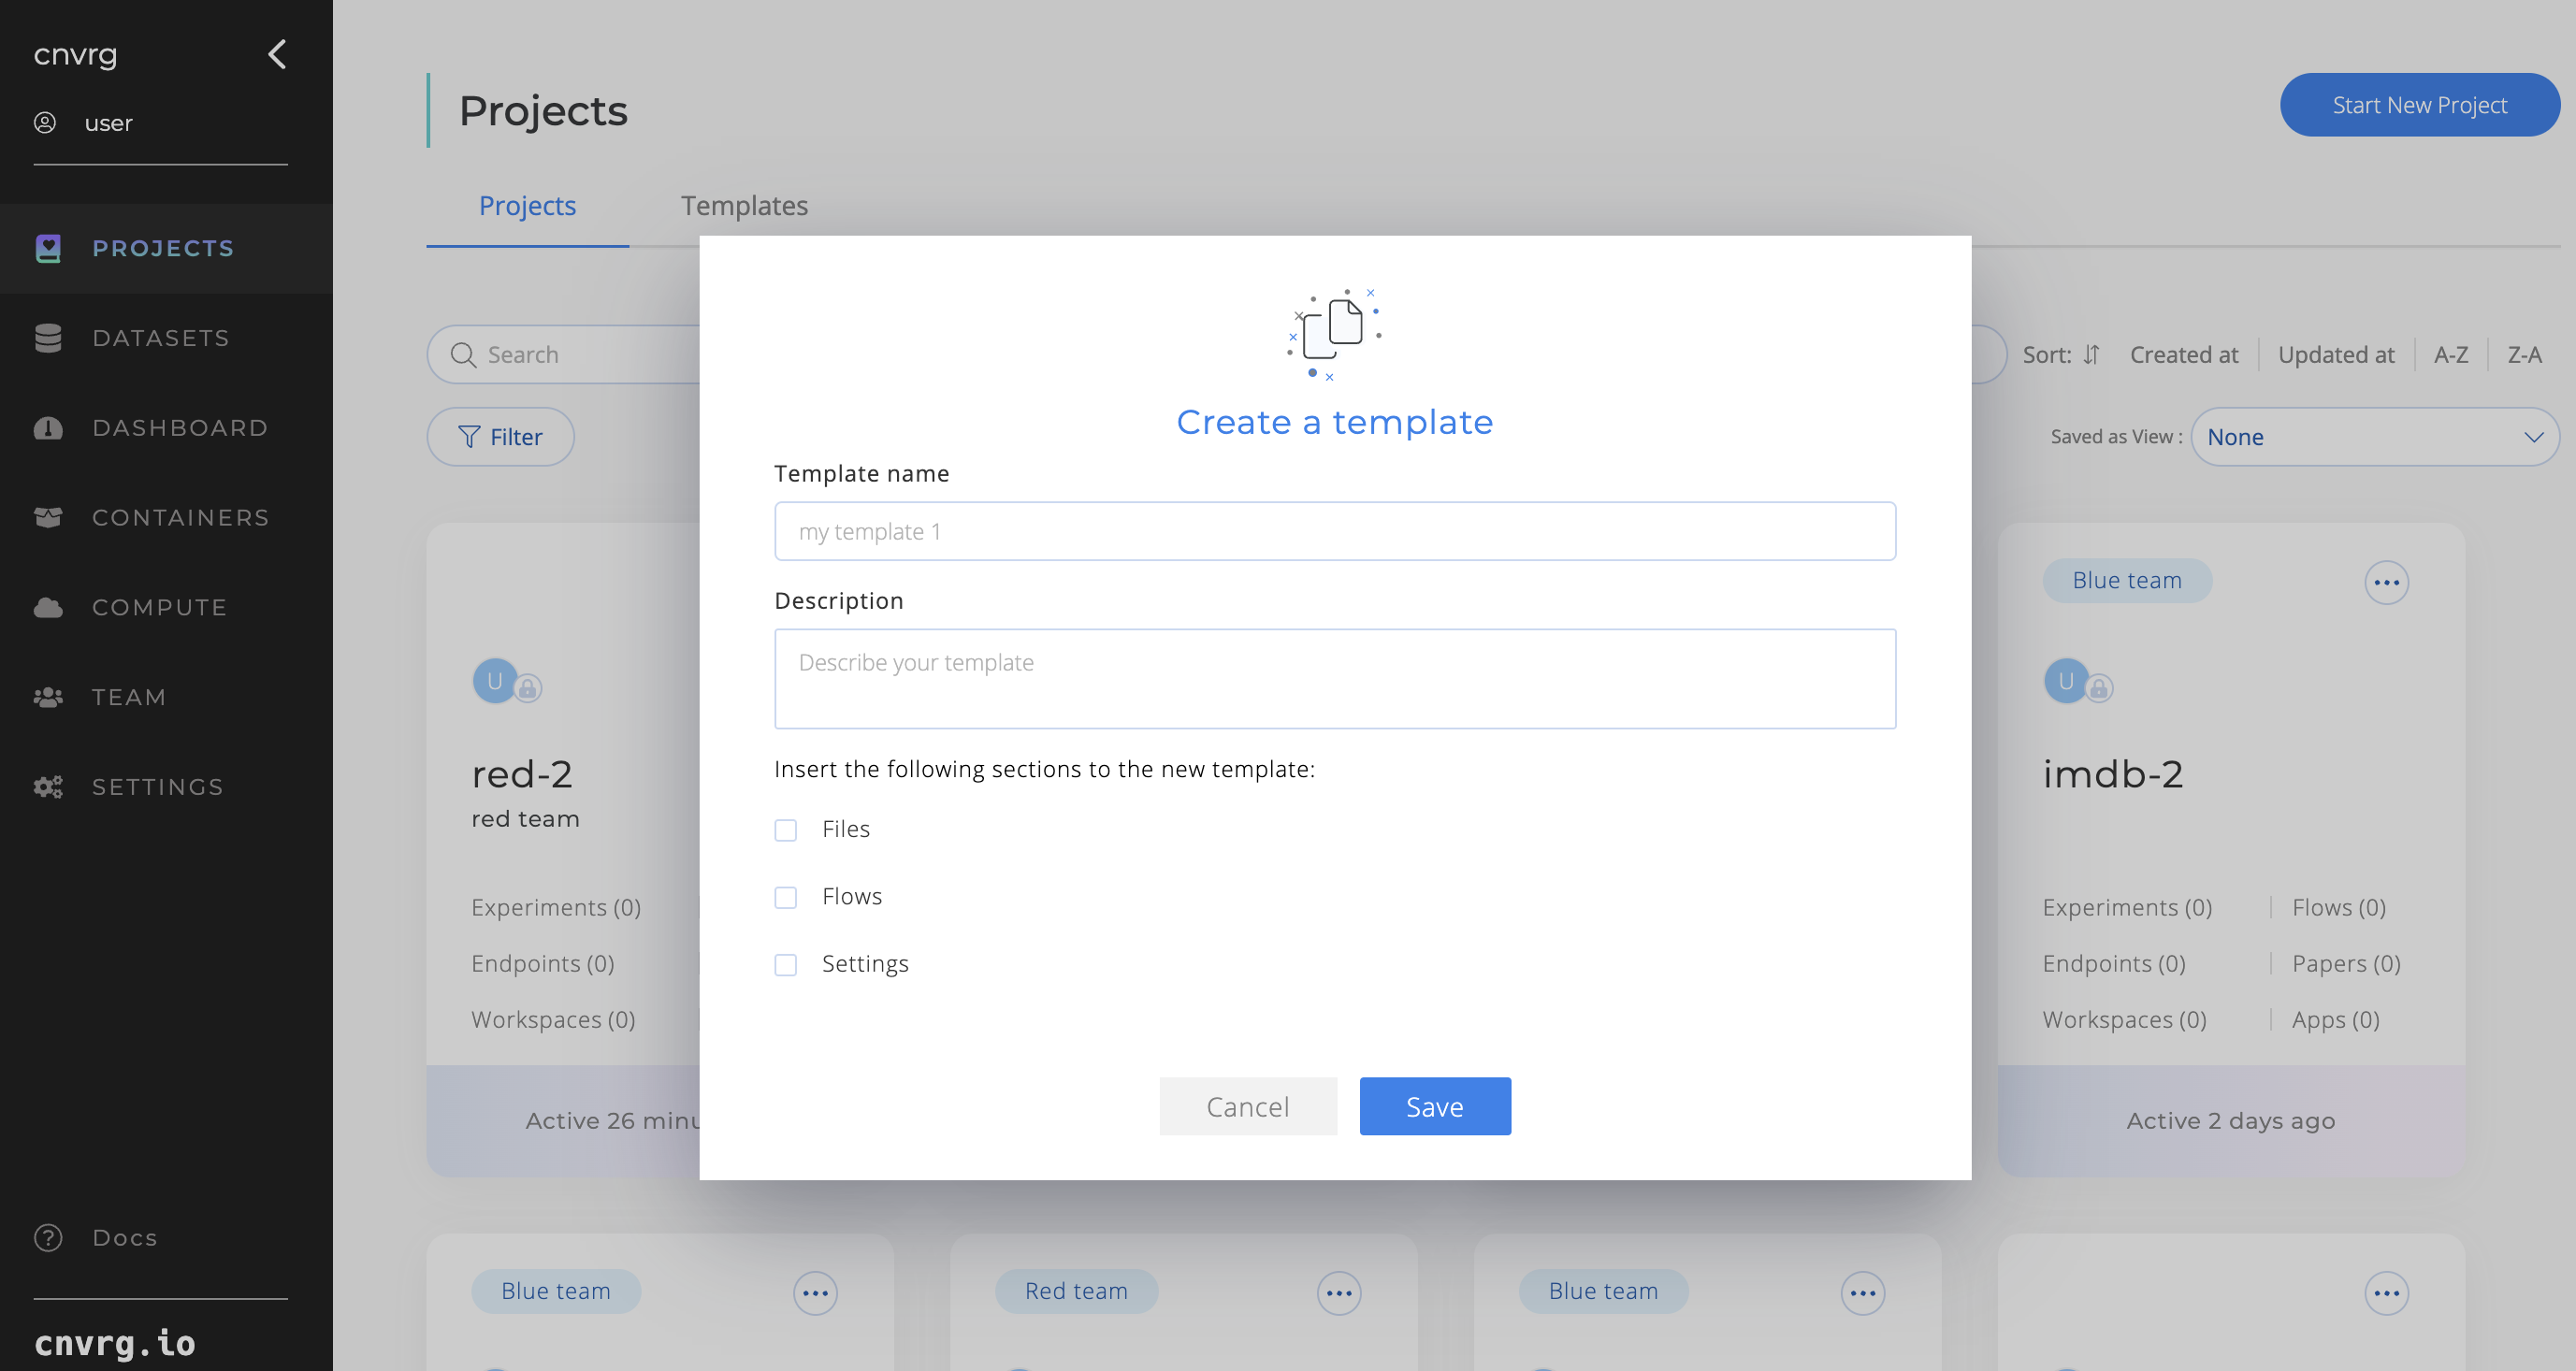
Creating a project template:
- Navigate to Projects page.
- Actions on the project card: Click ‘Create as Template’.
- Customize the template: Specify the template name, description, and the elements you want to clone: Files/Git path, Flows, Project Settings.
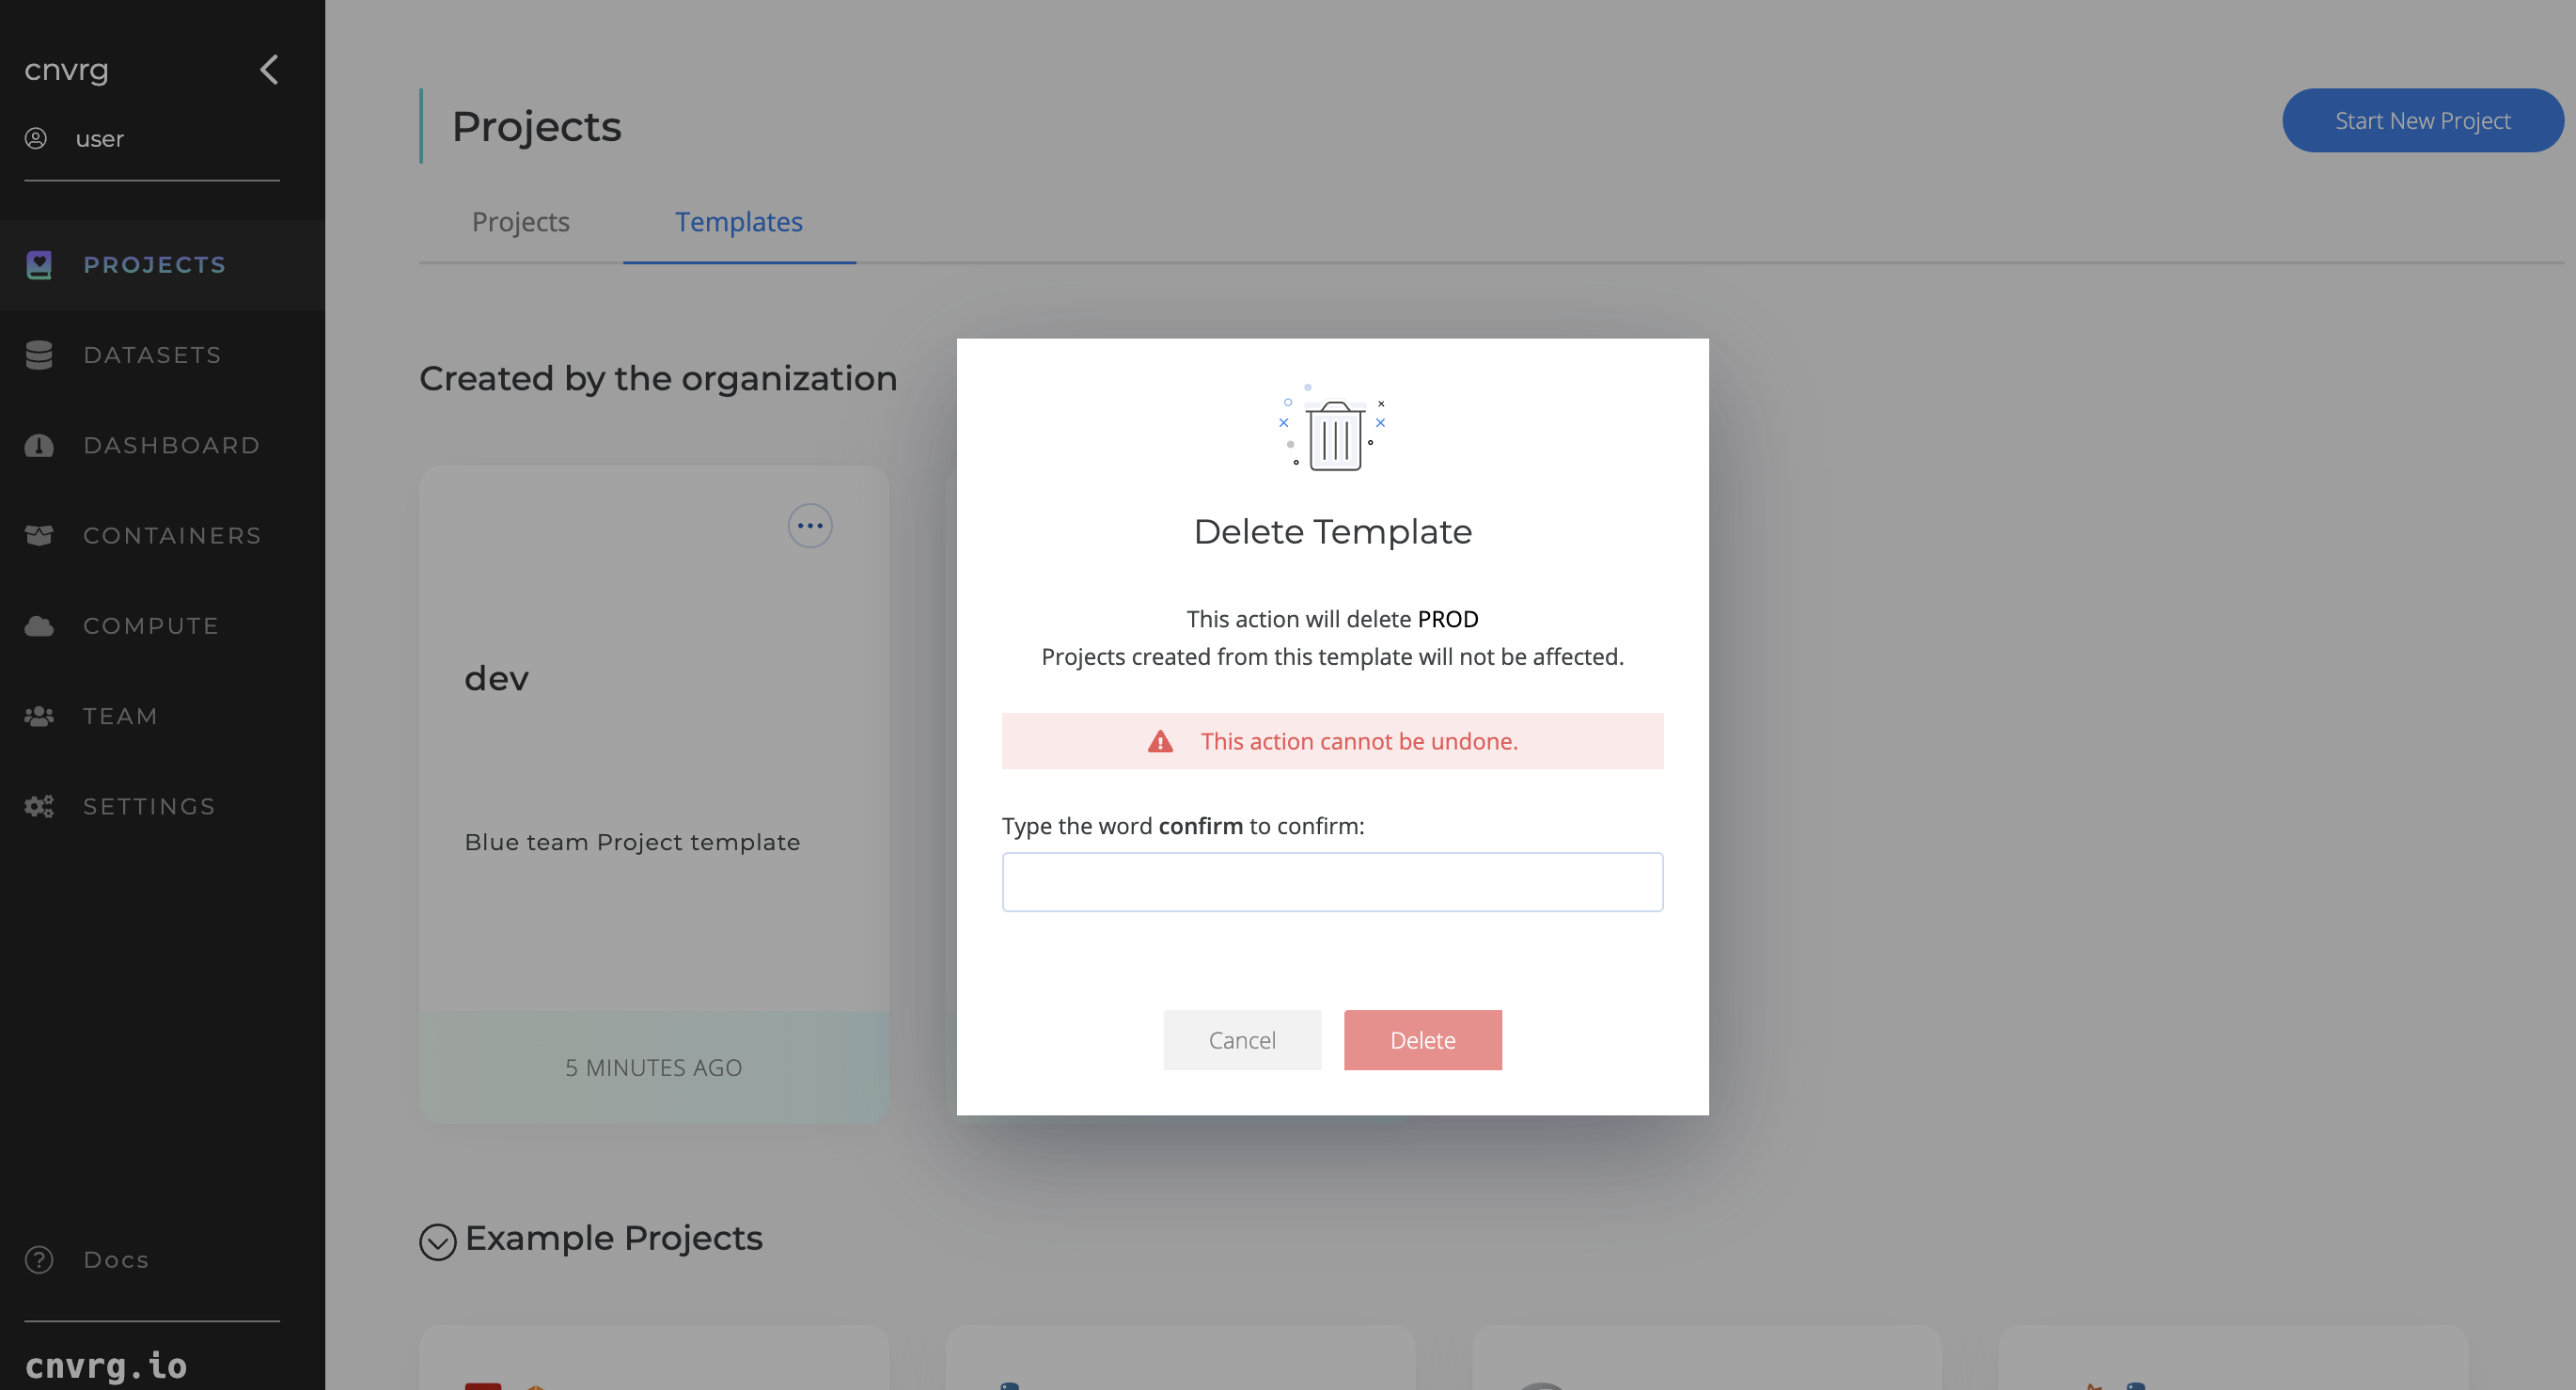
Deleting a project template:
- Navigate to Project Templates Page.
- Actions on the Project Template card: Click “Delete Template”.
- Confirm deletion.
Start New Project from Template:
- Navigate to Projects page.
- Navigate to Templates tab.
- Click on the Project Template you desire.
- Enjoy.
# Main Project Screen

The main AI Studio Project screen shows a summary of your Project, including the number of Experiments run, active Endpoints, active Workspaces, and active Apps. The main Project screen also includes an Activity Feed that documents all of the activity in the Project.
On the left, the main Project screen presents tabs for easy access to information such as Project research and files.
From this screen you can start a Workspace, or access an active Workspace, and link your Project to a Git repository.
# Projects Labels
The Projects Labels feature allows users to apply customizable tags to projectss, enhancing organization and navigation. By categorizing items, users can efficiently locate and manage resources based on their needs and development stages.
- Enhanced Organization: categorize projectss by status, type, or other criteria.
- Improved Navigation: quickly find specific items using label filters.
- Future Readiness: keep inactive or long-term projects accessible with relevant labels.
How to Create and Manage Labels:
- Navigate to Organization Settings.
- Navigate to projectss labels section.
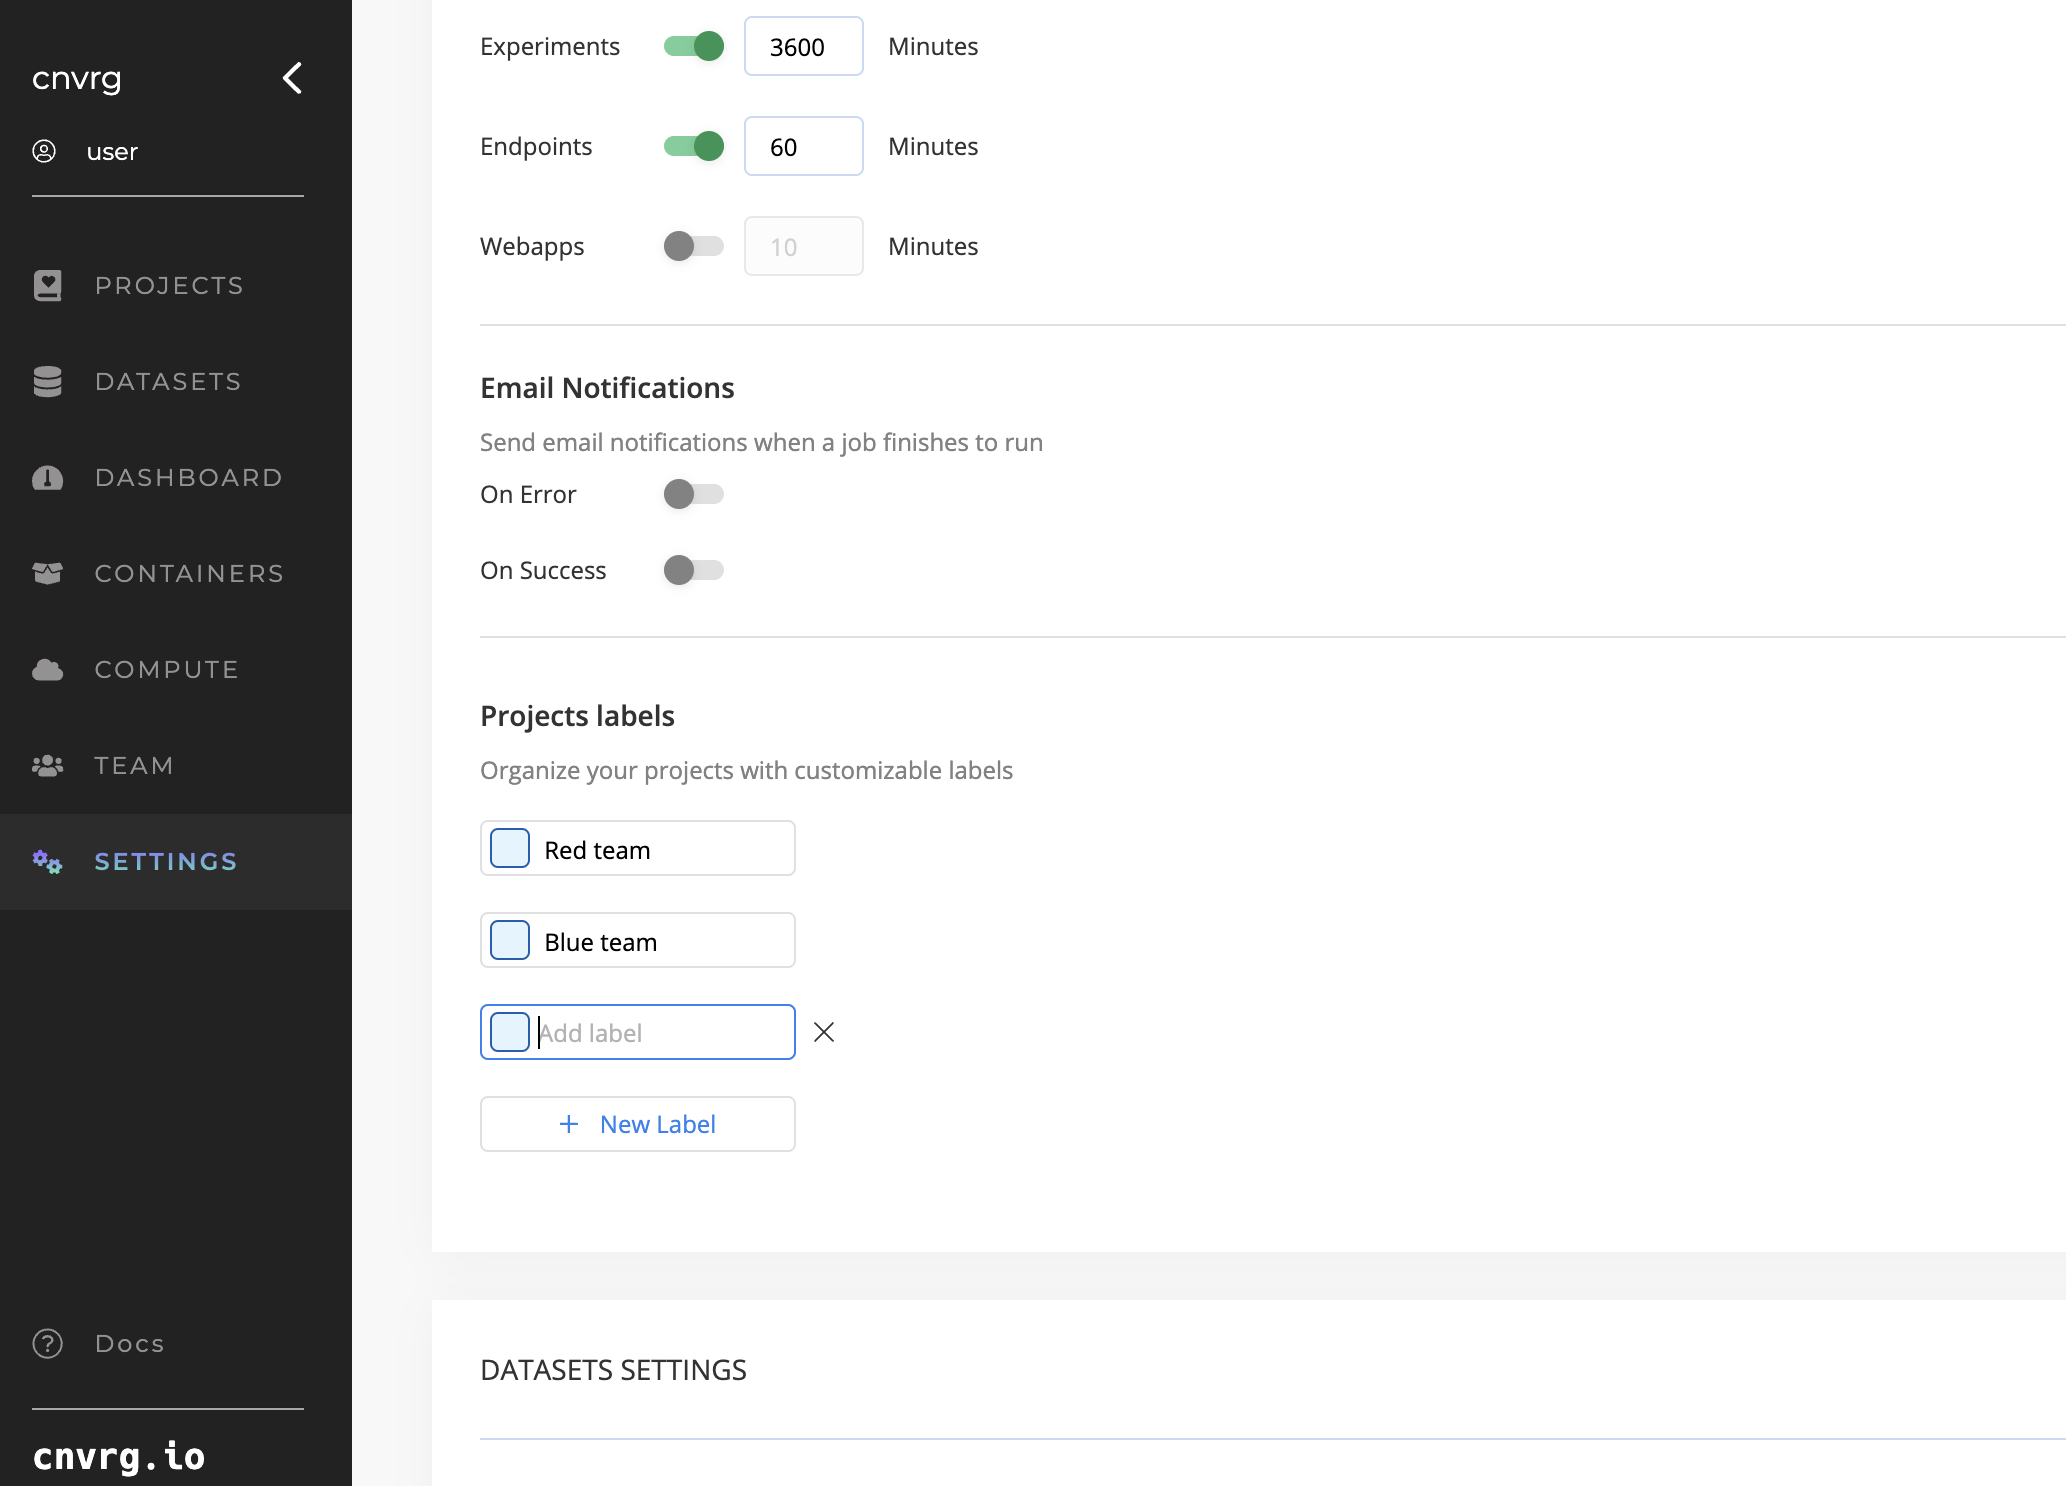
- Add New Label: Click ‘New Label' to create new label.
- Edit: Click on the label you want to change and edit and to update all occurrences of the label.
- Delete: Click on the X to delete. Removing a label deletes it from all associated datasets.
Operations with Labels:
- Apply Labels: On the Dataset card, click “Add Label” and select from the list.
- Remove Labels: On the Dataset card, click “Remove Label” to remove it only from that card.
- Change Label: Click on an existing label to view and select from all label options available for your organization.

# Files
AI Studio offers out-of-the-box version control for your Project. With the simple drag-and-drop UI or the CLI, you can have your Project files (code, artifacts) automatically tracked and versioned.
# File viewer
AI Studio has inline support for rendering a viewing of the following file types:
- Images
- CSVs
- Scripts (Python, R, txt, .sh, yaml, etc.)
- Notebooks and .ipynb files
Simply navigate to the file inside the Files tab and click it to view it.

# File version comparisons
AI Studio tracks multiple versions of your files. To compare the differences between saved versions of a specific file, use the Diff button. This is beneficial for comparing scripts and text files.
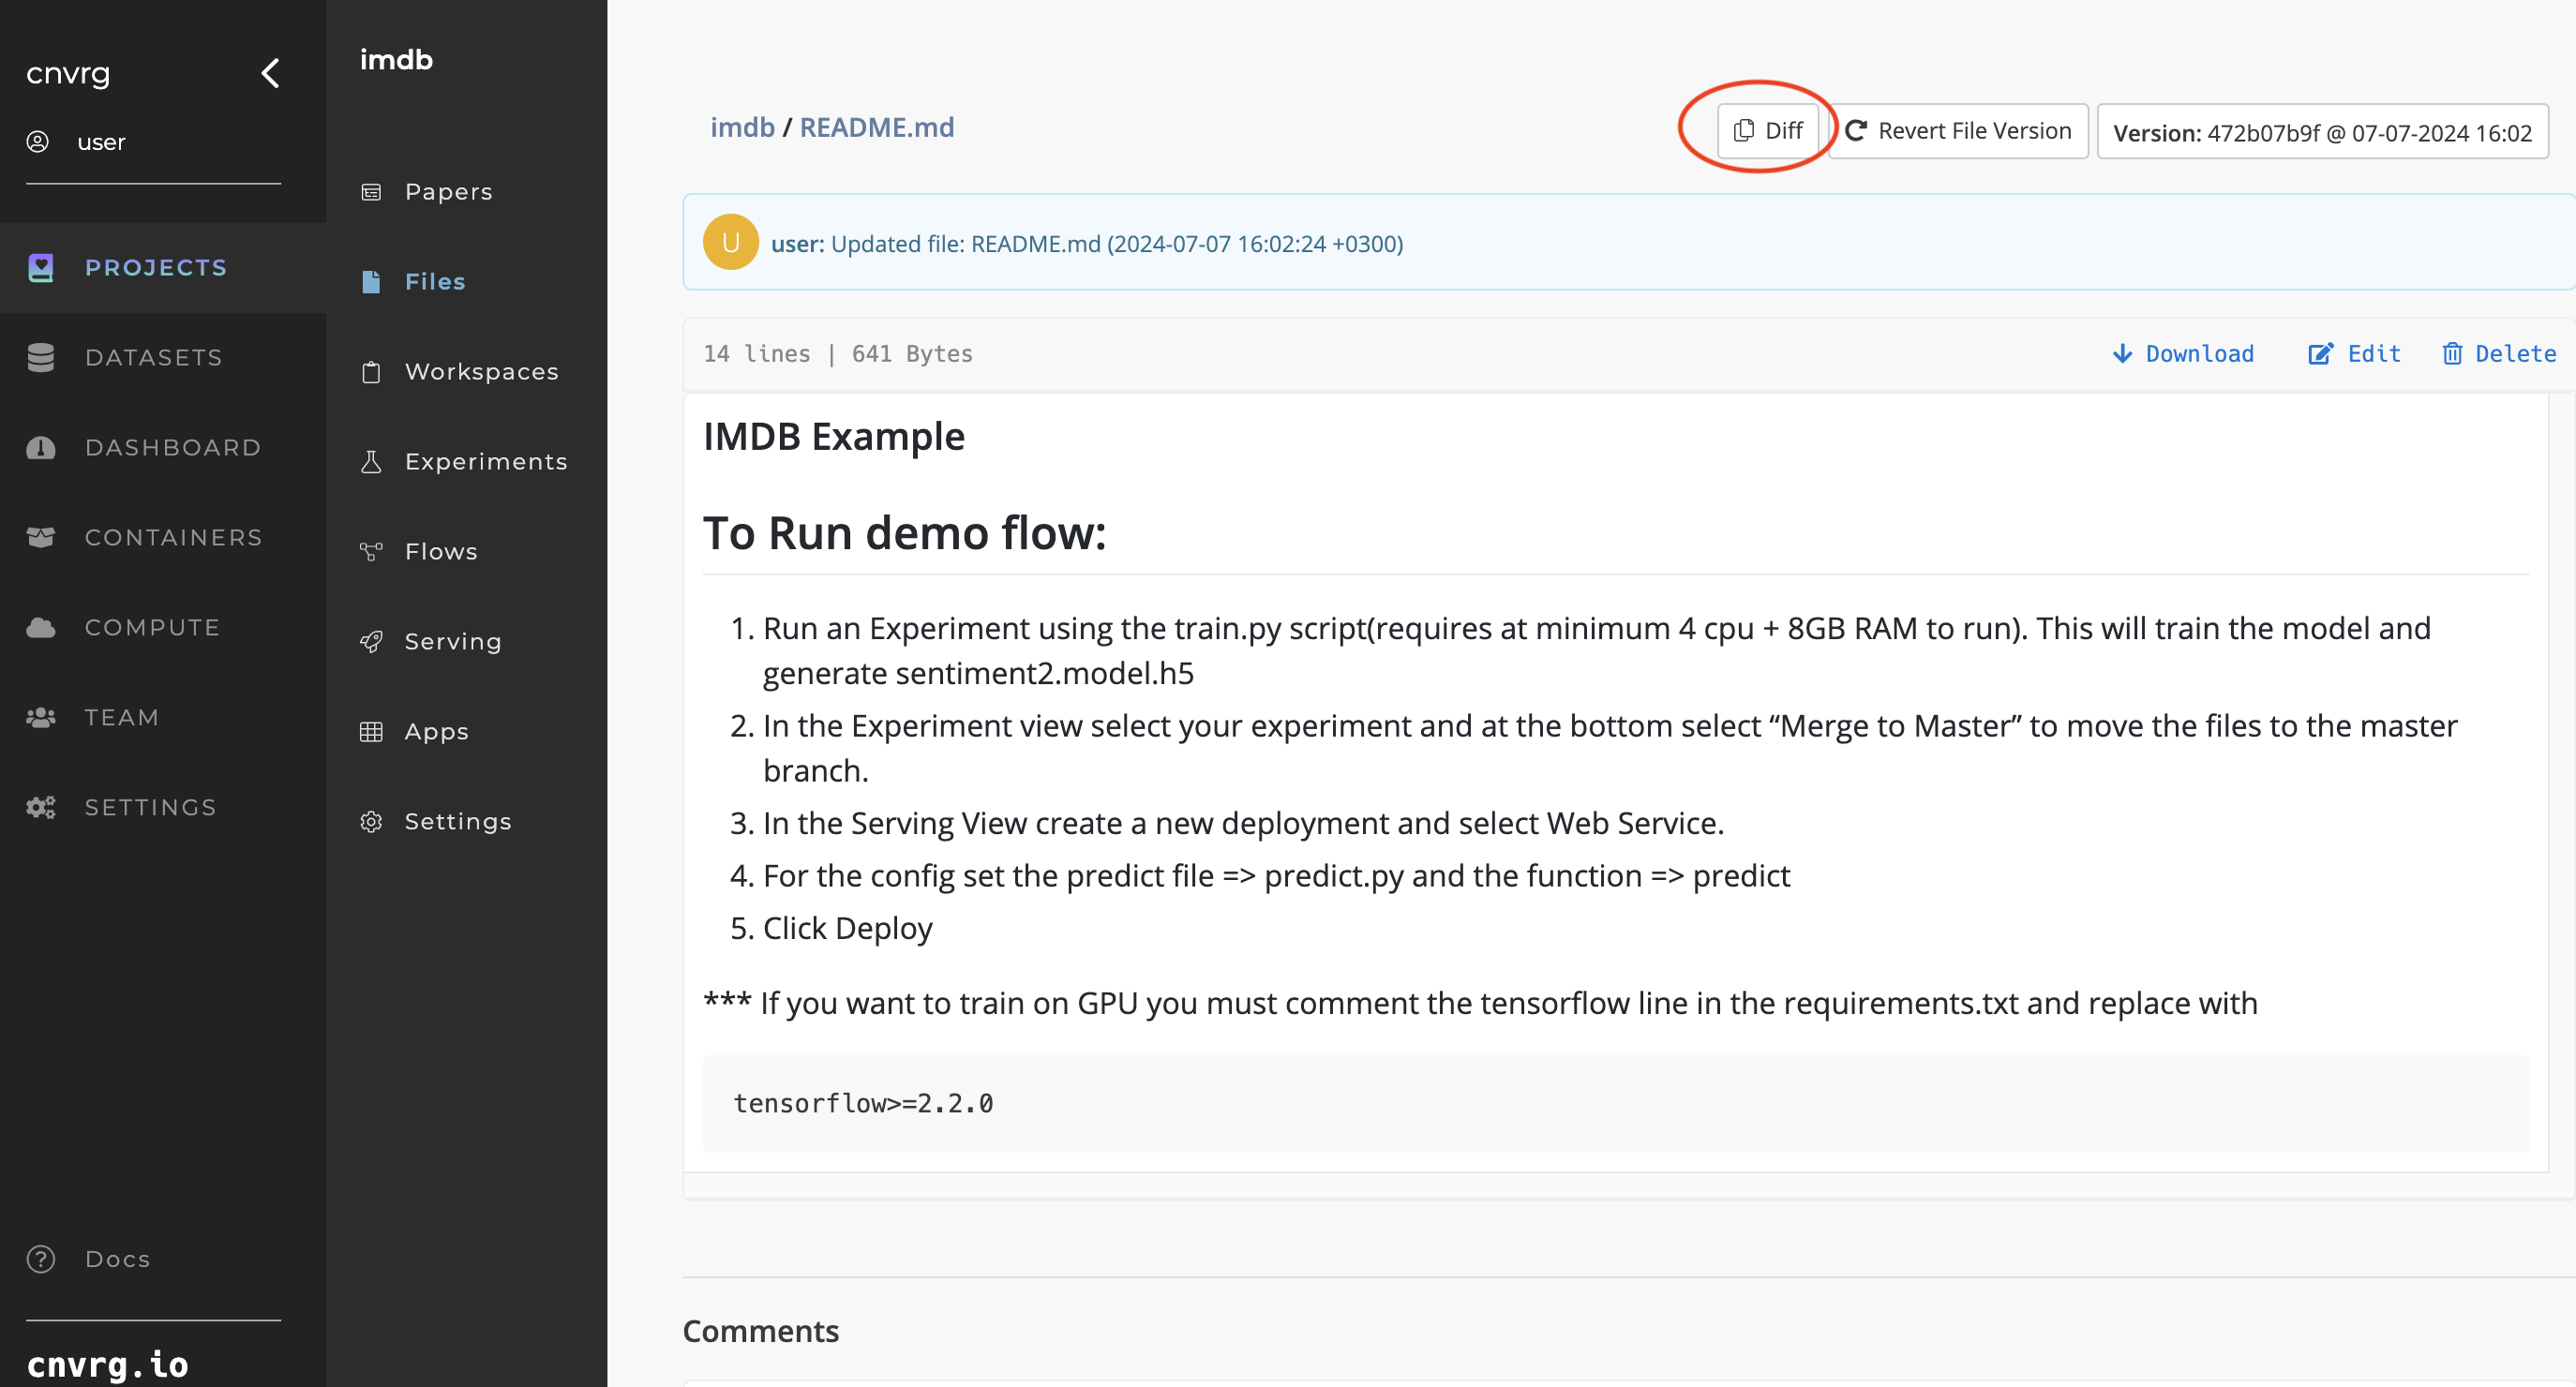
Complete the following steps to compare the difference between two versions of the same file:
- Navigate to the file you want to compare.
- In the Version drop-down list, select the version to compare against.
- Click Diff on the second version's page.
AI Studio compares the selected version and the current version and highlights all of the differences.
When comparing scripts or text files, AI Studio places the files alongside each other and highlights the deletions and additions.

# Commits
AI Studio automatically creates new commits for Experiments and Workspace syncs, along with any changes in your Project files.
NOTE
When a Project is connected to Git, only the designated output folder is synced and managed by AI Studio.
To view a different commit, click the Files tab of a Project and then the Version menu. Then, select a different commit. You can also change commits while viewing a specific file.
Moreover, you can compare all the file's changes in a specific commit by using the Compare button.
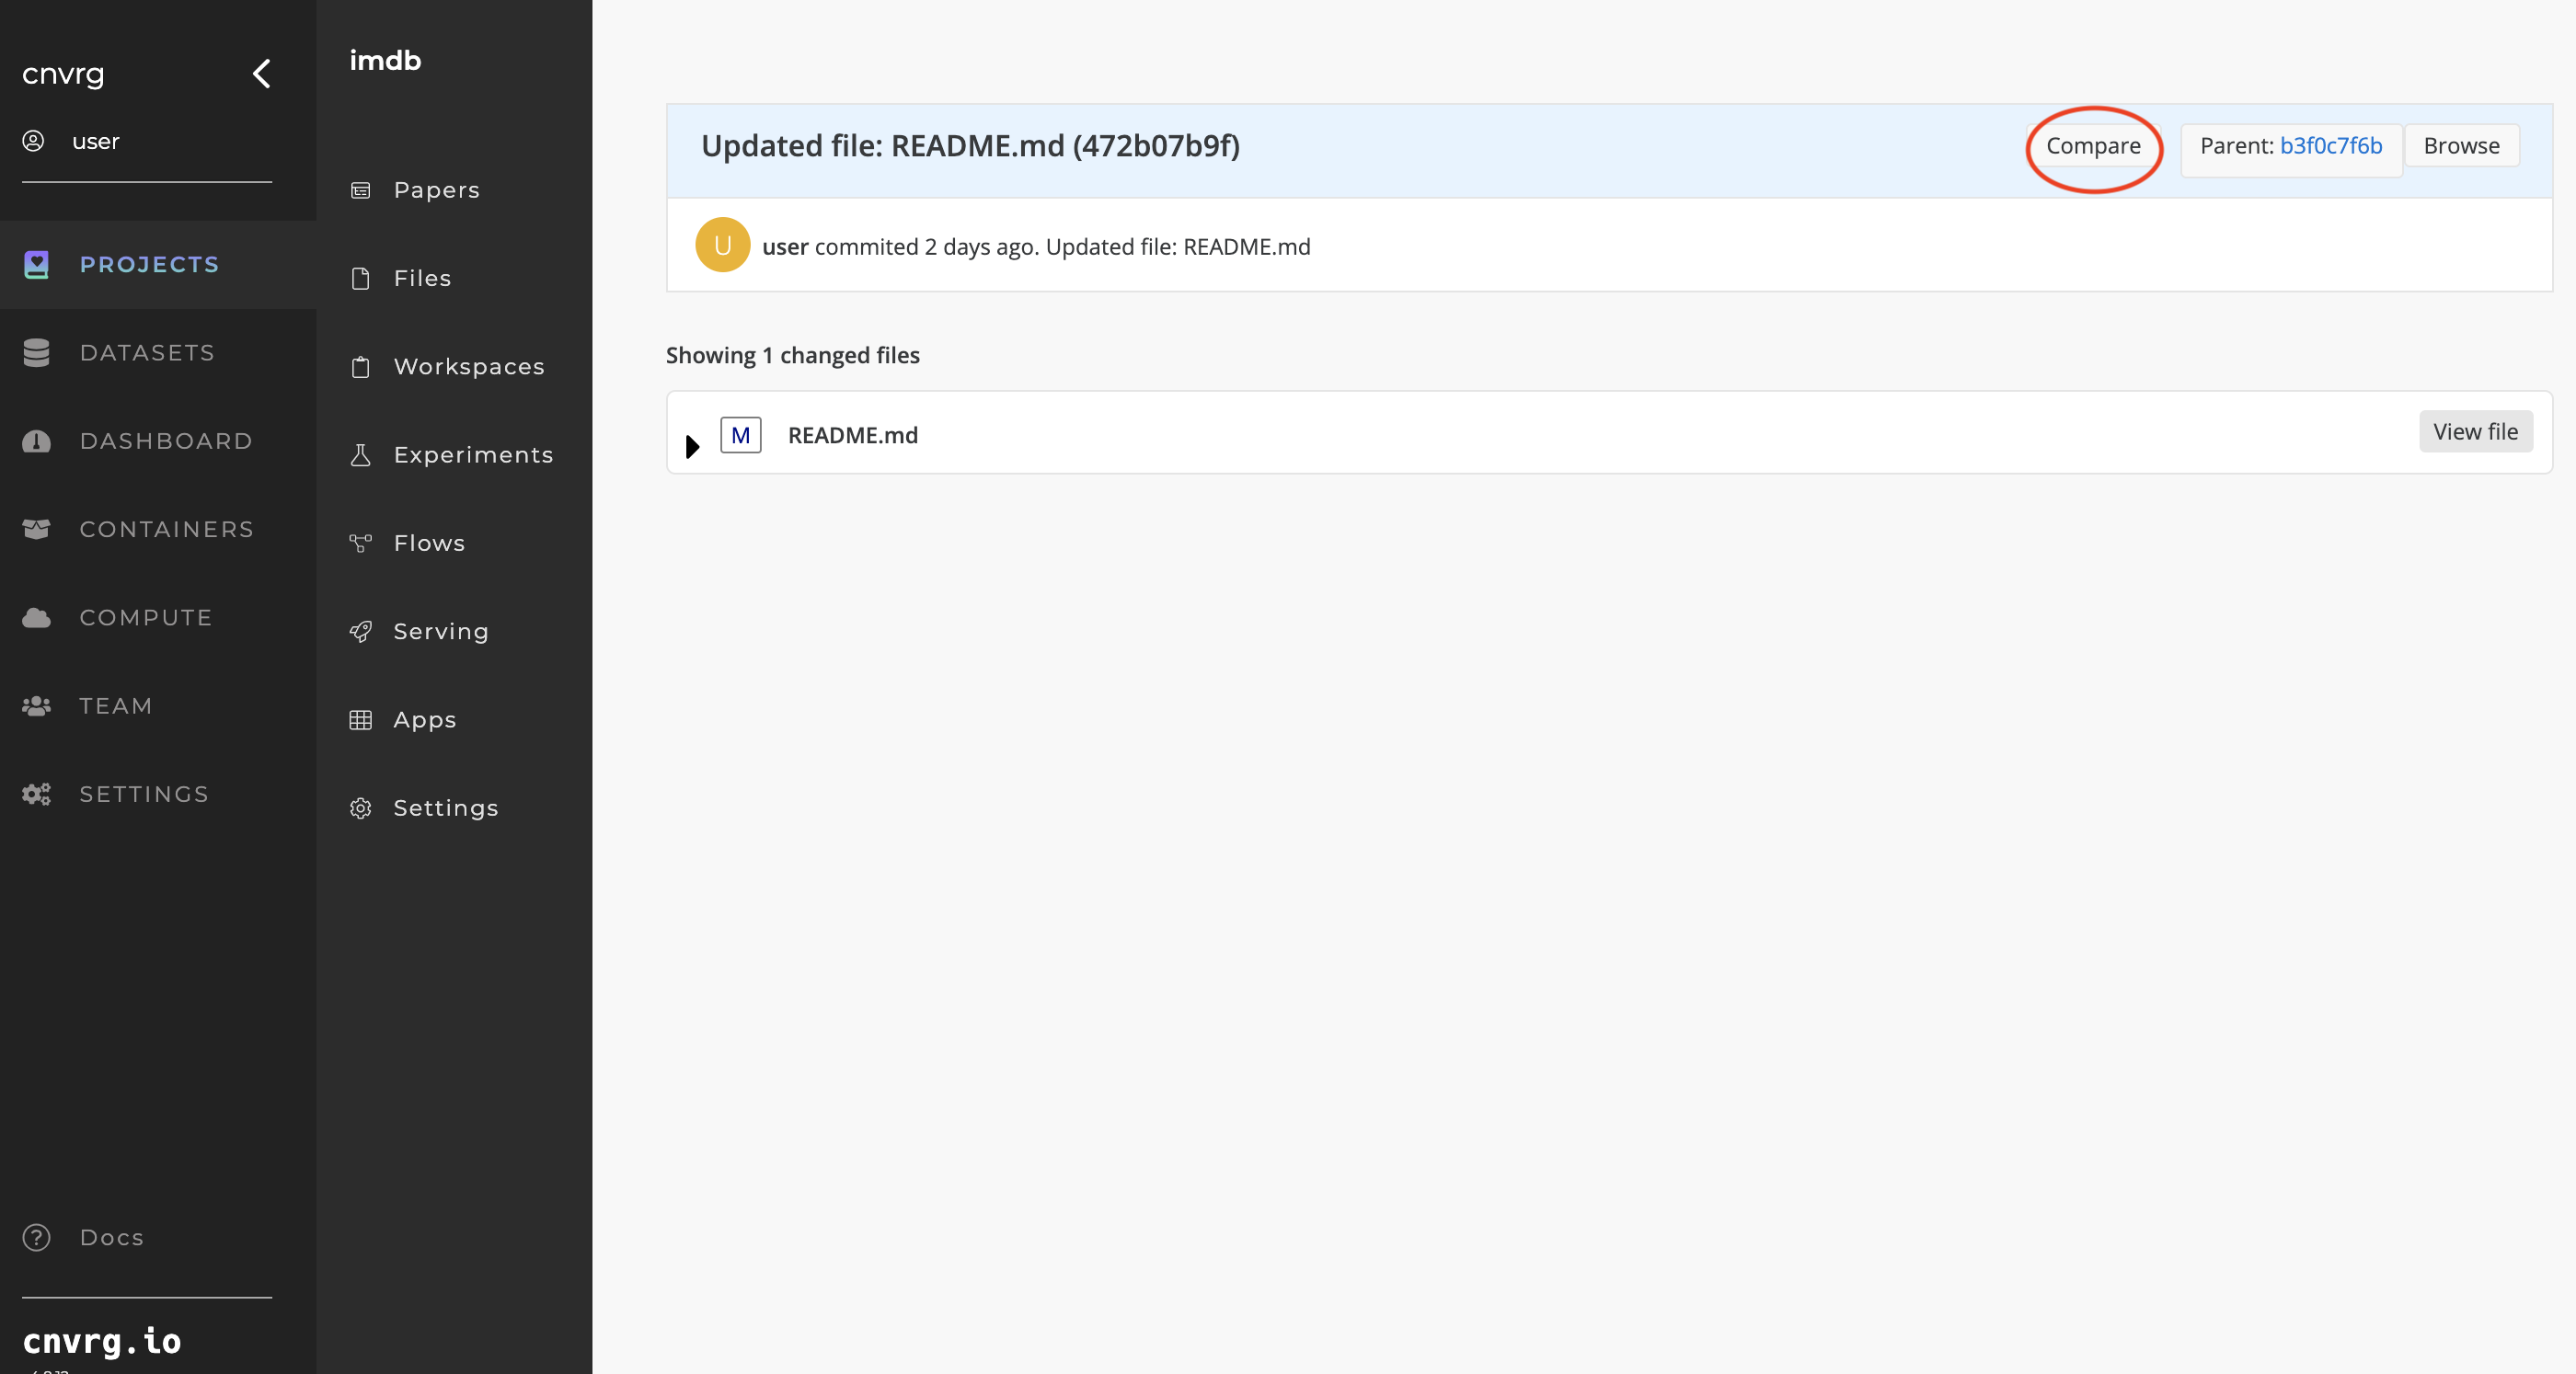
Complete the following steps to compare all the changes in specific commit:
- In the Commits drop-down list, select the specific commit.
- Click View Commit.
- Click Compare to show all changed files.
- Click View file to show changes in the file.
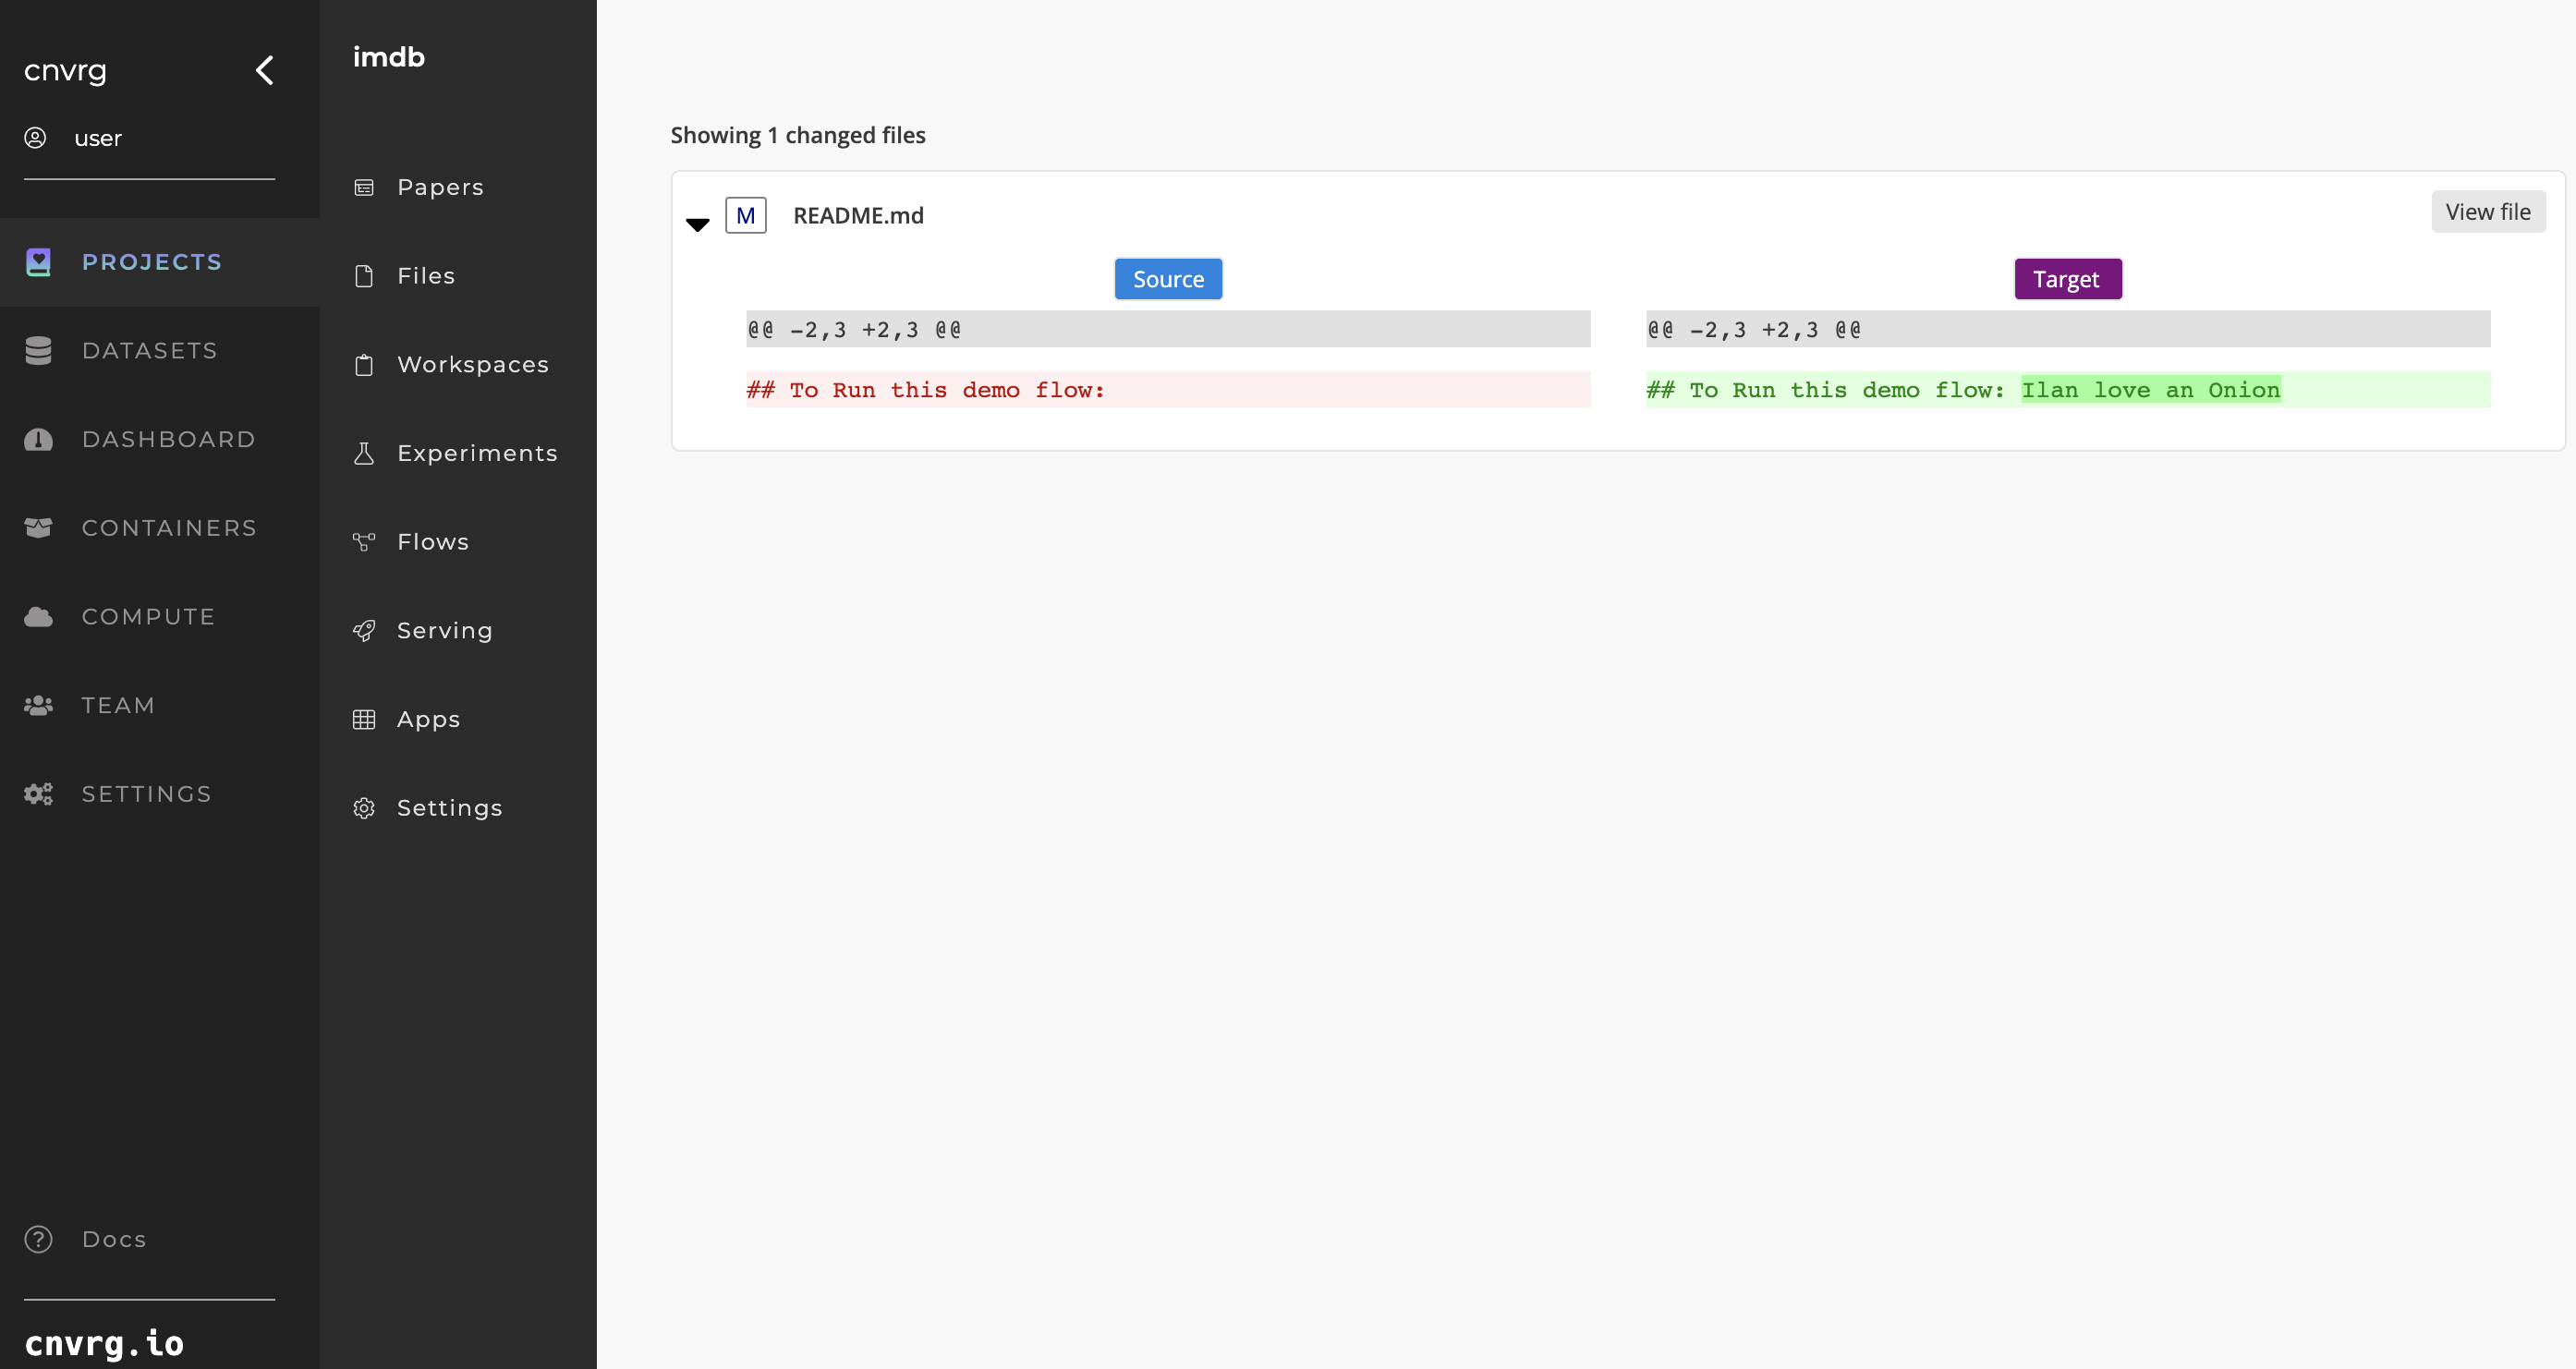 AI Studio shows the selected version and highlights all the changes.
# Branches
When working on a Workspace or from your local environment (PyCharm and others), all changes are pushed to the master branch using AI Studio version control.
Every Experiment run creates its own separate branch for the changes it makes. For example, if you run two Experiments in parallel, with the same start_commit, they both create two different end_commits. This way, you ensure everything is tracked and no conflicts or unnecessary merges are made.
TIP
Use the .cnvrgignore file to ignore files that you don't want to be synced to the platform.
# Sync a Project with a local Project directory
To synchronize the file changes of a local Project with its corresponding AI Studio Project, use the following command:
cnvrgv2 project sync
TIP
Find more information for using the CLI with your Project here.
# Project Settings
For each Project, AI Studio provides the option to configure many different settings. Access the Project settings using the Settings tab on your Project's sidebar. Descriptions for each section are provided below.
# General Settings
The following General Settings can be configured:

- Name: Enter the name of the Project (Note: You cannot change the name after the project is created.)
- Description: Enter the description of the Project.
- Privacy: Use the drop-down arrow to set the Project as Private or Public.
- Delete Project: Click the Delete Project button to delete the Project (Warning: You cannot recover deleted Projects.)
# Collaborators
Making collaboration simpler is a key goal in AI Studio's mission. As such, every Project in AI Studio can have multiple members. Projects are private by default and only their collaborators can access them.
To view, add, or remove collaborators from your Project, click the Settings tab of the Project and then click the Collaborators tab.

TIP
More details on how collaboration works in AI Studio can be found here.
# Add a collaborator
Complete the following steps to add a collaborator to a Project:
- Go to Project > Settings > Collaborators.
- Click the Add Collaborator drop-down list.
- Enter the username or email of the person you wish to add, or select the user from the list.
- Click Save.
AI Studio will then add the user as a collaborator on the Project.
# Remove a collaborator
Complete the following steps to remove a collaborator from a Project:
- Go to Project > Settings > Collaborators.
- Click the Remove button next to the user to remove.
AI Studio will then remove the user from the Project.
NOTE
Administrators in your organization have access to all Projects, without being added as a collaborator.
# Git Integration
AI Studio has native integration with Git. Leveraging this feature allows you to use an external Git repository to track your code and files, while using AI Studio to track your data science resources, such as models and Experiments.
When integrating a AI Studio Project with Git, AI Studio automatically clones your Git project before starting your job. You can specify a branch and commit when starting a Workspace, Experiment, Flow task, or Endpoint. Any artifacts and assets that are created during the job (like models, datasets, and plots) are stored using AI Studio's file system and are associated with the job for future reference.

# Linking your Git repo with a AI Studio Project
Go to your Project Settings tab and click the Git Integration tab. Here, set the Git Repository Url and the Git Branch. Specify whether the repo is Public.
There are two ways to authenticate AI Studio with Git for your Private repositories:
- SSH public and private key pair (done per project)
- OAuth token (done per user)
TIP
You cannot link an empty Git repository. Ensure you have a branch before connecting.
# SSH public and private key pair
Generate an SSH public and private key pair. The public key is given to the Git repository and the private key is entered into AI Studio. Make sure you do not create a key that uses a password.
Click the Git Integration tab of your Project settings. Click Private Repo and then enter your SSH private key in the corresponding box.
Ensure the private key does not include a passphrase and it is entered with the following format:
-----BEGIN RSA PRIVATE KEY-----
...
-----END RSA PRIVATE KEY-----
Click Save. Your Project now clones your private Git repository when running jobs.
Here are several links to instructions from major Git services providing instructions to generate SSH keys:
You must generate a new pair for every Git repository you are linking with AI Studio.
WARNING
When you enter the Git repo link in the project settings, use the SSH format.
# OAuth token
You can authenticate your AI Studio account with your Git account using an OAuth token by adding it to your AI Studio account settings.
Navigate to your AI Studio account settings. Enter the OAuth token in the corresponding Git Access Token field. Click Save. Now your AI Studio account can access all the same Git repositories that your Git account has access to.
You still need to link the AI Studio Project to the Git repository in its Settings. Navigate to the Git Integration tab in the Project settings to do so.
Here are links from major Git services providing instructions to generate OAuth tokens:
TIP
This gives your AI Studio account access to the same private repos your Git account has access to.
WARNING
When you enter the Git repo link in the Project settings, use the https://.
# Saving artifacts when using Git
To track a job's artifacts (such as notebook checkpoints and Experiment outputs), you must indicate to AI Studio where to locate the artifacts your code produces.
When running the job, indicate to AI Studio the directory where your code is saving the files to. The default is output in the project's home directory.
For example, if your code saves outputs like this:
model.save_weights('artifacts/model.weights')
Then, select artifacts as your output folder.

WARNING
Ensure the output directory matches the one specified in your code, otherwise AI Studio cannot track your artifacts.
# Environment
This section is where important Environment variables are configured. Ensure there are no spaces before or after any entries. Optionally, you may use the defaults to define the Image and Compute selections.
The following Environment variables can be configured:

- Image: Add a default Docker image to your Project.
- Compute: Set a default compute template(s) to run your jobs on.
- Command To Execute: Set a default command for Experiments in the Project.
- Working Directory: Set the default working directory for Experiments. The command to be executed is called inside the selected working directory.
- Environment Variables: Set key value pairs to be exported as environment variables when a job is started.
- Run TensorBoard automatically: If enabled, the TensorBoard starts running automatically when a job starts.
- Restart when idle: Disable or enable to restart AI Studio Experiments that haven't printed new logs for more than a predefined time (the default is 60 minutes).
- Autosync: Turn off or on to perform periodic automatic syncs.
- Sync Time: Set the duration between each automatic sync.
- On Spot Termination: If set to on, when you lose access to a spot, AI Studio syncs the Experiment and restarts it on-demand.
- Use single deploy api key: Use one set of keys when publishing Endpoints in the Project.
- Email notifications: Set the default settings for whether to send email notifications when an Experiment finishes successfully or encounters an error.
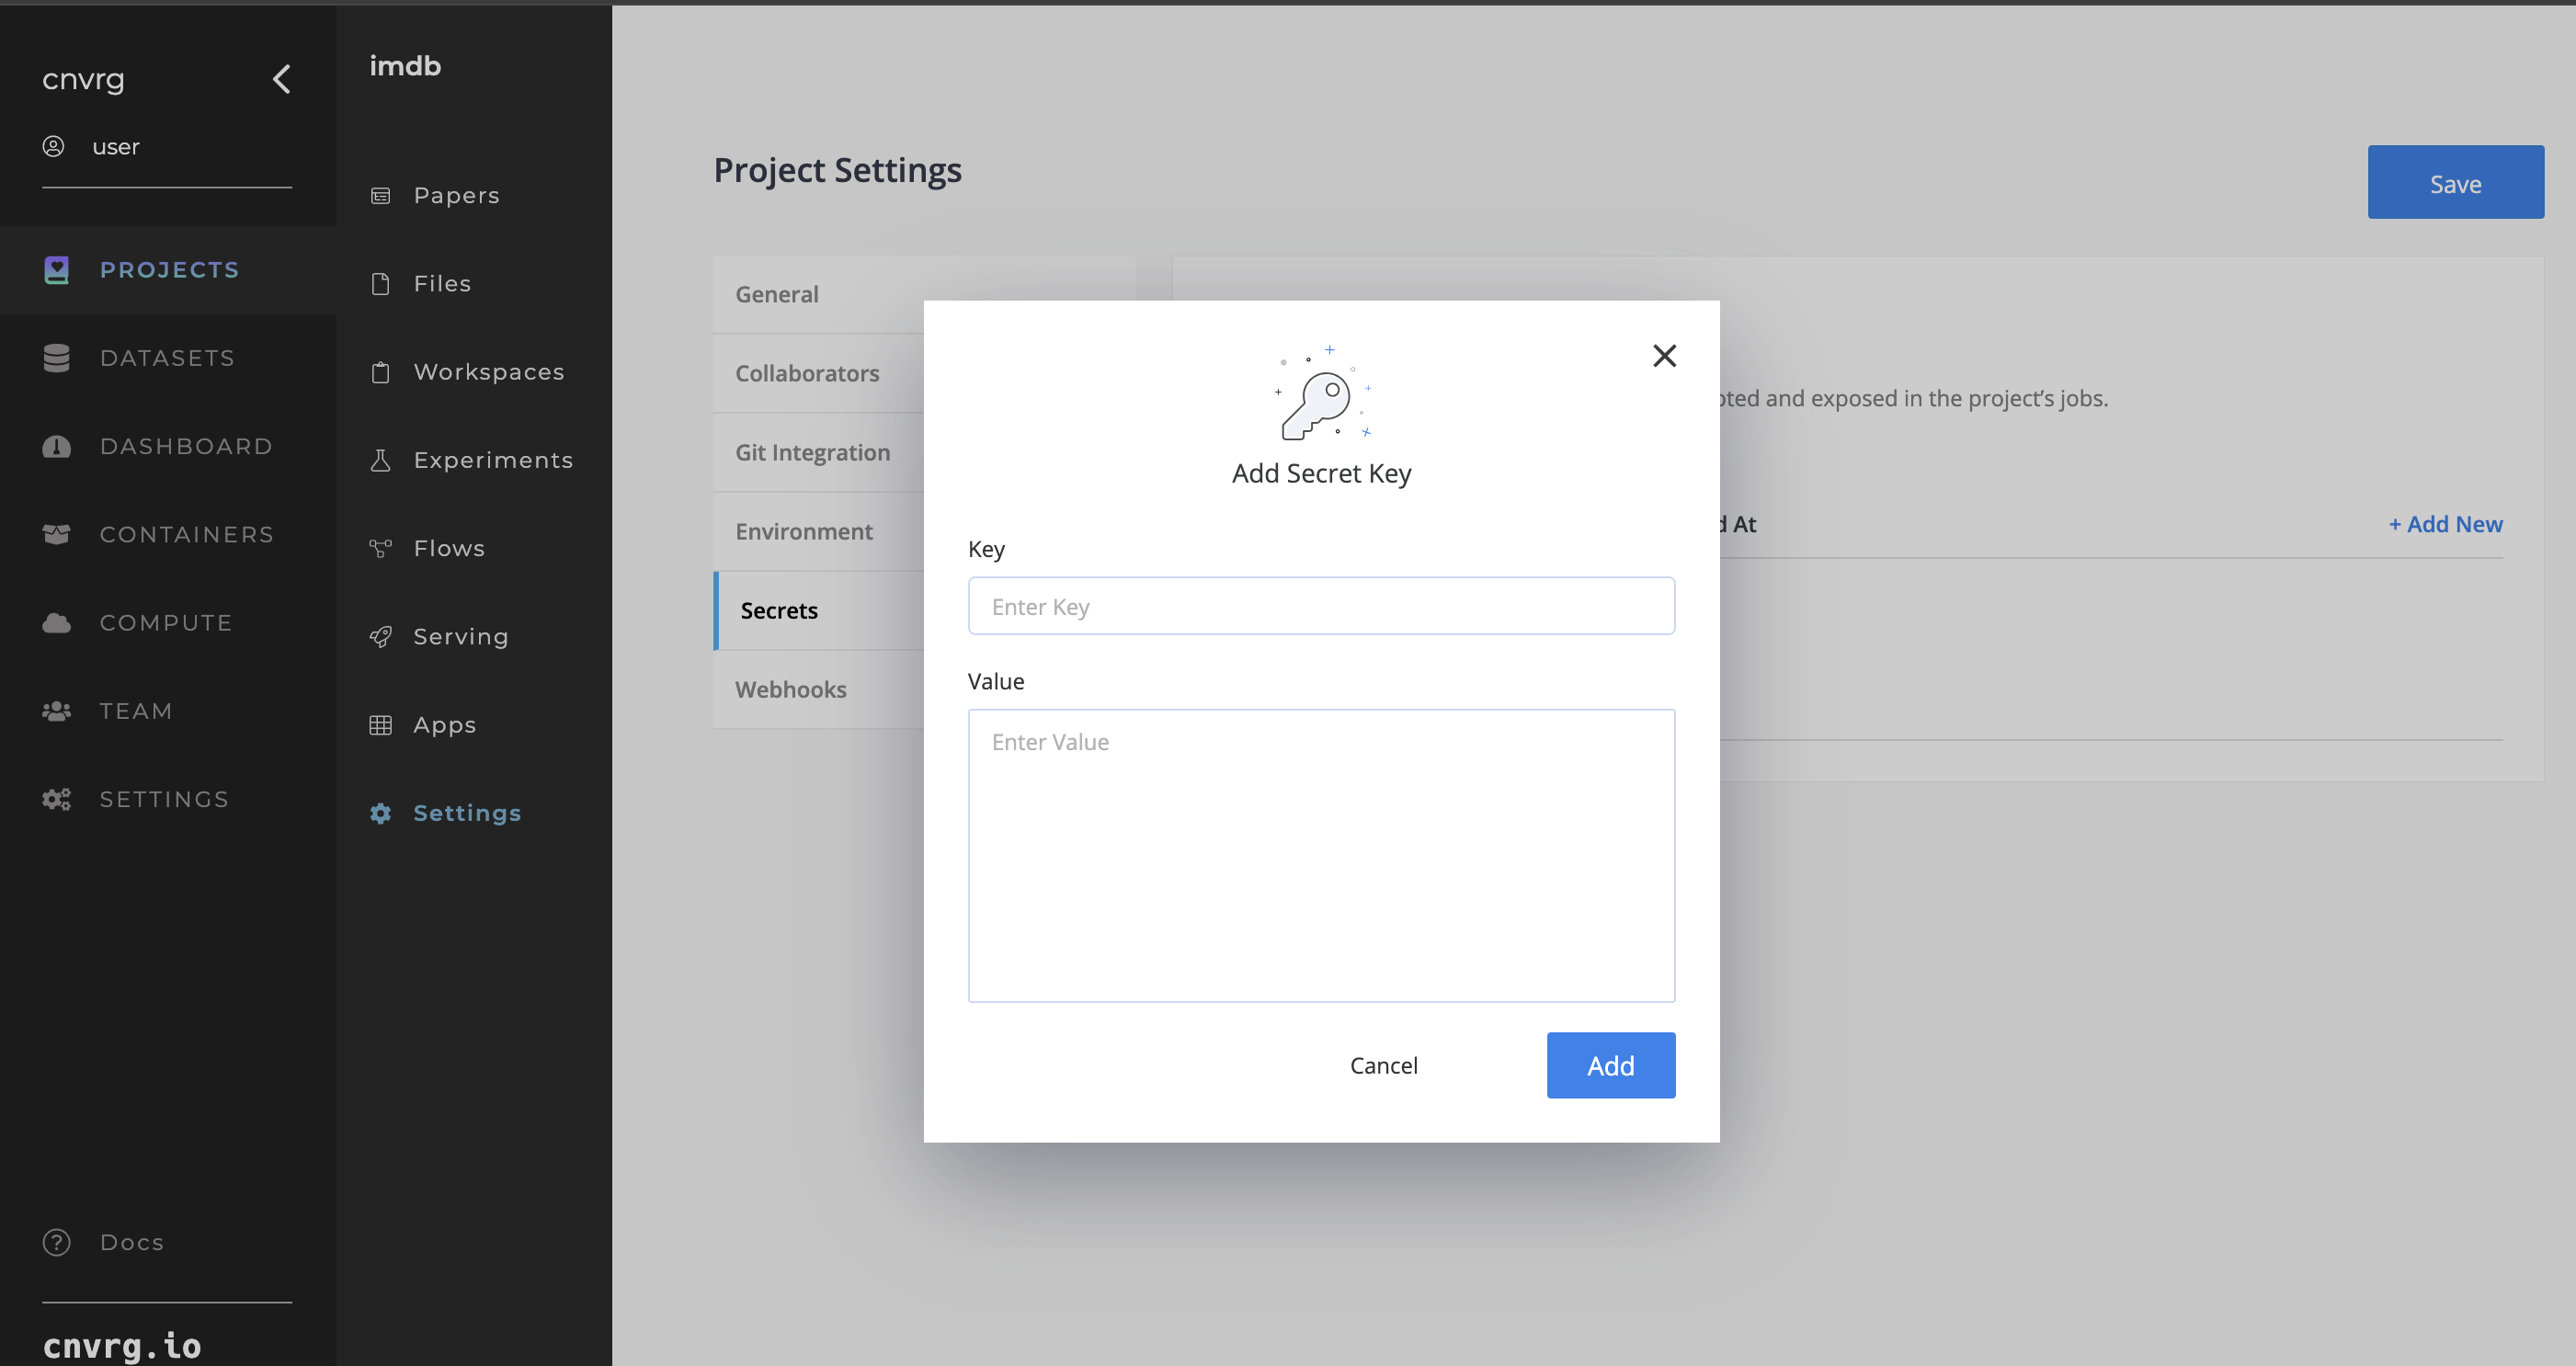
# Project Secrets
Secrets are encrypted environment variables that are created in your Project and are attached to each job run in the Project.
# Creating a secret
In your Project's Settings tab, click the Secrets tab. Here, click + Add New and add the Secret Key and Secret Value. Then click the Add button.
The following rules apply to secret keys and values:
- Secret keys can contain only alphanumeric characters ([a-z], [A-Z], [0-9]) or underscores (_). Spaces are not allowed.
- Secret keys cannot start with a number.
- Secret keys must be unique.
- Secret values are limited to 253 characters.
# Accessing your secrets
Secrets are available in every job you run in the Project's environment variables:
- For jobs executed on a Kubernetes cluster, their secrets are mounted as Kubernetes Secrets
- For jobs executed on a machine, their secrets are mounted as Docker environment variables
For example, in Python code you can access a secret key named "AWS_ACCESS_KEY" in the following way:
import os
os.environ.get("AWS_ACCESS_KEY")
NOTE
Updating environment variables and secrets doesn't affect running jobs, only new and restarted jobs.
# Webhooks
Webhooks settings in AI Studio provides a method to augment or alter the behavior of a webpage or webapp using custom callbacks. These callbacks may be maintained, modified, and managed by third-party users and developers who may not necessarily be affiliated with the originating website or application.
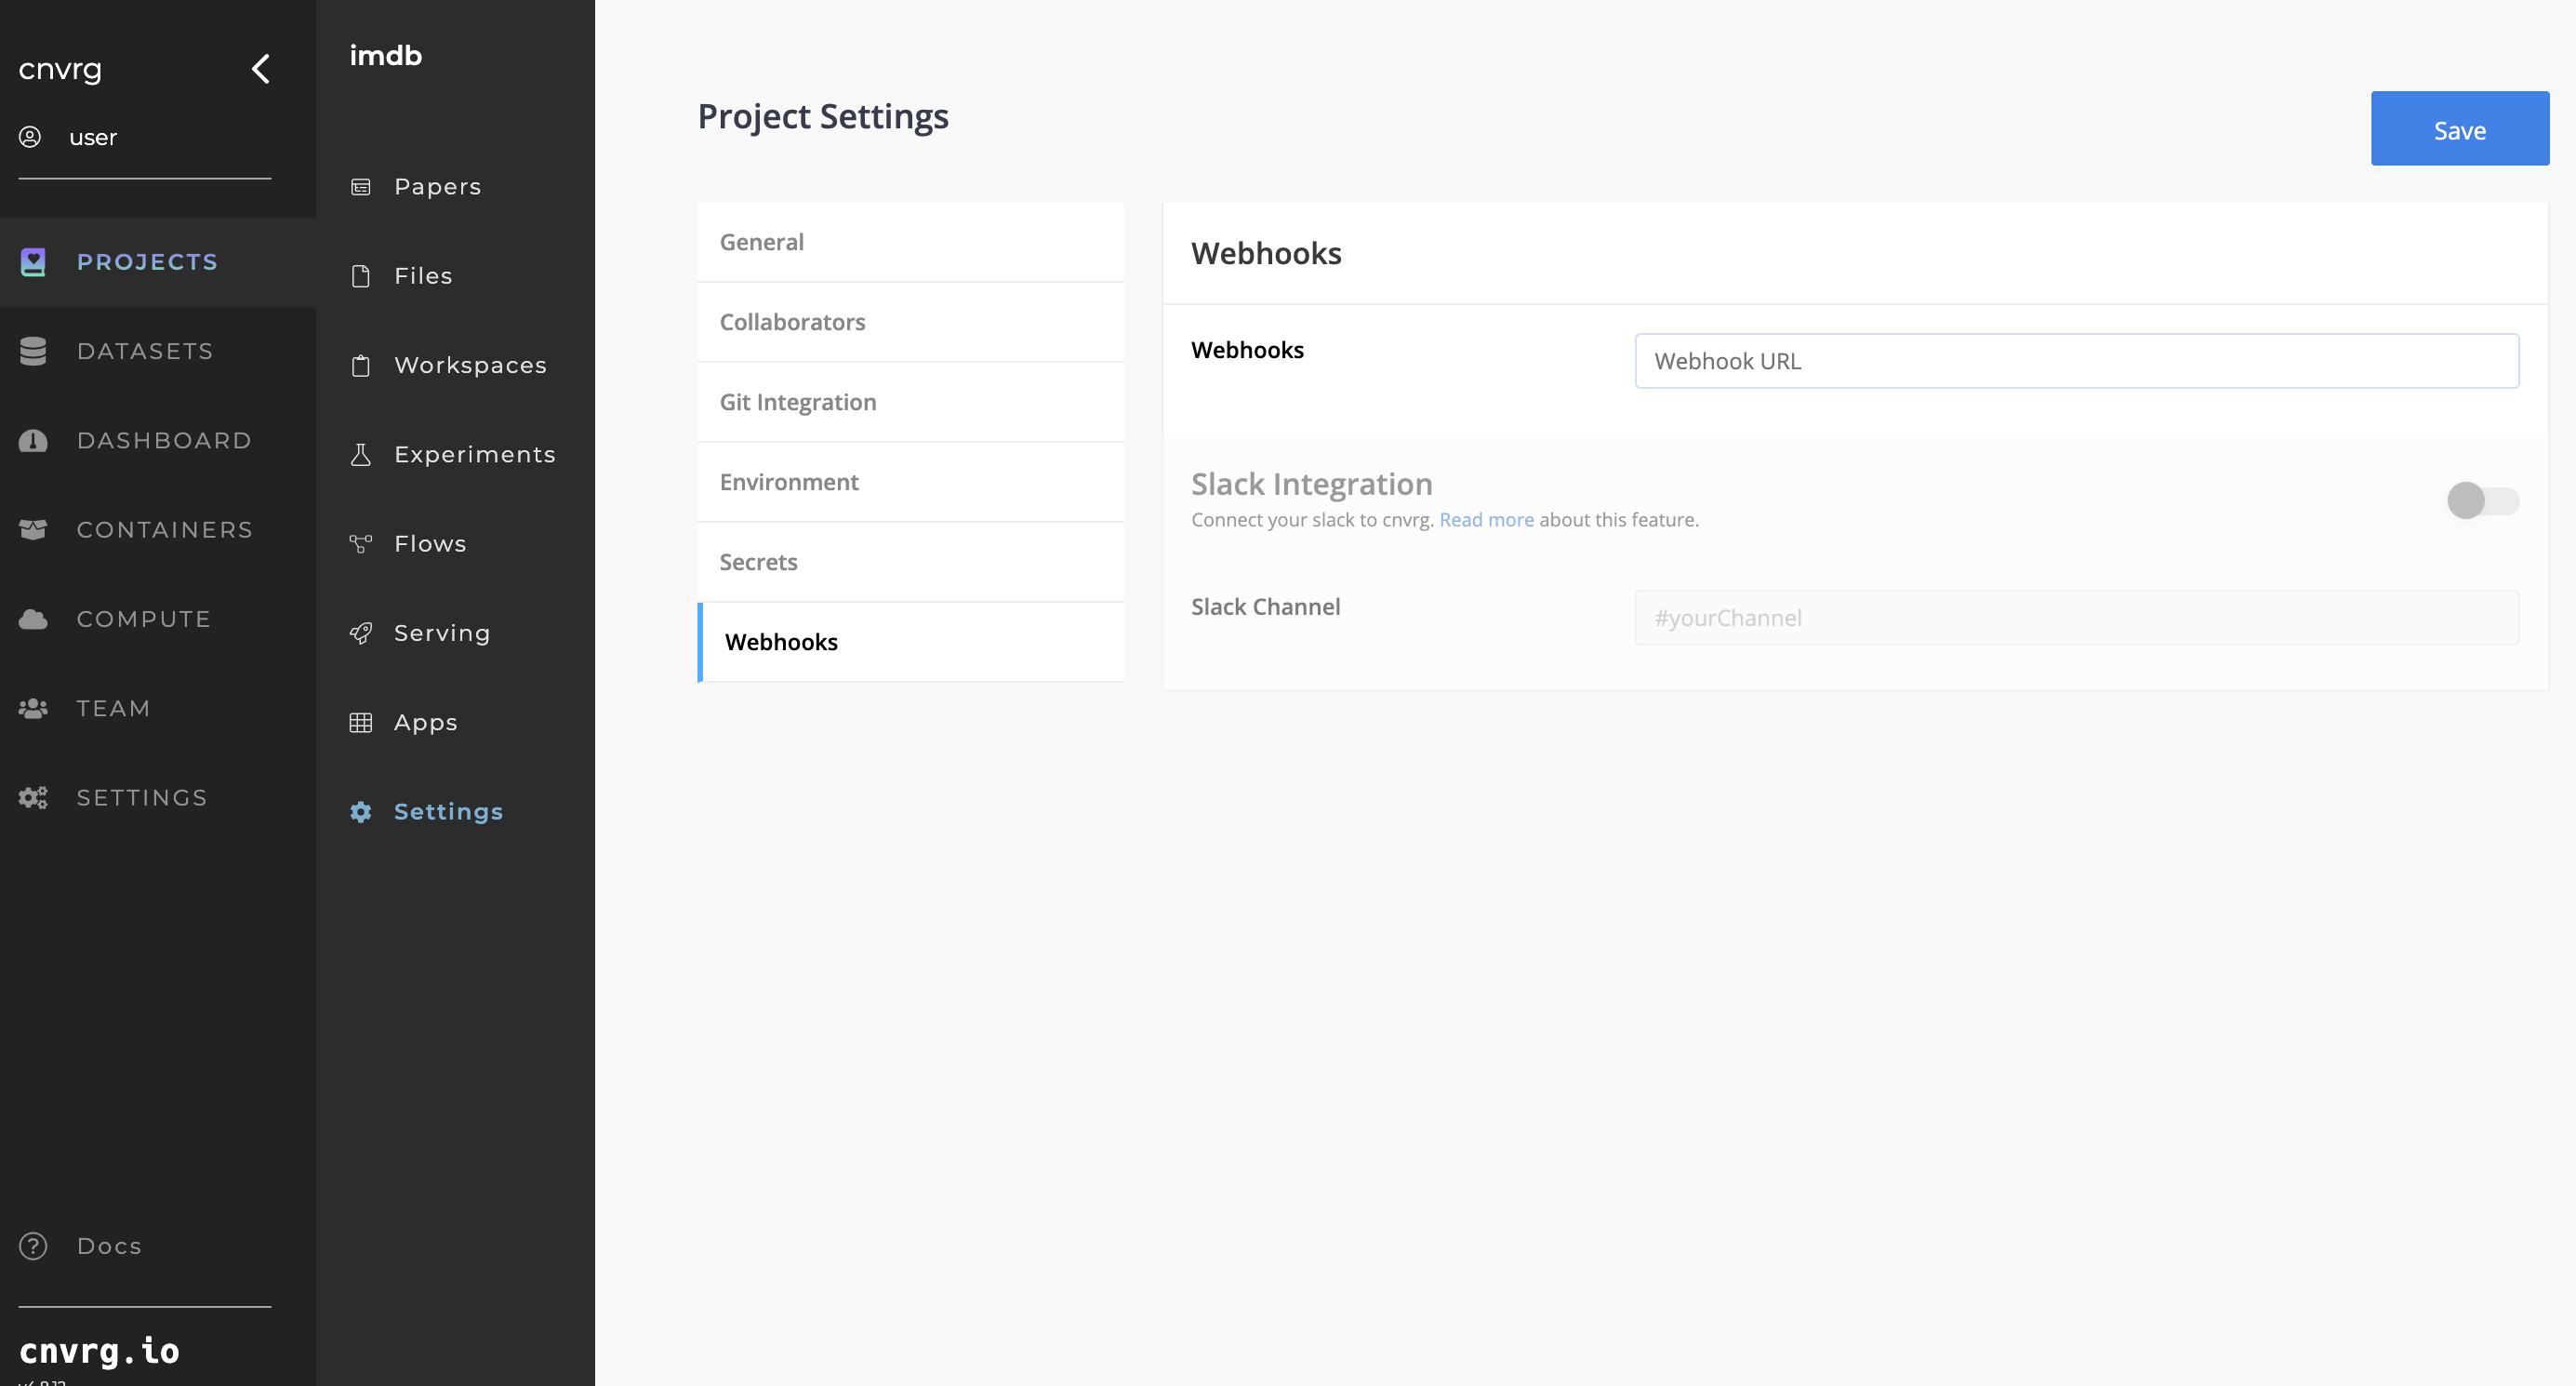
The Webhooks section also provides the ability to configure Slack integration and specify the name of a Slack channel to receive real-time alerts on Experiments, as discussed next.
# Slack Integration
AI Studio includes the capability to send Experiment notifications to a Slack user or channel. This can help users keep updated with the status of their running Experiments.

← Overview Datasources →