# Create a GCP Google Container Registry
To be able tp push and pull images to a custom GCP GCR container registry, you will need to add the registry's URL to cnvrg.
This guide will explain how to locate the URL for your custom registry and how to add it to cnvrg.
# Prerequisites: Prepare Your Local Environment
Before you can complete the setup, you must install and prepare the following dependencies on your local machine:
# Enable the Google Container Registry API
If you have not already done so, you will need to enable the Google Container Registry API. It can be enabled using the following gcloud CLI command:
gcloud services enable containerregistry.googleapis.com
# Find the Information for your Registry URL
A GCR URL is constructed from two pieces of information:
- Hostname/Location
- Project ID
# Hostname/Location
You can choose any of the four possible choices for Hostname:
| Hostname | Explanation |
|---|---|
gcr.io | hosts images in data centers in the United States, but the location may change in the future |
us.gcr.io | hosts image in data centers in the United States, in a separate storage bucket from images hosted by gcr.io |
eu.gcr.io | hosts the images in the European Union |
asia.gcr.io | hosts images in data centers in Asia |
Choose one of the above hostnames.
# Project ID
Your GCR will exist in affiliation with a project in GCP. You can determine the GCP projects you have access to bu running the following command:
gcloud projects list
Choose the relevant project ID.
# Construct the Registry URL
The URL is simply:
hostname/project-id
That is to say, take the chosen hostname and project and combine them to create the desired GCR registry URL.
EXAMPLE
For example, if you chose the hostname gcr.io and are using the project id cnvrg-12345, the GCR registry URL would be: gcr.io/cnvrg-12345
# Add the Registry URL to cnvrg
Now, we will take the URL we just built and add it to cnvrg:
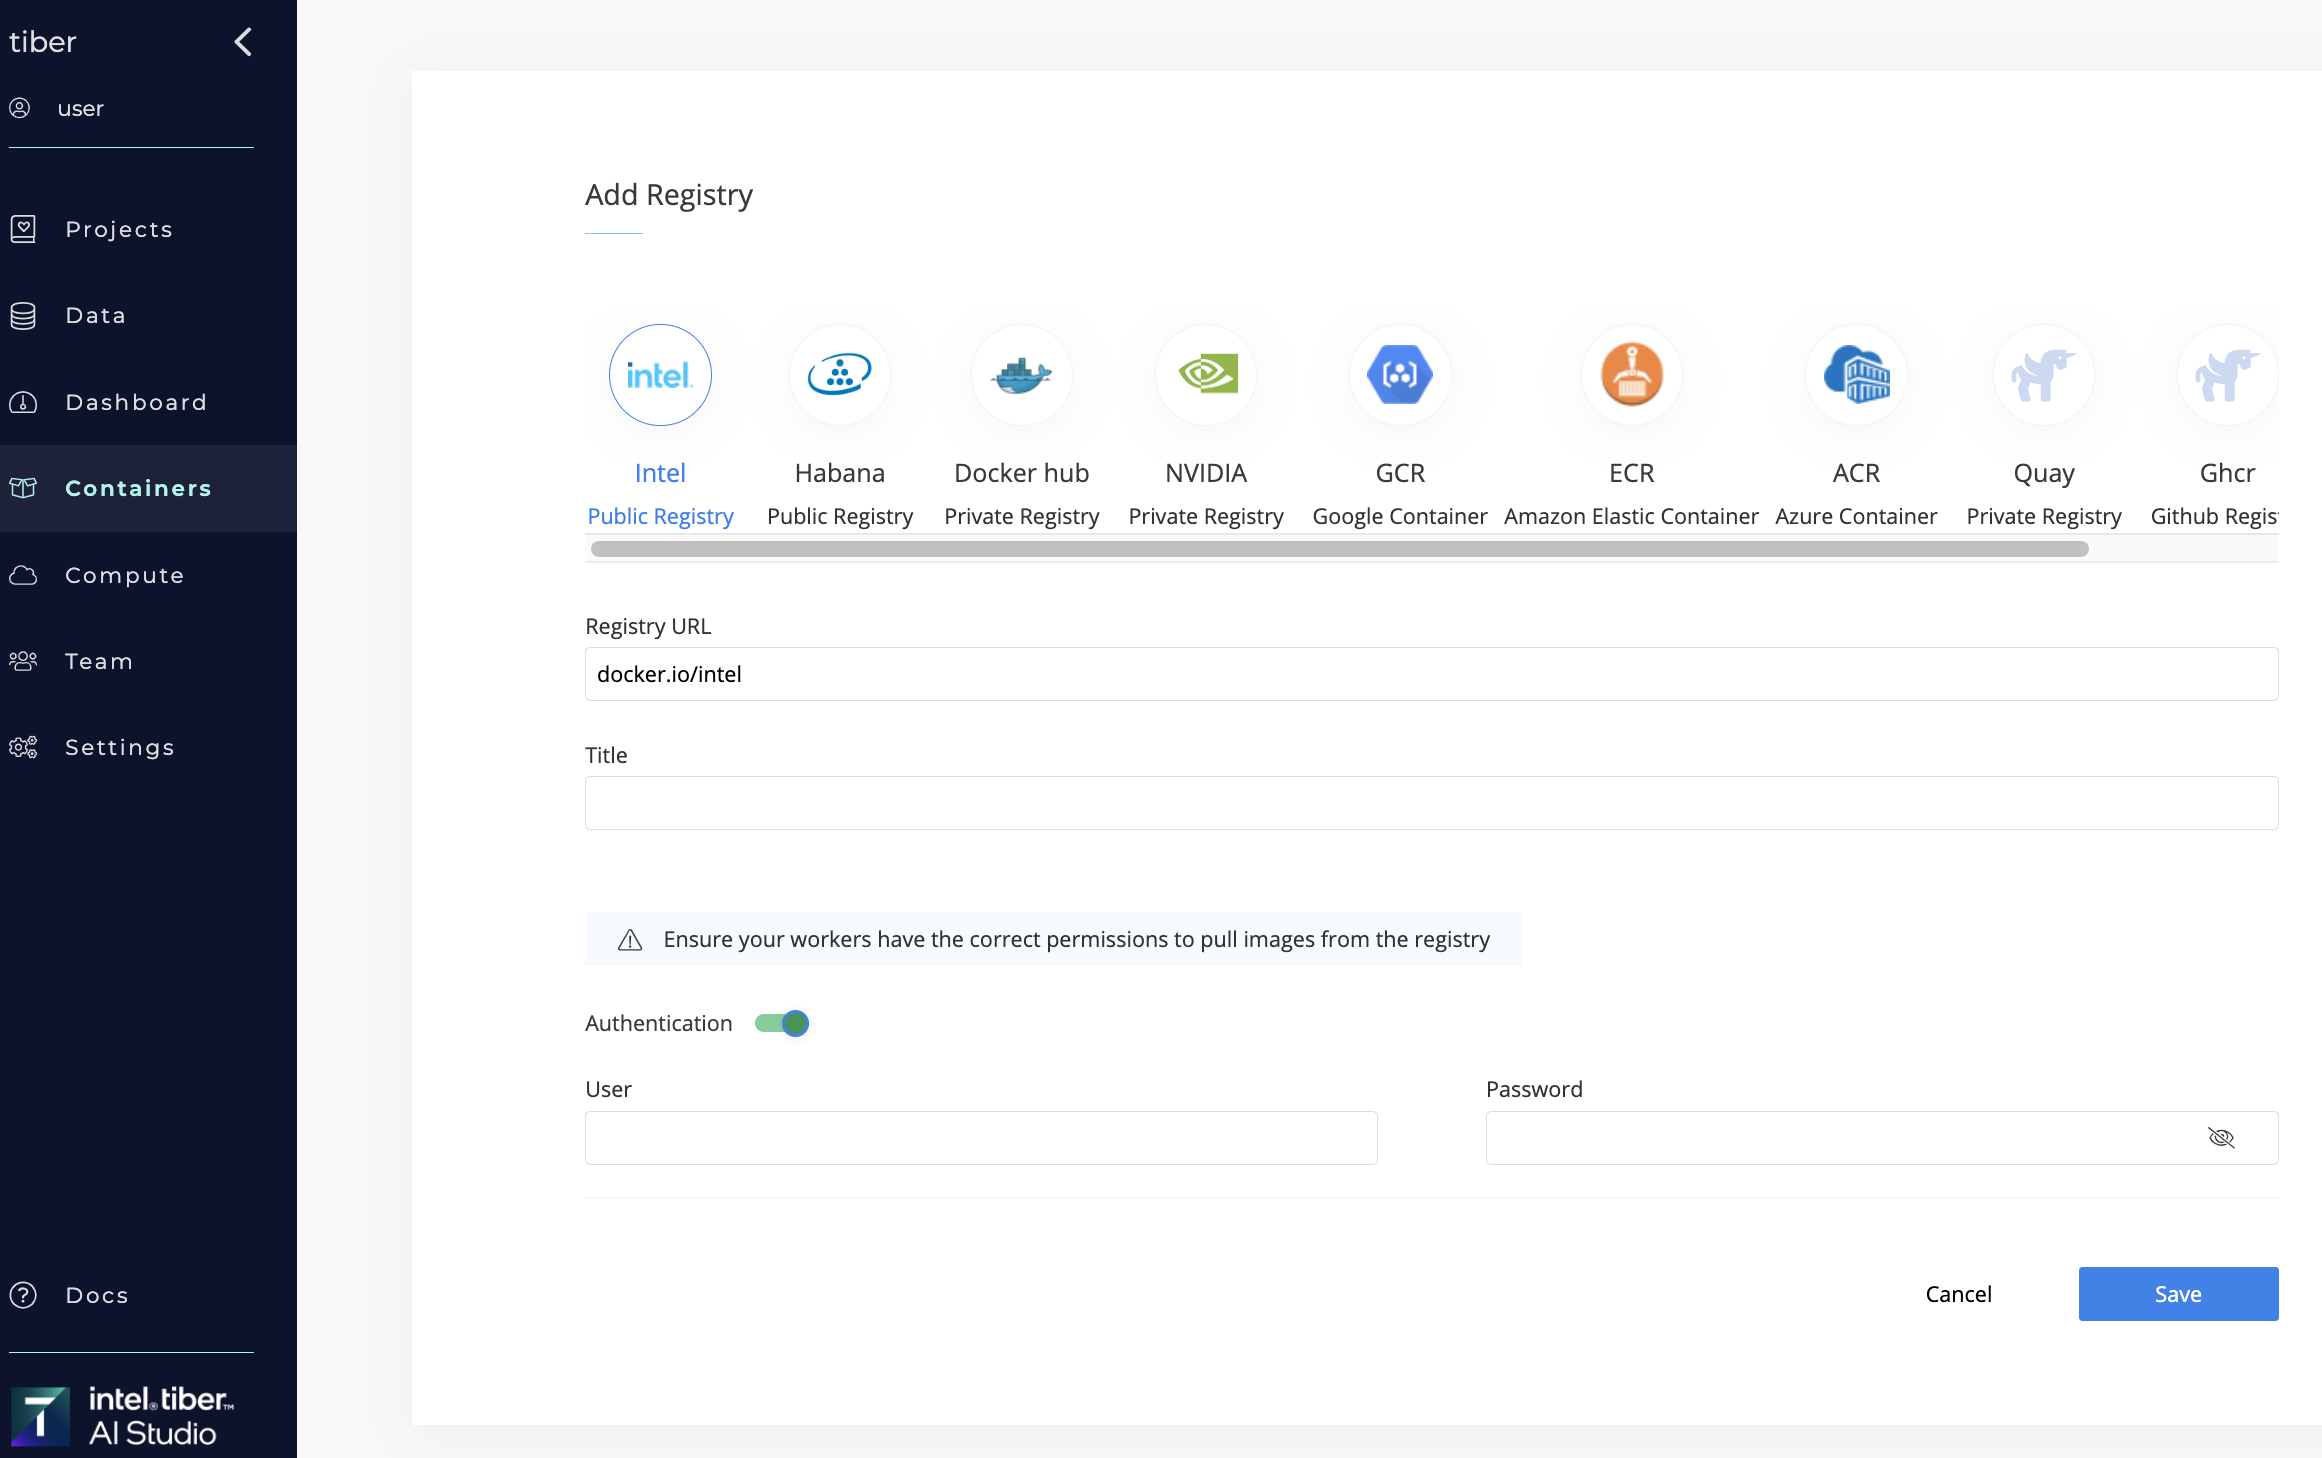
- Go to the Containers tab of your organization.
- Click Add registry.
- From the list of registries, select GCR.
- In the Registry URL field, type in the URL you constructed above (for example,
gcr.io/cnvrg-12345). - Type in a title for the new registry.
- Click Save.
NOTE
If you followed the GKE guide to set up your cluster, authentication will not be needed as your cluster will already be authenticated to have read/write access to your new GCR registry.
# Conclusion
You will now have added the URL of your GCR registry to cnvrg. You can now build and pull images, using your GCR registry inside cnvrg.